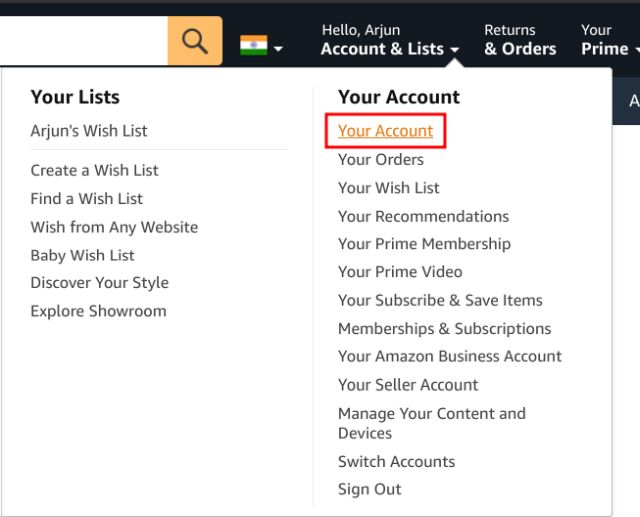
Next, click on “Login and Security“.
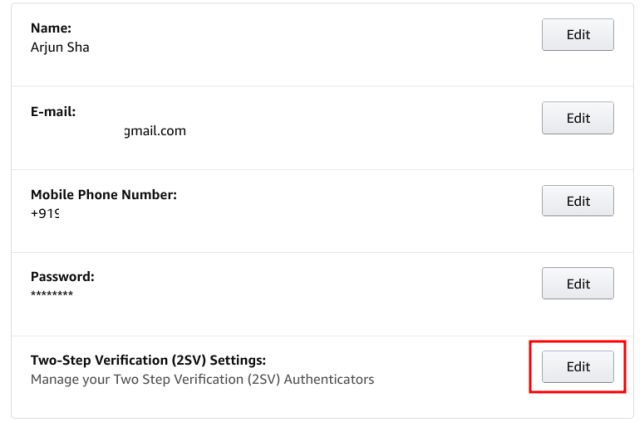
At the bottom, click on “Edit” next to Two-Step Verification (2SV) Settings.
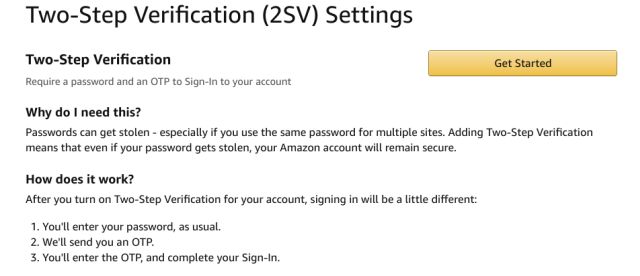
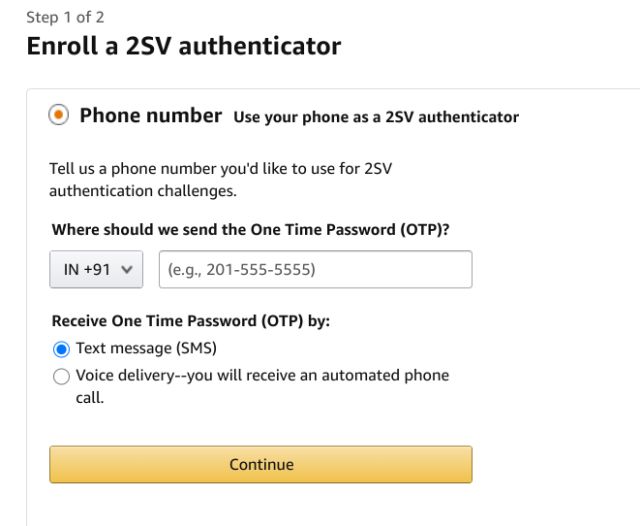
Here, click on “Get Started“.
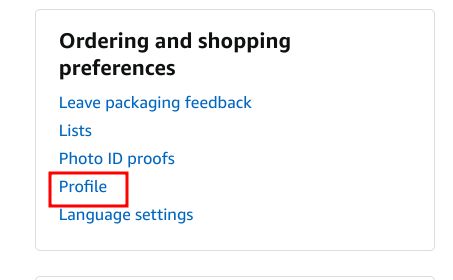
Open “Your Account” and click on “Profile” under “Ordering and shopping preferences”. You can also click here to open the Profile page directly.
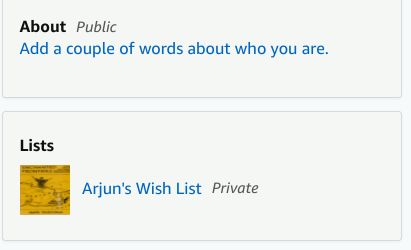
Similarly, on the left pane, make sure the wishlist is set to private.
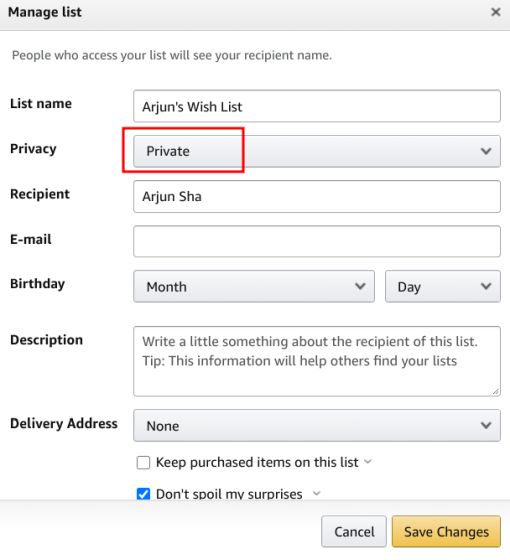
In case, it’s public then click on the wishlist and navigate to More -> Manage List -> Privacy -> Set Privacy to Private.
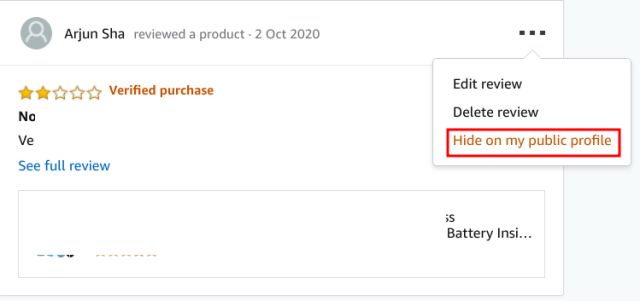
If so, click on “Edit Your Public Profile” and make the changes accordingly.
Click on this link to open the Recommendations page. Here, click on “Manage History“.
Remove Your Alexa Voice Recordings
On this page, open “Manage Your Alexa Data” and enable “Automatically delete recordings”. You can also enable the toggle to enable the deletion of voice recording by voice command.
Finally, if you want to delete all your Alexa voice recordings then go back and open “Review Voice History”. Here, change the date filter to “All History” and tap on “Delete all of my recordings”. You can also go through Skill Permissions to manage the authorization of various Alexa Skills.
Anyway, go ahead and make the changes to take control of your data. If you are facing any issue then comment down below and let us know. We will surely try to help you out. Apart from that, if you are on a spree to control your privacy, go through our in-depth guide and remove Google from your life.
