How to Use Split Screen Feature on Mac
So, what are the requirements for using Split View on a Mac? Though it supports OS X El Capitan or later, the process to use split screen is different in macOS Catalina and higher, including the latest macOS Monterey. There are multiple ways to use the split screen feature on macOS devices, so check them all out.
Use Split View on Mac Running macOS Catalina or Later
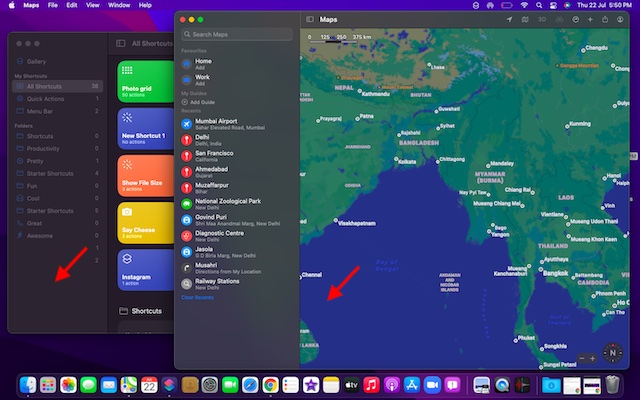
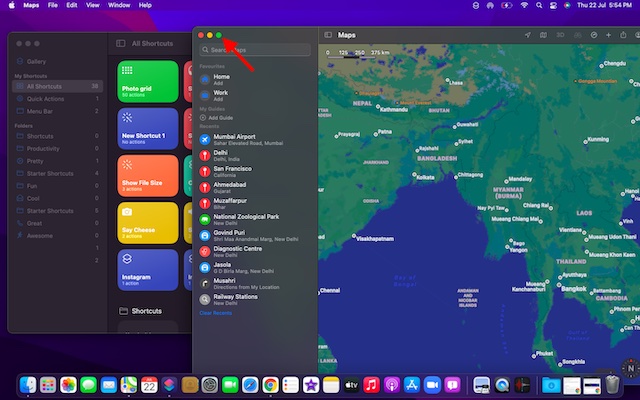
- Next, check out the red (close), yellow (minimize), and green (full-screen) buttons at the top left corner of the window. Now, click and hold or hover the mouse over the green button to see the Split Screen options on your Mac.
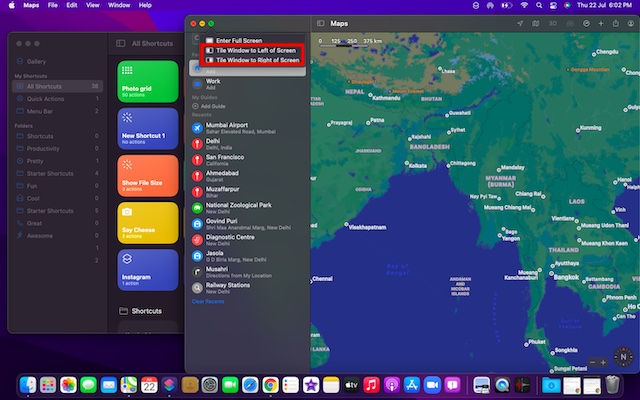
Note: If the green button is grayed out, that means a particular app doesn’t support Split View on Mac. 3. Next, choose the “Tile Window to Left of Screen” or “Tile Window to Right of Screen” option to move the app window to the left or right.
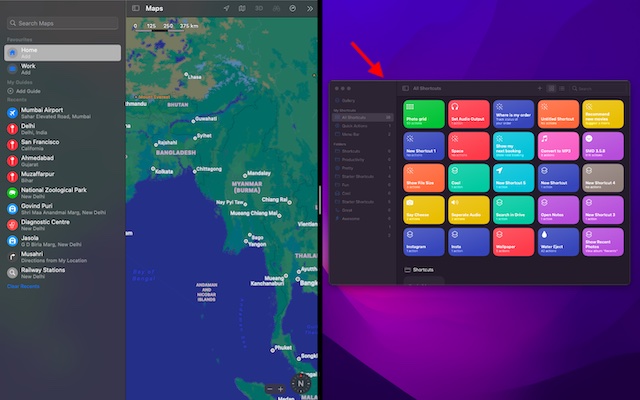
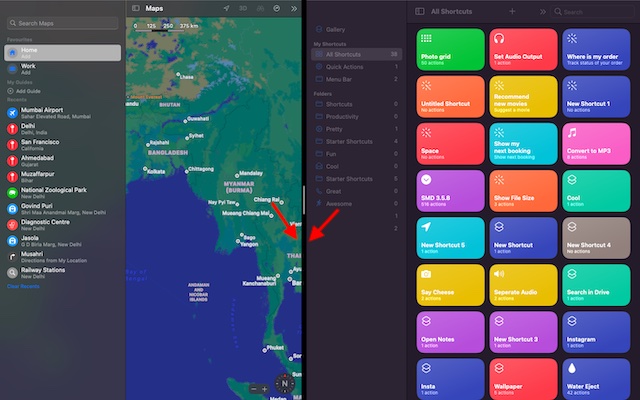
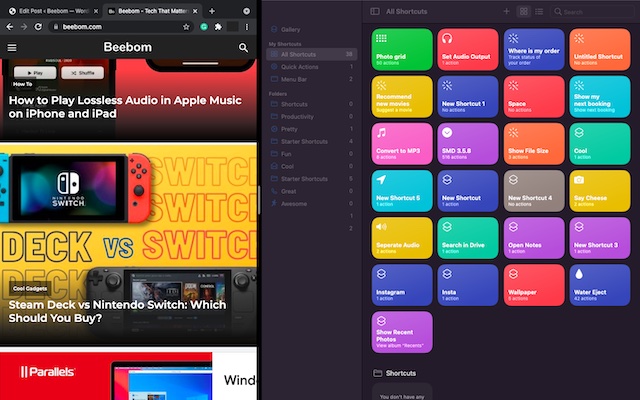
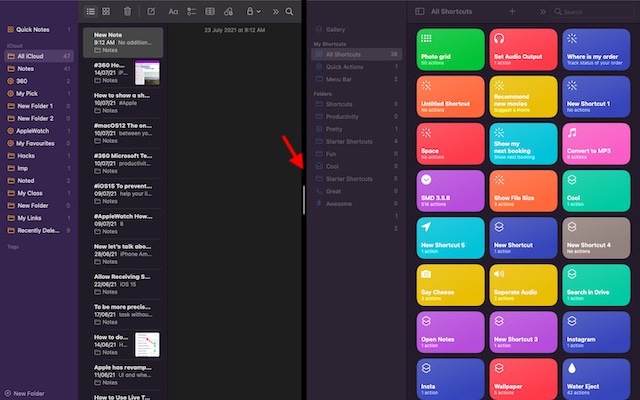
Then, select the other app you want to use alongside the app you just snapped to the right or left. macOS will automatically show the other app windows to make your task of selecting an app and splitting the screen a bit straightforward.
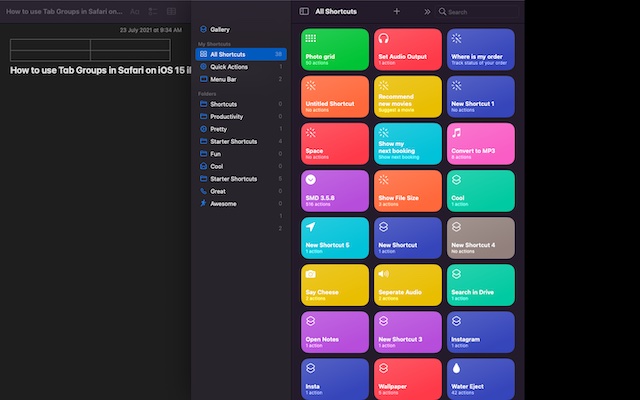
After selecting the second app, you will have successfully activated the split screen feature on Mac. You can hold and drag the black divider line to the left or right to adjust how much screen real-estate each app occupies on your device.
Note: If you see the “No available apps” message after you select “Tile Window to Left/ Right of Screen”, that means the window of the second app you want to use in Split View is not open.
Enter Split View on Mac Running Older macOS Versions
The process to activate Split View in macOS Mojave, macOS High Sierra, macOS Sierra, and OS X El Capitan is just as easy. But the process is slightly different on older macOS versions, so let’s take a look at how it works: 2. Now, click and hold the green full-screen button at the top left of the window. As you hold the full-screen button, the window will shrink, allowing you to drag it to the left or right side of your Mac screen. 3. Next, release the button. After that, click on an app window on the other side of the screen to start using both windows side by side. And that’s it, you can now successfully utilize split screen mode’s productivity powers.
Enable Split View on Mac Using Mission Control
Invoking Split View using Mission Control on a Mac feels ever so smooth as well. But it involves more steps than the methods described above. So, let’s take a look at how it works:
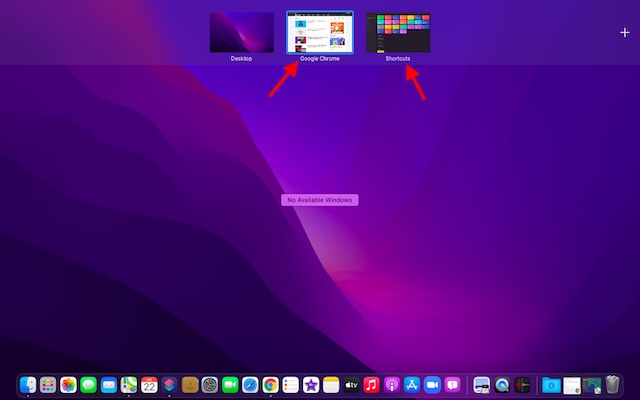
Now, launch Mission Control by swiping up with three fingers or four fingers on your Mac. Alternately, you can double-tap with two fingers on Magic Mouse or press the Control and Up arrow simultaneously to fire up Mission Control on your Mac.
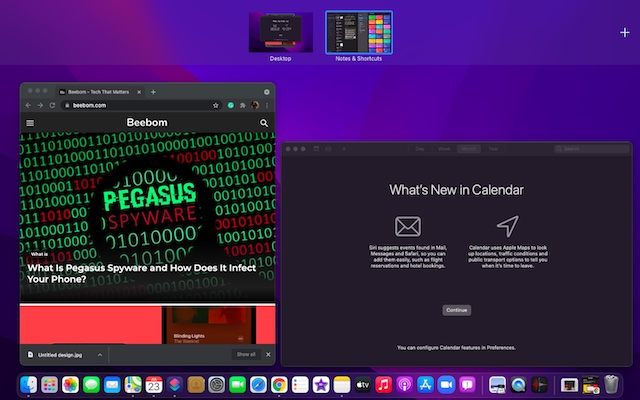
Now, drag an app window over the app thumbnail that’s in full-screen view.
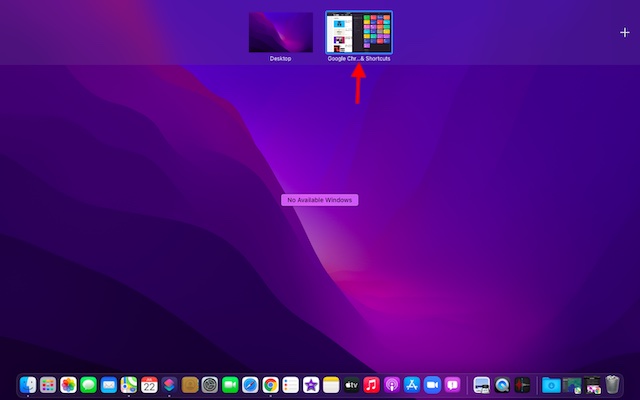
And voila! Both apps will instantly enter the Split View mode on your Mac. Now, you can click on the Split View thumbnail to start using the two apps side by side.
Access Other Apps in Split View on Mac
Mission Control and multitasking go hand in hand. You can use Mission Control to open other apps in split screen on a Mac. Here’s how you can do so:
- Now, all you need to do is switch between Split View and other windows by clicking on the thumbnail of the app you want to use. If there’s no app open in the background, you can use the Dock or Launchpad to access the app you want to use. Alternately, you can also use a cool multi-touch gesture such as swiping left/ right with four fingers on your trackpad to switch to other open apps.
Can’t Split Screen on a Mac? Here is the Fix!
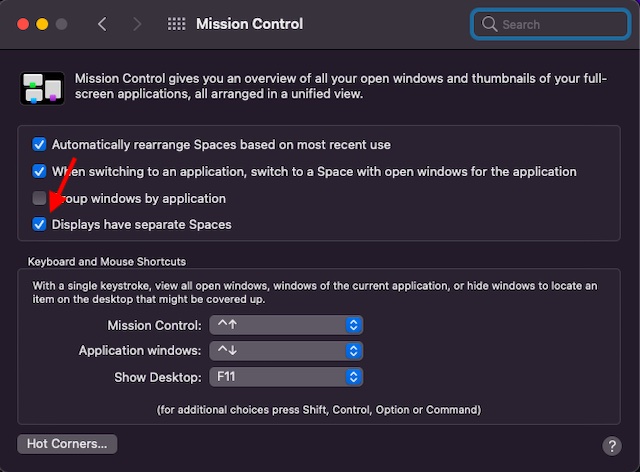
If you are unable to use Split View on your Mac, make sure that you have enabled this feature. It’s hidden deep in the Mission Control settings, so follow the steps below:
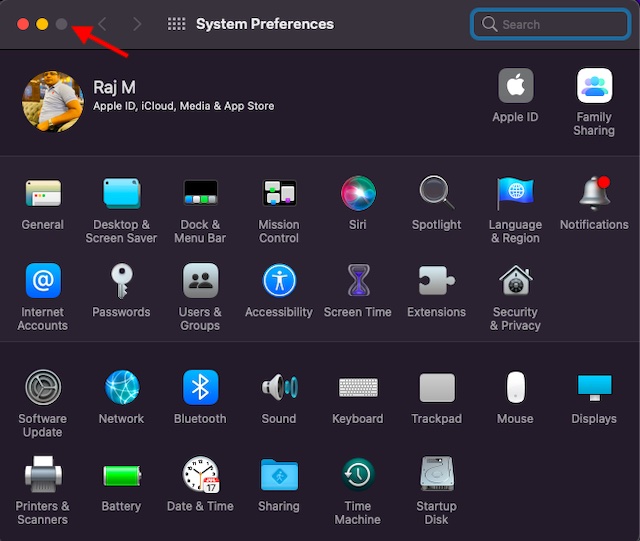
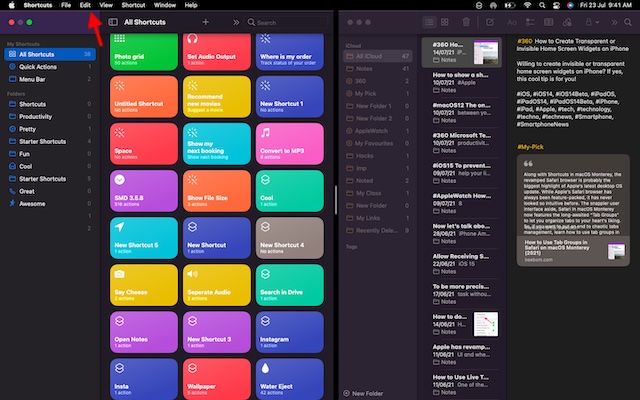
Head over to the Apple Menu at the top left corner of the screen. Then, navigate to “System Preferences -> Mission Control” and check the box next to “Displays have separate Spaces”.
Besides that, make sure that the app you want to use supports Split View. If the full-screen button is grayed out, the particular app is not compatible.
Tips to Get the Most Out of Split View on Mac
Depending on your needs, you can adjust the window width and swap window position to work conveniently while using apps in split screen mode on Mac.
Adjust window width: Drag the vertical back divider line between the app windows to the left and right.
Swap window positions: Simply hold and drag a window to the other side.
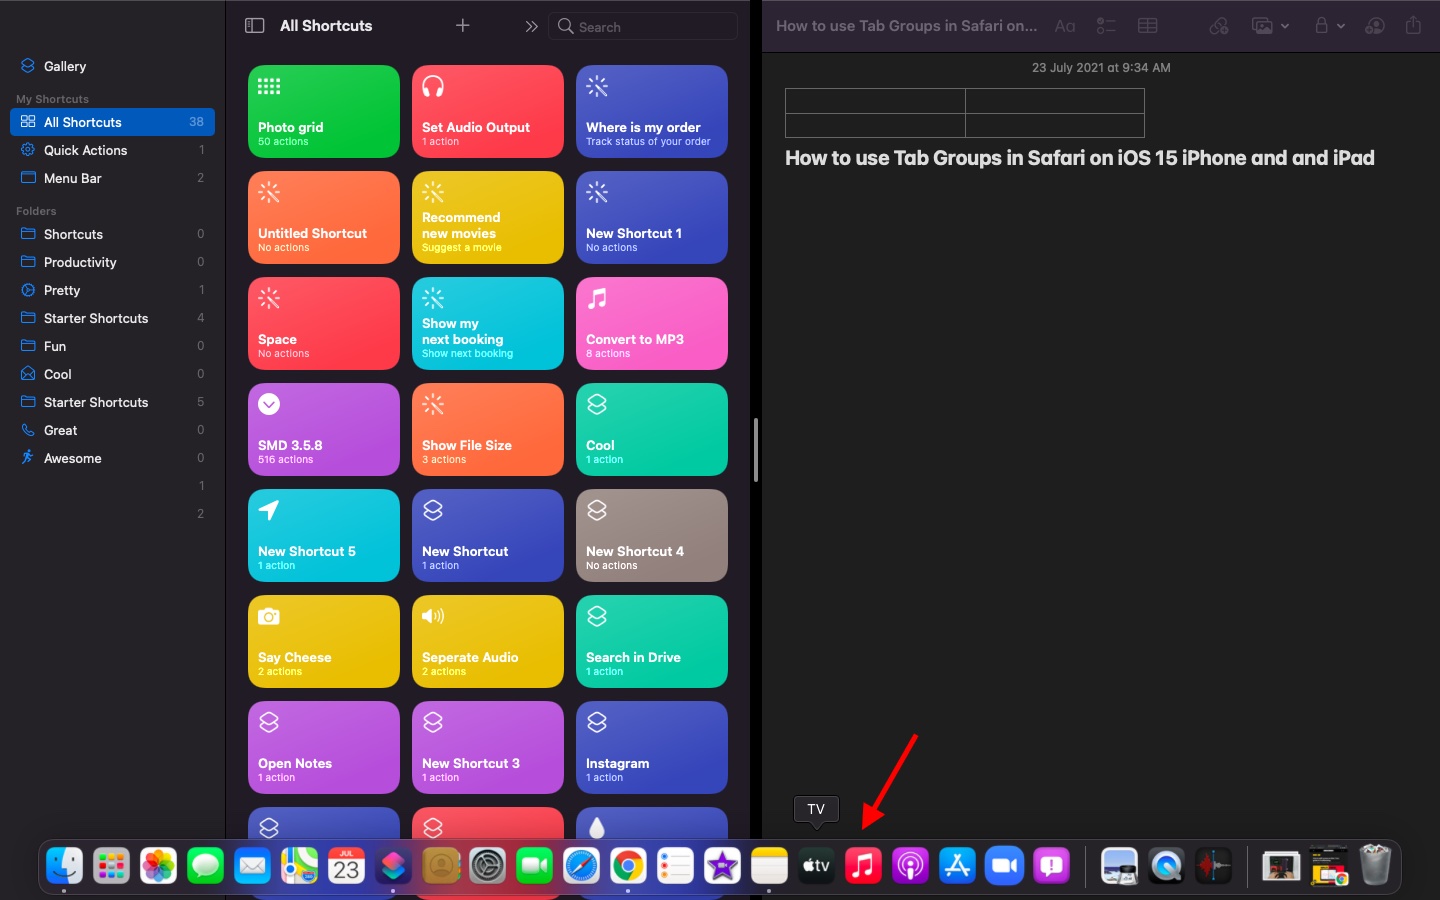
Access Dock in Split View: Move the cursor to the bottom of the window to access the Dock.
Show the menu bar: Move the pointer to the top of the screen.
How to Exit Split View on Mac
Now, you are done using two apps side-by-side and want to exit Split View on Mac, but how do you do that? Well, it is pretty simple and requires only a single click. 2. Now, click on the green (full-screen) button in either window to exit Split Screen mode on Mac.
Best Third-Party Split Screen Apps for Mac
If you want more functionality and customizability, there are many well-designed third-party split-screen apps available on macOS. So, just in case you aren’t impressed with the built-in split-screen feature or wish to try out more powerful alternatives, check out these couple of notable options.
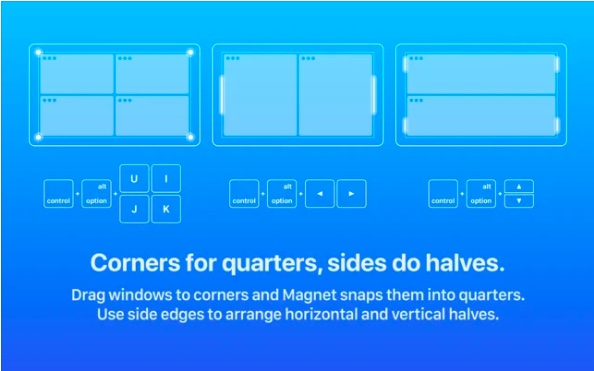
1. Magnet
Magnet is one of the most feature-packed split screen apps for Mac and MacBook power users. It supports snapping to the left/ right/ top/ bottom halves to let you multitask with many apps more conveniently. With a simple drag to the edge of your Mac display, you can resize a window into half of the screen. This feels more seamless than the official method of clicking and holding on the full-screen button and choosing the option to enable Split View.
What’s more, Magnet also allows you to sort your windows into sixths, which can come in handy on an ultra-wide monitor. Notably, it offers several fully customizable keyboard shortcuts to easily use apps in split screen mode on your Mac device. As for compatibility, Magnet supports OS X Yosemite or later. Though the $8 price tag makes it a bit expensive, it’s worth the top-notch multitasking features for power users. Install Magnet: $7.99
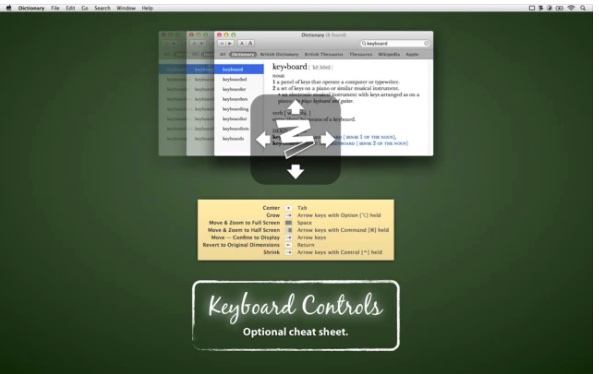
2. Moom
Moom is a complete split screen window manager for Mac devices. It offers five preset size/ location options to let you move and zoom windows on your Mac with the desired flexibility. Moreover, you can even define custom controls to manage windows in line with your workflow.
But what has caught my attention is the option to chain custom controls together, making window management on macOS a much easy affair, especially when you are working with several apps simultaneously. Moom also lets you save window layouts to recreate a preferred window arrangement. To speed up your task, it invokes saved window layouts automatically so that you can start working right away. And with a keyboard mode always at your disposal, you can snap windows faster without using a mouse. Just like Magnet, Moom (requires macOS 10.9 or later) is also quite pricey at $10. But if you want a complete window manager for your Mac, it will live up to your expectations. Install: $9.99
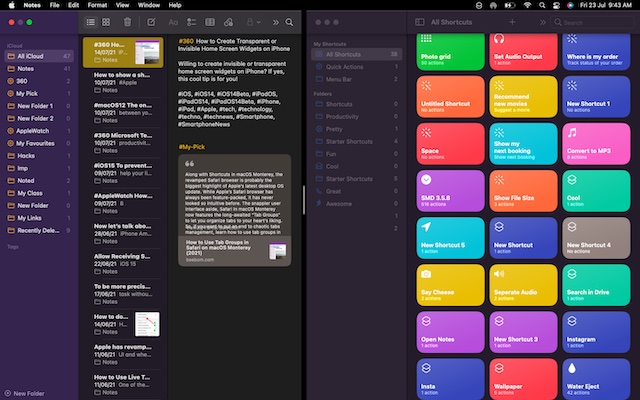
Use Two Mac Apps Side By Side in Split Screen Mode
So, that’s how Split View works on Mac and MacBook. Now that you have got a good hang of this productivity-defining feature, you can make the most of it by using apps in split screen and speed up your tasks. macOS boasts several other productivity-centric features, including Spotlight Search, the newly introduced Apple Shortcuts, Automation, Quick Notes on Mac, and the super handy Tab Groups feature in Safari on macOS Monterey. Do let us know your thoughts and queries about Split View in the comments below.