Connect Raspberry Pi to a Windows Laptop Without Ethernet Cable, Monitor, or Wi-Fi Router (2021)
In this article, We have explained the steps from scratch, meaning even beginners can get started with their Raspberry Pi projects with ease. Follow our step-by-step guide to access the headless Raspberry Pi without a monitor, Ethernet cable, Wi-Fi router, or even an HDMI cable.
Downloads
- You need to download Raspbian OS from here. I suggest downloading “Raspberry Pi OS with desktop and recommended software” on the web page that opens. It will have all the required packages, utilities, and dependencies.
- After that, download balenaEtcher (Free) to flash Raspbian OS onto the SD card.
- Finally, download VNC Viewer (Free) so that you can access the desktop environment of Raspberry Pi on your Windows laptop.
Flash Raspbian OS on Raspberry Pi
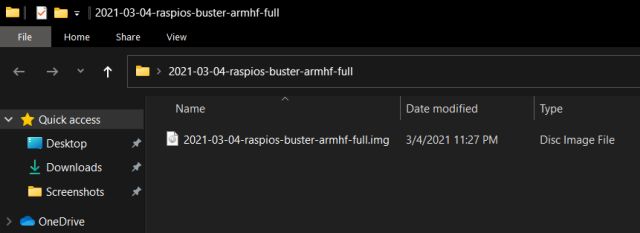
Once you have downloaded Raspbian OS, extract the ZIP file. You will get an IMG file.
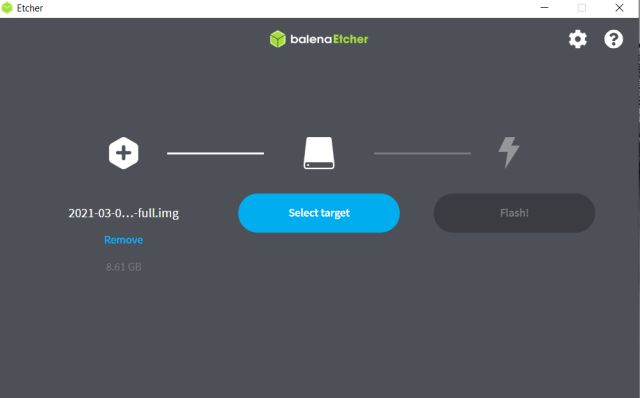
Next, install balenaEtcher and open it. Select the extracted image and choose the SD card under the “Select target” option. After that, click on “Flash“. Note that you will need an SD card with at least 16GB of free space.
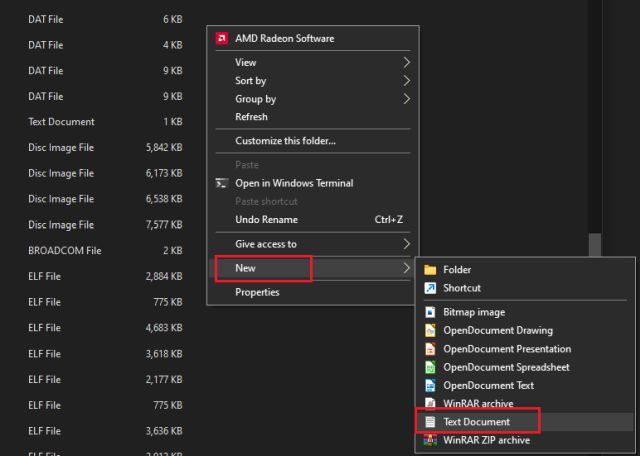
Once the flashing process is complete, open the flashed card from My Computer. It should show up as “boot”. In the SD card, you will have to create an empty file. Right-click and select “New -> Text Document” to create the file.
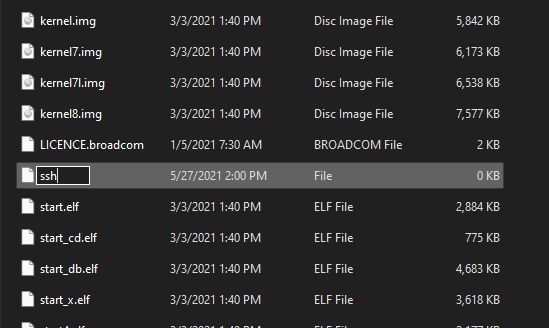
Now, rename the file to ssh with no extension. Remove .txt from the filename and hit enter.
Generate IP Address for the Headless Raspberry Pi
Now that you have flashed the card and created the SSH file, it’s time to generate the IP address for the headless Raspberry Pi. In this method, you will need a home Wi-Fi network. If you don’t have a router at home, you can create a hotspot on your smartphone and share it with your computer and Raspberry Pi. Here is how to do it.
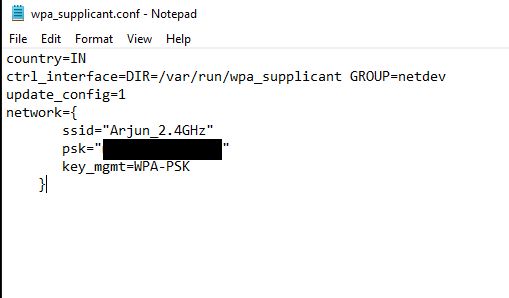
First off, download the wpa_supplicant.conf file from here. It lets you add your Wi-Fi credentials to the Raspberry Pi so that RPi can find the specified Wi-Fi network and connect to it automatically.
Once downloaded, open it with a text editor, preferably Notepad. Here, change the “Wi-Fi Hotspot name” to your Wi-Fi home network or hotspot. Similarly, change the “Wi-Fi Hotspot Password” to the password you have set for your router or mobile hotspot. Make sure to enter the details exactly as they are.
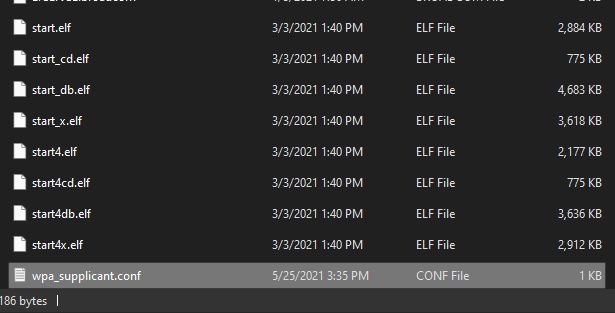
Now, save the file and move wpa_supplicant.conf to the root directory of the SD card. You have finally supplied the Wi-Fi information for the headless Raspberry Pi to connect automatically.
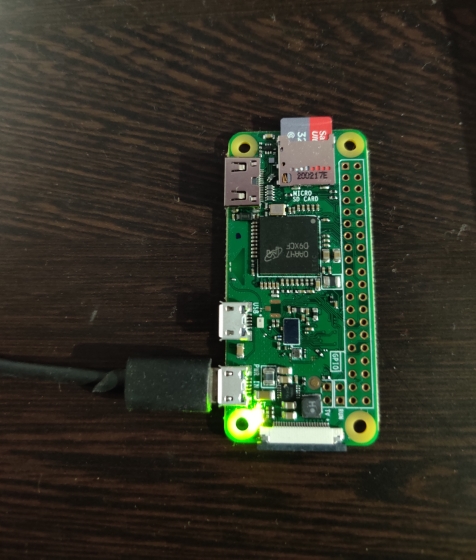
Next, remove the SD card and insert it into the Raspberry Pi, and power it on. Give it some time as it will try to connect to the Wi-Fi/ mobile Hotspot automatically.
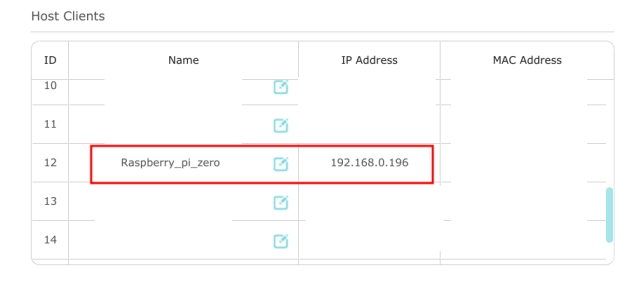
After a minute, open 192.168.0.1 on a web browser if you have a router. Enter the default router credentials and look for all wirelessly connected devices. You will find the IP address of the Raspberry Pi. Note it down.
Users can also install Advanced IP Scanner (Free) on their Windows PC to find the IP address of Raspberry Pi.
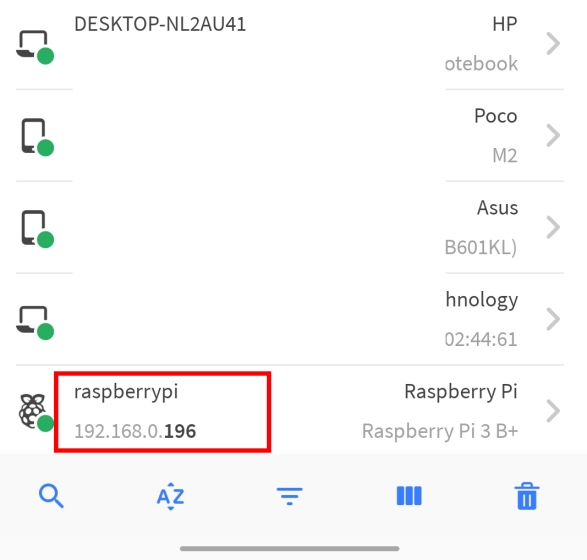
For users who are using a mobile hotspot, download the Fing app (Android / iOS) on your smartphone and scan the network. It will automatically identify the Raspberry Pi and show you the IP address. Note it down.
Connect Headless Raspberry Pi to Windows Laptop Without Ethernet or Monitor
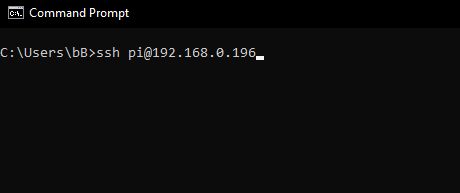
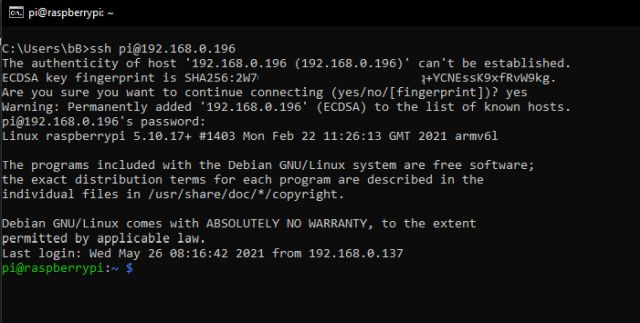
Now that you have generated the IP address, here is how you can connect the headless Raspberry Pi to your Windows laptop without an Ethernet cable or monitor. Open Command Prompt on your Windows computer and enter ssh pi@[IP Address].
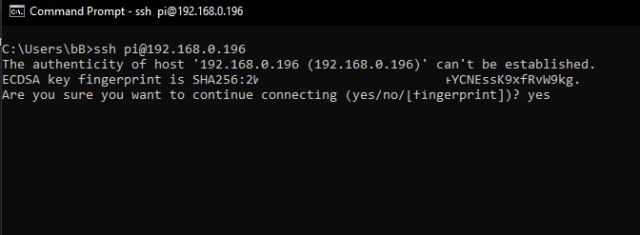
After running the command, type yes and hit enter.
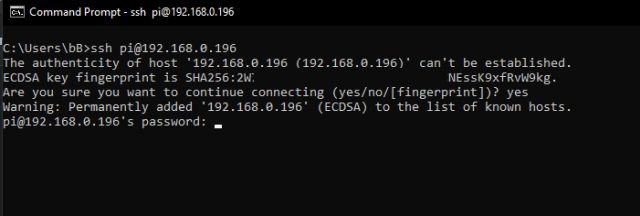
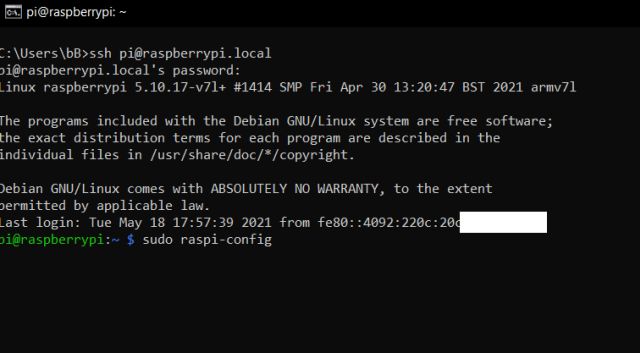
Now, it will ask for Raspberry Pi’s password. Type raspberry and press enter. By the way, Raspberry Pi’s default username is pi and password is raspberry .
You will finally log in to Raspberry Pi. You can now do anything you want without requiring a monitor or an Ethernet cable. For starters, let’s enable the VNC server and GUI interface so that you can enjoy Raspberry Pi in a desktop environment.
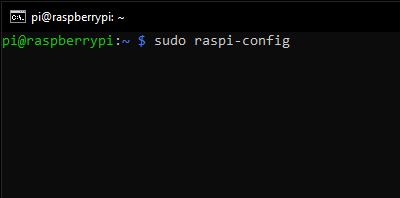
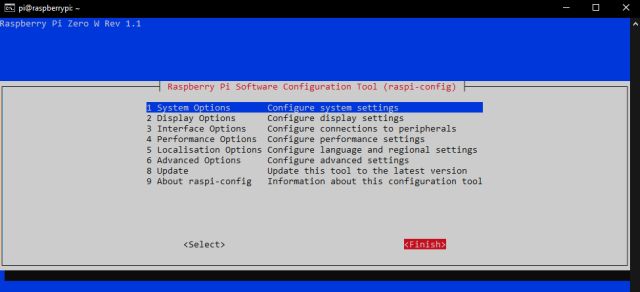
Run the command sudo raspi-config to open the Configuration tool.
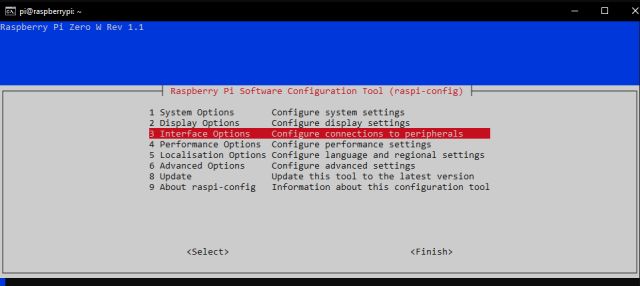
Next, move to “Interface Options” or “Interfacing Options” using the keyboard’s arrow keys. Then, hit Enter.
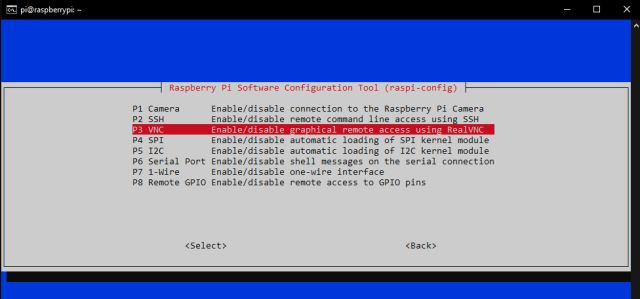
Under Interface options, move to “VNC” and hit enter.
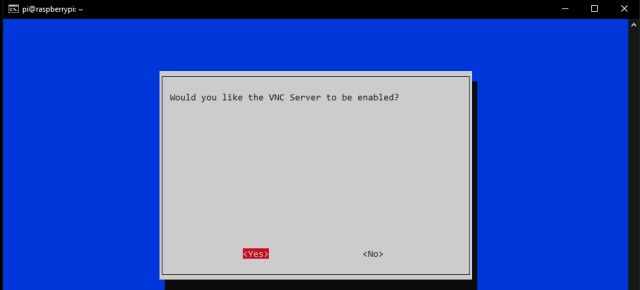
On the next page, choose “Yes” and hit enter.
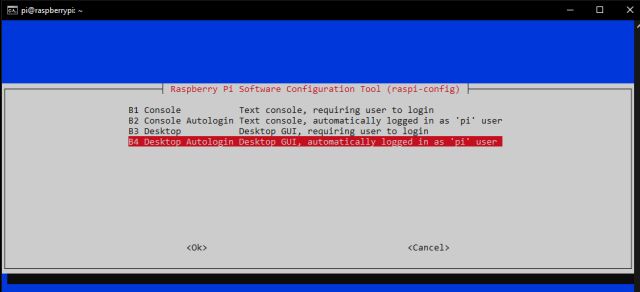
After that, open “System Options” and go to “Boot/ Auto Login”. Next, move to the “Desktop Autologin” option. If you are using an old Raspberry Pi, navigate to Boot “Options -> Desktop/ CLI -> Desktop Autologin”.
Finally, hit enter to apply the changes. Next, move to “Finish” by pressing Tab and hit Enter. It will reboot your Raspberry Pi, and the SSH session will end. Now, close the CMD window.
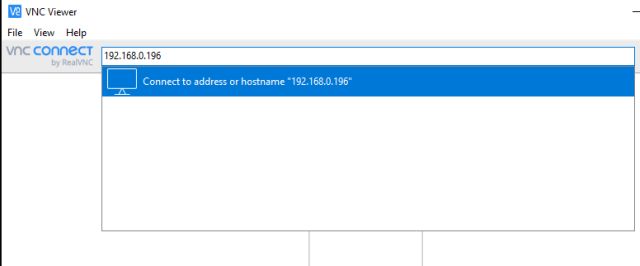
Now, install VNC Viewer that we downloaded above and open it. Enter the IP address of your Raspberry Pi and hit enter.
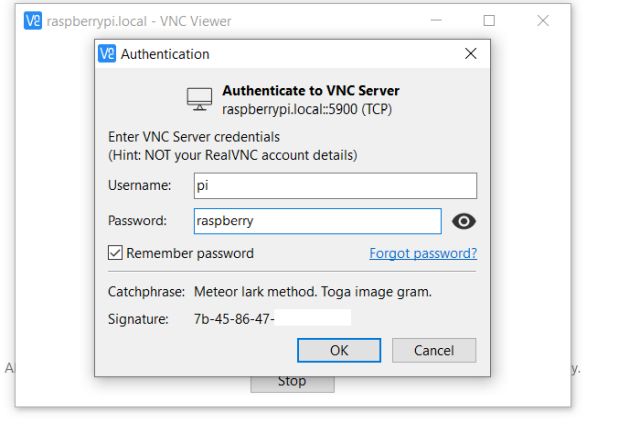
Then, a prompt will appear, click on “Continue”. On the next window, enter your RPi’s credentials, username: pi and password: raspberry. Now, click on “OK”.
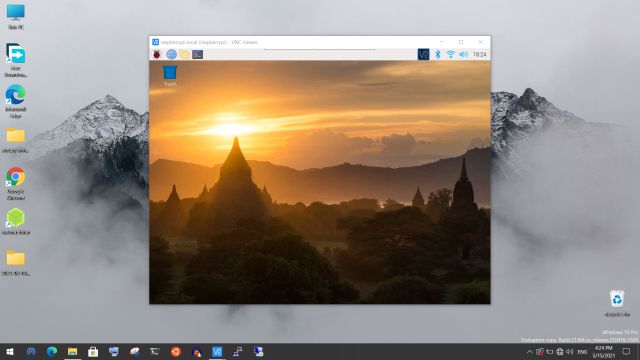
Within seconds, the Raspberry Pi’s screen will be live on your Windows 10 laptop’s display. Now, go through the on-screen instructions and set up Raspberry Pi. If you get any errors, move to the next section.
Troubleshoot: Fix “Cannot Currently Show the Desktop” Error on Headless Raspberry Pi
If you get the “Cannot currently show the desktop” error while trying to connect your Raspberry Pi to a laptop display, there is nothing to worry about. Follow the steps below to fix the issue.
Open Command Prompt and enter the below command, and hit enter.
Enter raspberry as password and hit enter. If you have changed the password earlier, enter the new password.
You will log in as pi. Now, run the below command to launch the Configuration tool.
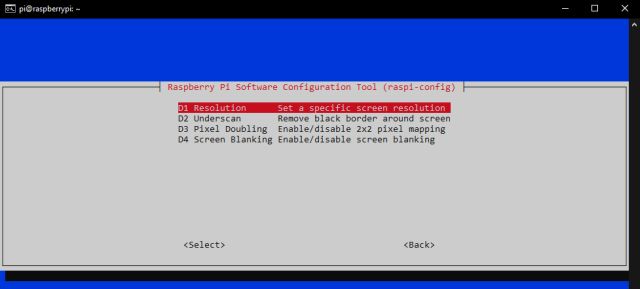
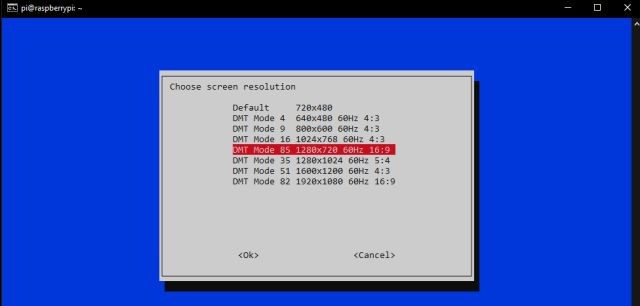
Here, open “Display Options” and navigate to “Resolution”. But if you have an old Raspberry Pi, you will find this setting under “Advanced Options”.
5. Choose a resolution other than “Default”. According to your laptop’s aspect ratio and display resolution, you can choose any other mode.
Now, press Tab to move to “Finish” and close the window.
Finally, open the VNC Viewer, and this time, you will be able to connect to Raspberry Pi’s desktop environment without any issues. If the “Cannot currently show the desktop” error persists, keep changing the resolution and check which one works for you.
Setup a Headless Raspberry Pi Without Ethernet Cable, Monitor, or Router
So that is how you can access a Raspberry Pi without an Ethernet cable or a monitor. I have also mentioned a way for users who don’t have a router at home. You can use your mobile’s hotspot to create a Wi-Fi network. Anyway, that is all from us. If you have successfully set up the Raspberry Pi, I would highly recommend you to install Pi-hole on Raspberry Pi for blocking ads and trackers from the entire network. And if you have any questions, comment them down below and let us know.