Windows 11 is full of bugs that are hampering the functionality of many features and components. In the same context, several Windows users have reported that their microphone keeps acting up from time to time after they have upgraded to Windows 11. If you are one of those troubled users, you have landed in the right place. In this guide, we have discussed the primary reasons why the microphone might face trouble working on a Windows laptop and have listed some of the methods you can apply to fix the microphone not working issue in Windows 11.
Why Microphone Is Not Working In Windows 11?
The microphone will begin to malfunction on your Windows 11 PC due to one or many of the reasons mentioned below.
Loosely connected External Microphone The microphone is disabled Audio Input is muted on the PC Unrecognizable mic Audio input is turned off for the headset or microphone. The wrong microphone is selected on the PC Outdated or corrupt device drivers Damaged microphone
Fix Microphone Not Working In Windows 11
Here are the most useful fixes that you should employ for troubleshooting the microphone not working issue on Windows 11 devices.
1. Check Your Connection
Before trying some of the software-related hacks, let’s ensure that the physical connections of the microphone are working properly. If you have an external microphone, make sure is connected to the functioning jack. You can insert the microphone in a different jack and see if the microphone works now. While ruling out the hardware-related issues, you should also ensure that you are sitting close to the device and are loud enough for the microphone to capture the voice. After you are sure that the microphone connections and jacks are working fine, proceed to employ the software-related troubleshooting methods listed below.
2. Give Exclusive Microphone Control To The Applications
For the applications to use the device microphone without any interference by another application, you first have to grant them exclusive access. The method of doing so is straightforward and can be achieved by the steps outlined below.
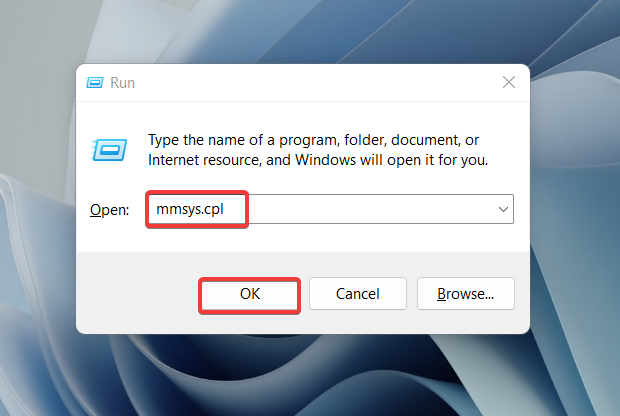
- Use the Windows + R shortcut to launch the Run dialog box.
- Enter mmsys.cpl in the text field of the Run dialog box and press the Enter key.
- When the sound dialog box launched on the screen, switch to the recording tab.
- Right-click the Microphone and choose the Properties option from the context menu.
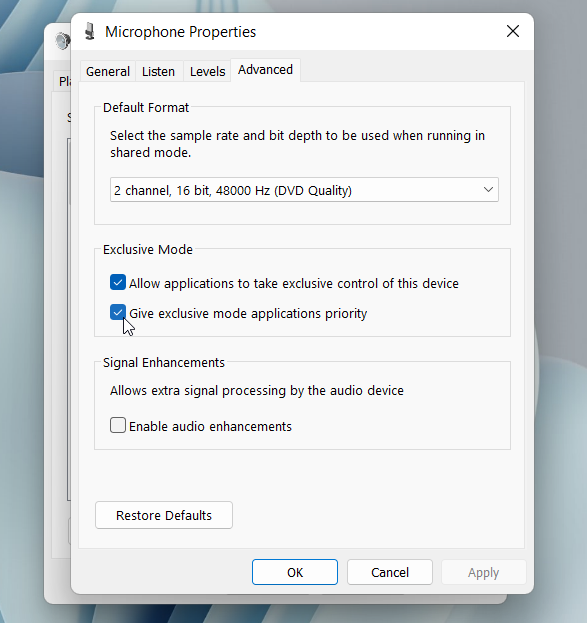
- Now access the Advanced tab and check the options listed under the Exclusive Mode section.
- After making the necessary changes, press the Apply button followed by OK.
3. Allow The PC To Access The Microphone
Some apps installed on your Windows PC are configured to access the microphone and camera of your device by default, while others have to seek permission for doing so. So, if you want the app that has not been granted microphone access to access it, you will feel that the microphone is not operating on your Windows 11 PC. To resolve the issues like these, you need manually allow the application to access the microphone. This can easily be achieved via the Windows 11 settings app. So, let’s proceed:
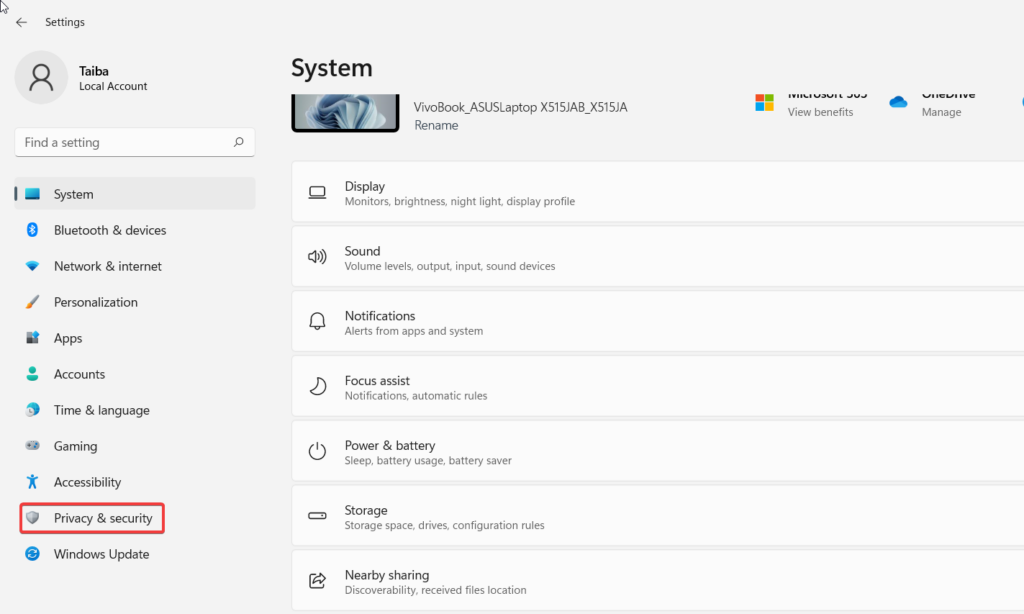
- Use the Windows + I shortcut key to launch the Windows settings.
- Select the Privacy & security option listed on the left pane.
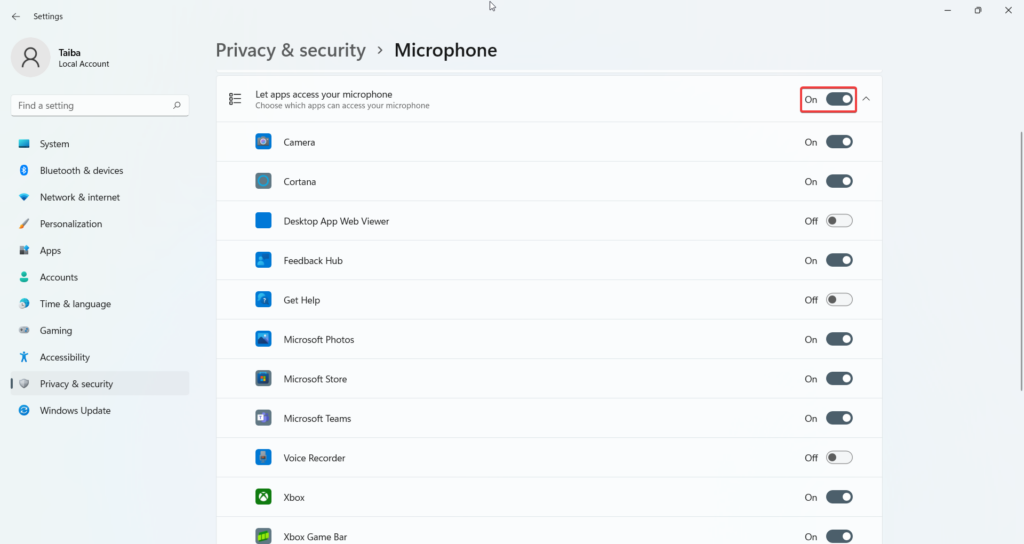
- Head to the right pane and choose the Microphone option.
- Here, turn on the toggle for all those apps under the Let apps access your microphone section which you want should access the microphone.
4. Enable The Microphone For Recording
When connected to the device via a USB or as part of a headphone, the external microphone gets detected automatically. However, sometimes, the Windows PC is unable to detect the external microphone by itself. In this scenario, you will have to manually enable the external microphone. The steps to do it are as follows:
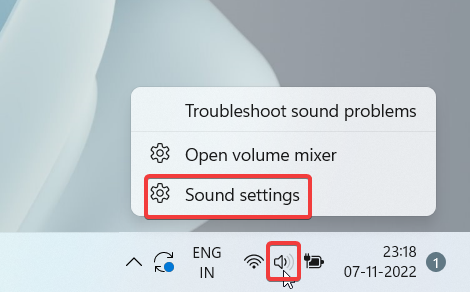
- Look for the speaker icon present on the taskbar and right-click it. Choose the Sound Settings option here to directly access the microphone settings.
- Scroll down the settings panel and click the More sound settings option listed under the Advanced tab.
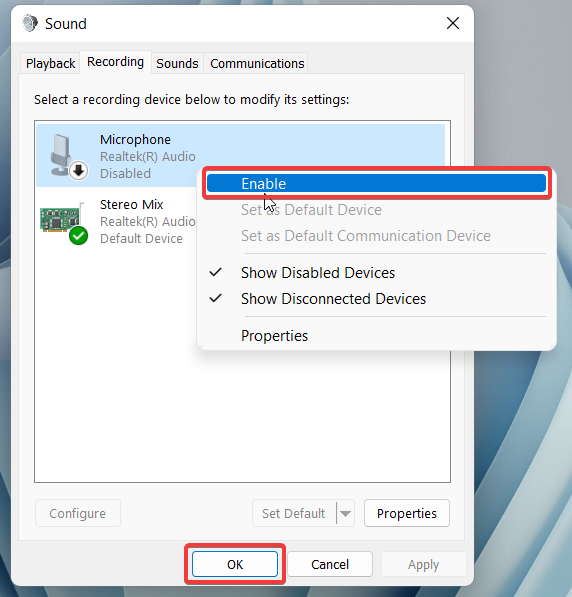
- Head to the Recording tab and right-click the microphone listed here. Choose the Enable option from the context menu. Hopefully, the problem will be resolved.
5. Check The Default Device
Many times, users connect another device with a microphone with a Windows device already having an internal microphone. In such a condition, system may get confused and choose any of the two microphones for capturing the audio. If the selection does not align with your interests, you will think that the microphone is encountering an error. Thankfully, the issue can be easily resolved the assigning your preferred microphone as the default device for capturing the audio. The steps of that are outlined below.
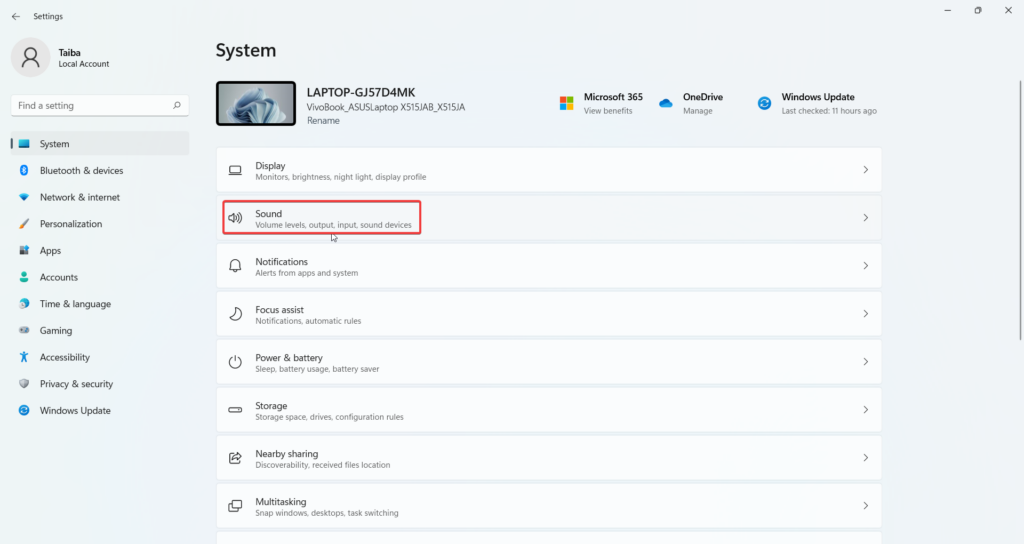
- Once again, launch the Windows Settings app on your device using the Windows + I shortcut key.
- Select the Sound option from the right pane.
- Scroll down and click the More Sound Settings link mentioned under the Advanced tab.
- On the pop-up that appears, switch to the Recording tab. The list of microphones connected to the Windows 11 PC will appear here.
- Select the preferred microphone and press the Set Default button given below.
- After this, press the OK button.
6. Use Audio Troubleshooter
If the microphone is still not working on your Windows 11 device, it’s wise to let Windows look for the issue itself. Interestingly, Windows 11 is equipped with a bunch of in-built troubleshooters that examine and remove the issues from the component it is intended for. The Windows Audio troubleshooter is built to look for problems hogging audio-related devices like microphones, speakers, and more. Below are the steps to run the audio troubleshooter on your Windows 11 device.
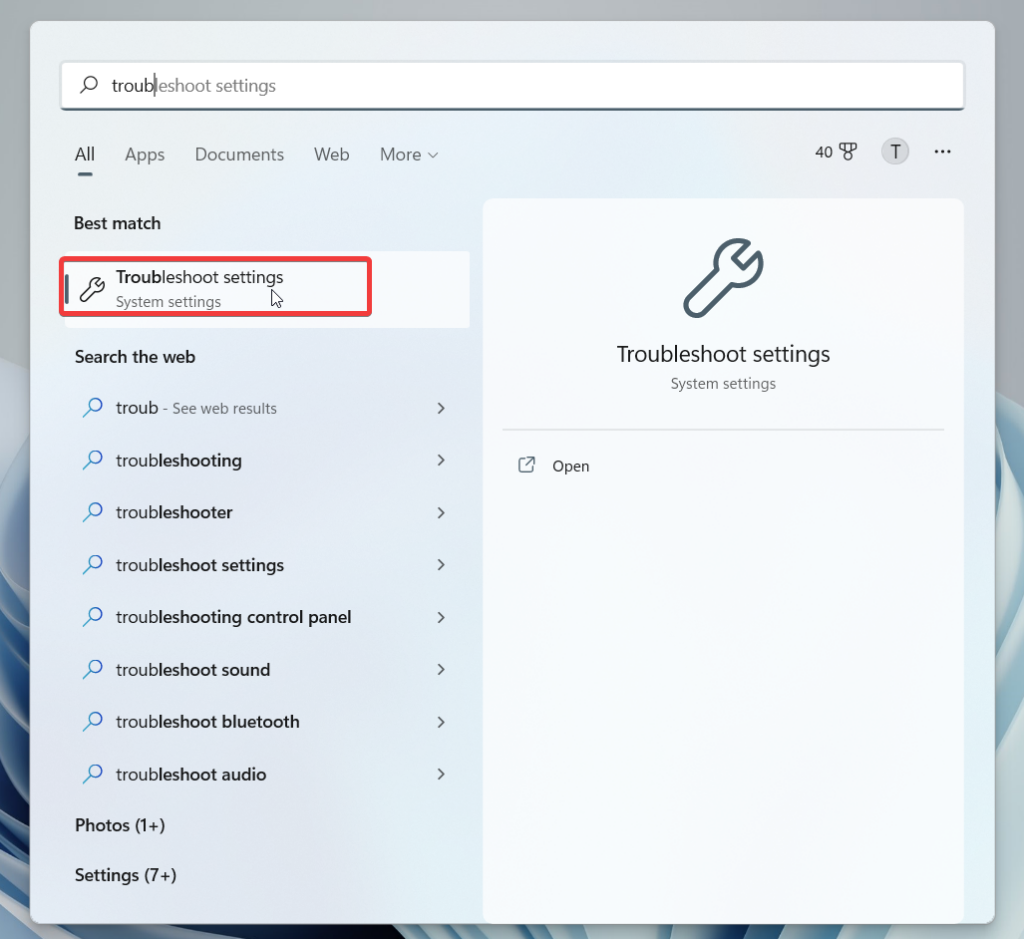
- Press the Windows key to launch the start menu.
- Type troubleshooting settings in the search bar on the top and choose the relevant search result.
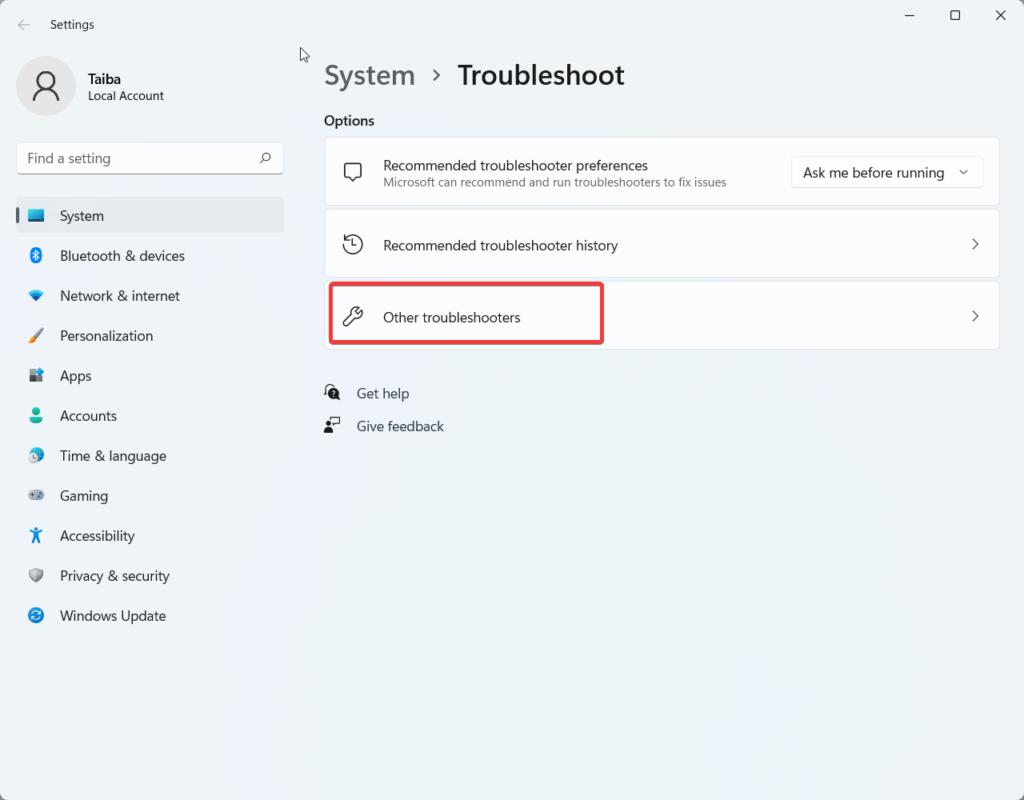
- When the Windows Troubleshooter Settings opens on the screen, choose the Other troubleshooters option from the right pane.
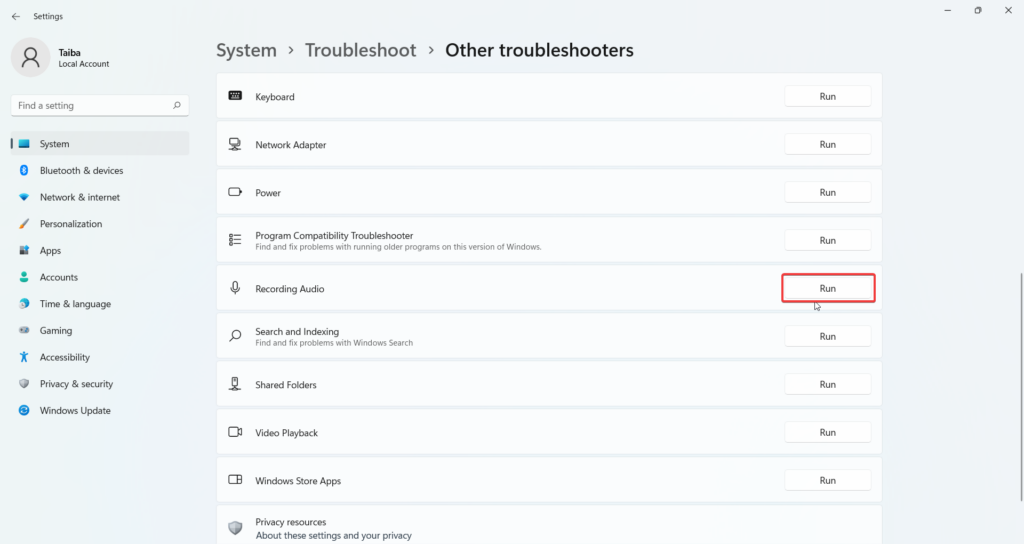
- Now scroll down the list of troubleshooters and look for Recording Audio.
- Press the Run button next to the Recording Audio troubleshooter and follow the on-screen troubleshooting steps if it discovers any bug.
7. Reinstall Audio Driver
Faulty and corrupt audio drivers are another reason why the microphone will struggle to perform on Windows 11 devices. This happens when the driver encounters an issue during the installation process. To uninstall and reinstall the problematic audio driver update from your device, simply follow the steps mentioned below.
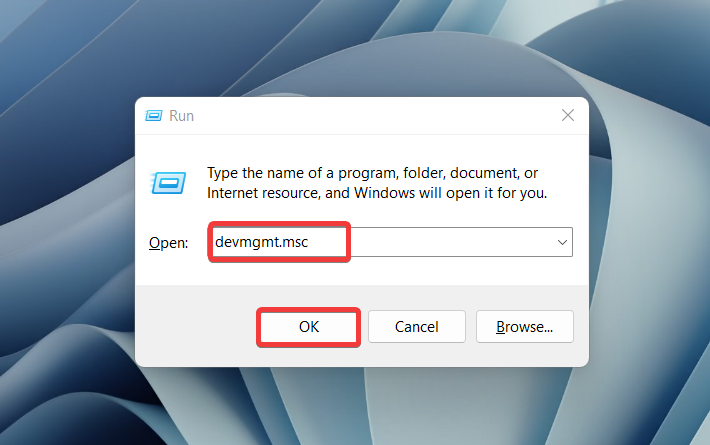
- Use the Windows + R shortcut key to bring up the Run dialog box.
- Type devmgmt.msc in the command line and press the OK button to launch the device manager.
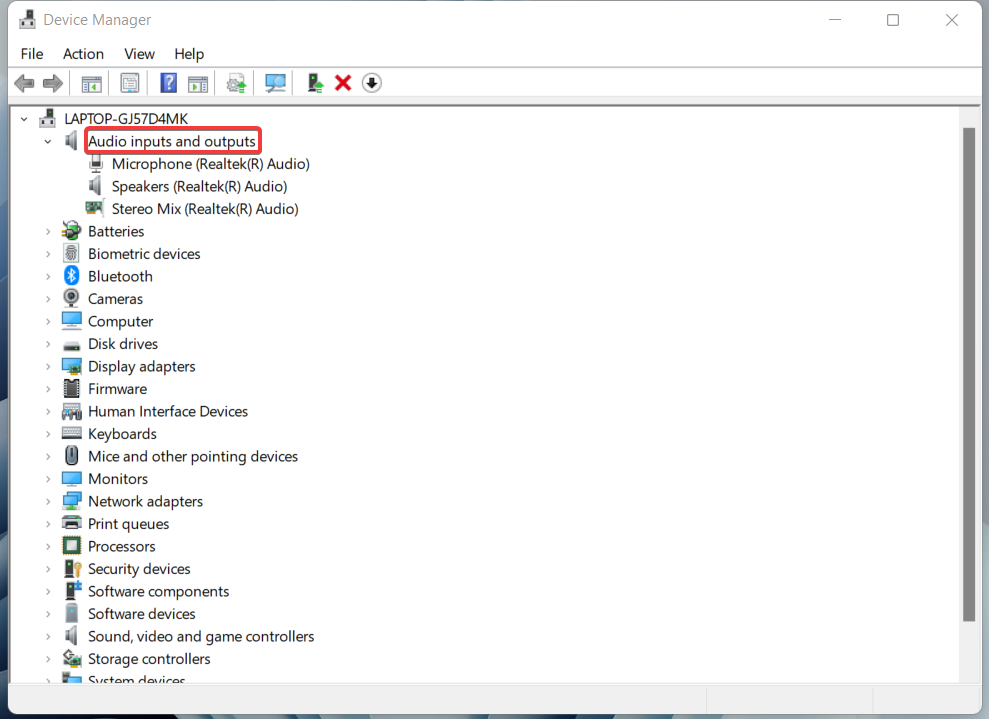
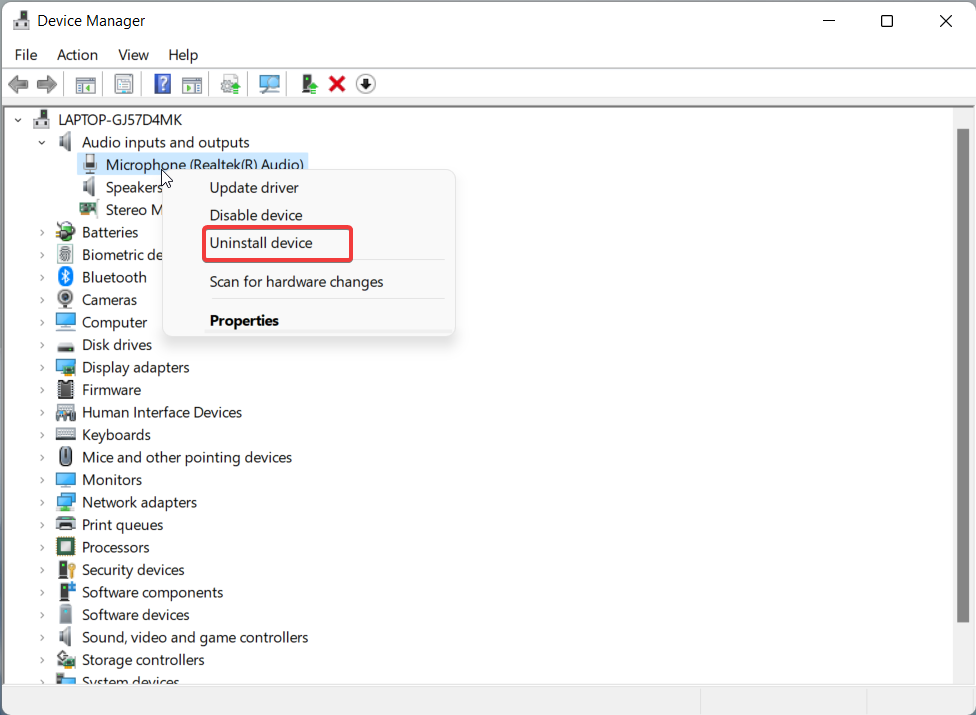
- In the Device Manager window, look for the Audio Inputs and outputs category and expand it.
- Right-click the Microphone driver and choose the Uninstall device option.
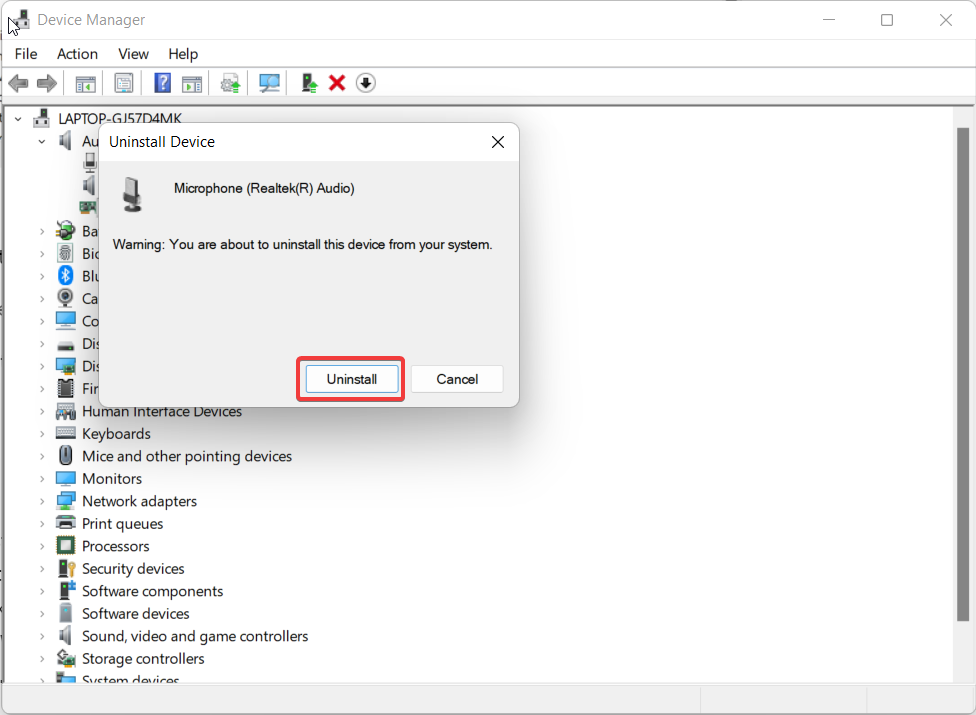
- Press the Uninstall button to confirm the driver uninstallation process.
- After this, click the Scan for hardware changes icon on the menu bar of the pop-up window.
- The system will then detect the missing microphone driver and re-install it.
8. Restart the Windows Audio Service
Windows consists of several services that operate in the background and manage the working of different system components along with their corresponding settings. It is possible to modify the working of these services, which will directly affect the working of that device. For instance, if the Windows Audio service has stopped for some reason, the mic will stop working as well. Hence, you should spare a moment to check whether the service is running or not. The steps written below will help you accomplish them.
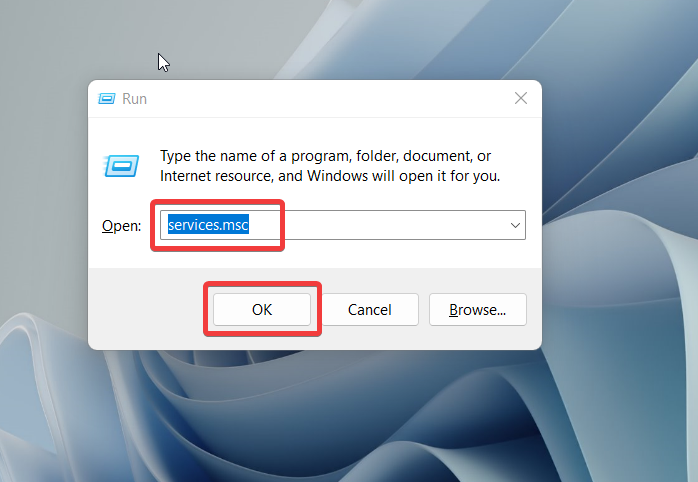
- Use the Windows + R shortcut key to launch the Run dialog box.
- Type services.msc in the search box and press the enter key.
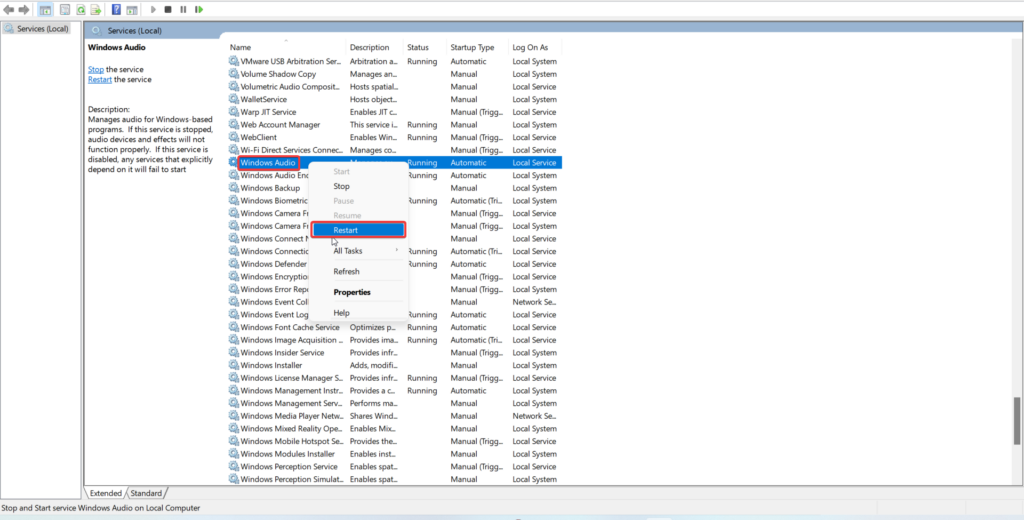
- In the Windows Services window, scroll down and look for Windows Audio. Right-click the service and choose the Restart option from the context menu.
- Now reboot your Windows PC and see if the error is resolved.
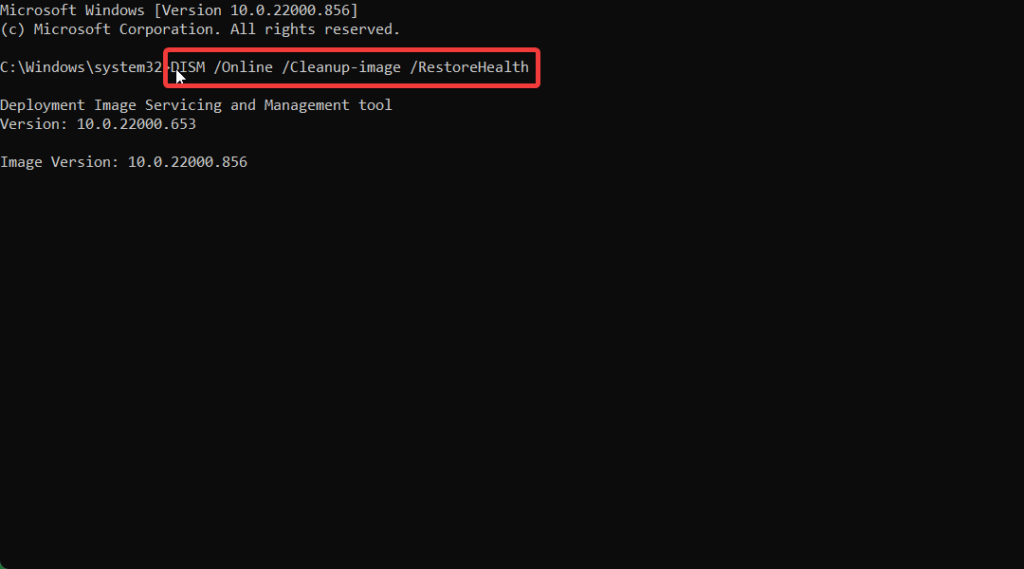
9. Run SFC and DISM scan
If the microphone refuses to work even after you try all the fixes provided above, there is a good possibility that the system files have become corrupt somehow. To rule out this possibility, you should consider running a complete system scan with SFC (System File Checker) and DISM (Deployment Image Servicing and Management). This will look for the affected system file and will remove the errors if any. So, let’s begin:
- Press the Windows key and type cmd in the search bar on the top.
- Select the Command Prompt from the search result and choose the Run as administrator option from the right pane.
- When the Command Prompt launches on your screen, type the following command and press the enter key to execute it.
- After the scan finishes and displays the results, re-launch the Command Prompt once again.
- Now copy-paste the command given below and press the Enter key to execute it. This will fix the corrupt and damaged OS files and will restore the health of your PC. You can also run the SFC and DISM scan more than once to make sure that all the corrupt system files are replaced with healthy versions.
Why am I unable to record audio with my headphone?
This happens when the mic of your headphone is not selected as the default device at the moment. Go to Settings window > Sound > More Sound Links > Advanced > Recording. Select the headset name in the microphone list and press the Set Default button.
Wrapping Up
Misconfigured audio settings on your Windows 11 PC is the primary reason why the microphone fails to work on your device. Fortunately, the methods described above will help you fix the underlying problems so that you will have access to the microphone functionality once again.
Δ