While the black screen with a cursor issue temporarily hampers your workflow, posing a major issue, it is nothing to fear about. Although troubleshooting the issue seems complex, it can be effortlessly resolved by employing a few simple tricks. To help you tackle the black screen with cursor issue on your Windows 11 PC, we have put together some of the tried and tested fixes below. But before we check them out, let’s understand why the black screen error keeps happening and which will give a better sense of how you can avoid it in the future.
Reasons For Black Screen With Cursor Issue
There are multiple reasons why the black screen with the cursor issue can occur on your Windows 11 PC, and it is not possible to blame one for it. We have listed the most obvious reasons behind the issue below.
Lose internal connections Malfunctioning display and graphic drivers Outdated display drivers Misconfigured projection settings Bugs in Windows PC Faulty peripherals
Now that you have a better idea of what triggers the black screen with the cursor issue, let’s proceed to check the troubleshooting methods for the same.
Fix Black Screen With Cursor Issue In Windows 11
Here are the fixes that you can employ to get rid of the black screen with cursor issue on Windows 11 to get your PC working again.
1. Check The Connections
As mentioned before, the issue at hand can arise due to the loose connections and damaged cables of your Windows 11 device. Spare a moment to analyze the connections, see if they are loose, and reconnect them. In case you have an extra monitor lying around, connect it to check if the error gets resolved. If it works, your monitor is causing the black screen with a cursor issue. If you are already on a dual monitor setup, try disconnecting a monitor and check if the error is resolved. Many users have reported that shuffling the primary and secondary monitor status also resolves the issue. If these tricks do not work, move ahead to the next method.
2. Restart PC
Your laptop being an electronic device is bound to run into weird issues from time to time, and restarting them periodically, is necessary to keep such issues at bay. If you encounter a black screen with a cursor issue in the middle of the work, we are positive that rebooting your Windows 11 PC will fix the problem. The fix is reliable and does not consume much of your time.
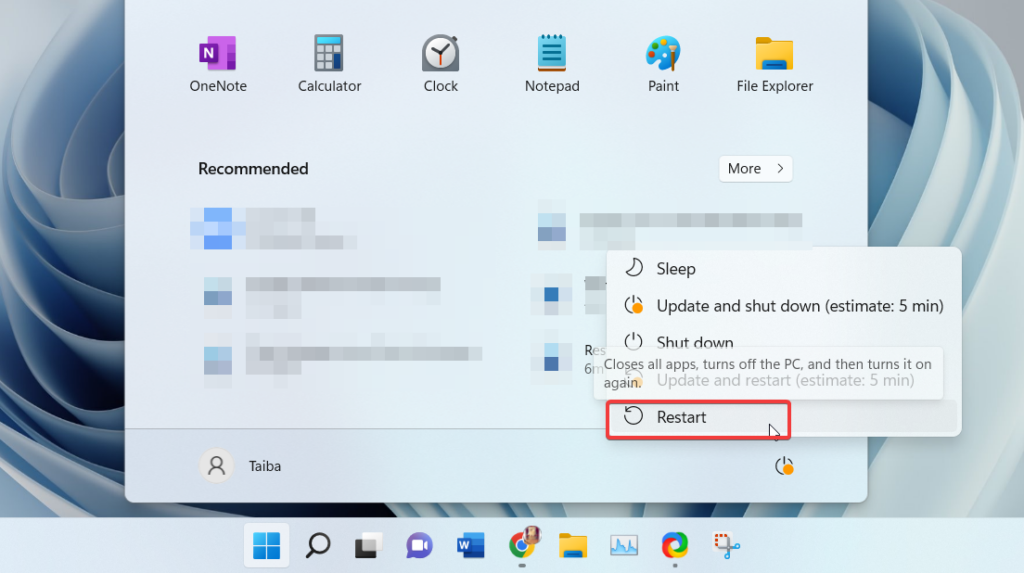
- To restart your Windows 11 computer, hit the Windows key on your keyboard.
- Now click the Power icon on the bottom right.
- Choose the Restart option from the sub-menu that reveals on the screen.
3. Change Projection Settings
One of the most prominent reasons behind the black screen with cursor issue is the misconfigured projection settings on your Windows 11 PC. If you choose the incorrect projection screen configuration on your device knowingly or unknowingly, the screen will go black, and you will see a moveable cursor. Luckily, it is easy to resolve this issue by manually choosing the projection screen. Follow the steps described below to do it easily.
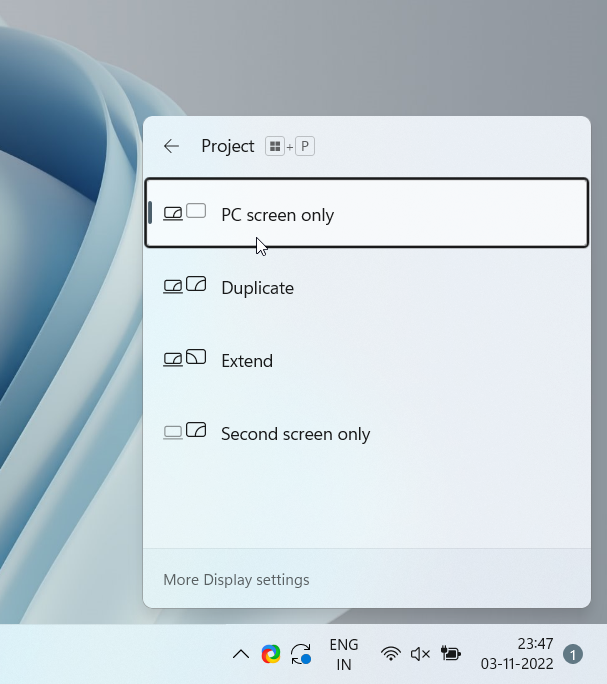
- Hit the Windows + P shortcut key to bring up the projection configuration settings pop-up on the screen.
- Choose a different project mode from the one selected and press the Enter key to make the selection.
- Keep repeating the process and select each mode until the black screen with the cursor issue is fixed.
4. Restart The Graphics Driver
An inactive or malfunctioning graphics driver can also cause a black screen issue on your device with a blinking cursor. To get by the issue, you need to reset the graphics driver of your PC. Ideally, you can reset the graphics driver using the device manager, but due to the black screen issue, you cannot do anything. So how do you restart the graphics driver? To restart the graphics driver, we will use the Windows + Ctrl + Shift + B keyboard shortcut. Simply hit these keys simultaneously and wait until you witness the screen flickering and the beep sound. This signifies that Windows 11 has restarted the graphics driver.
5. Update The Graphics Driver
If you are frequently encountering the black screen issue while using your laptop, it indicates that you are running an outdated graphics driver. We will recommend updating your graphics driver to resolve the black screen issue you are struggling with. The steps to do it are straightforward:
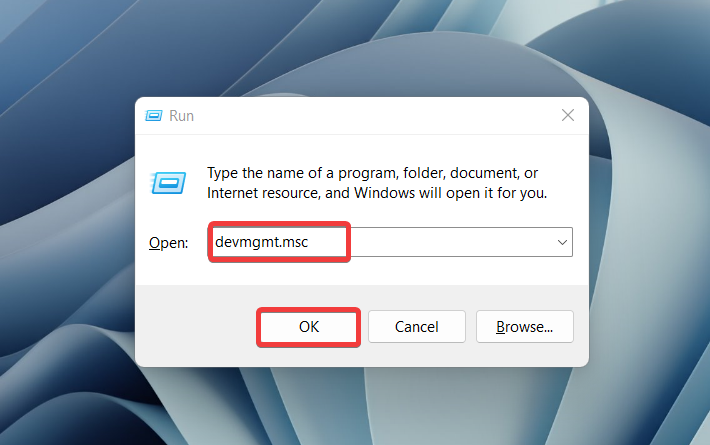
- Use the Windows + R key combination to launch the run dialog box.
- Type devmgmt.msc in the command line and press the enter key.
- In the device manager window, expand the display adapter category to view the graphics driver.
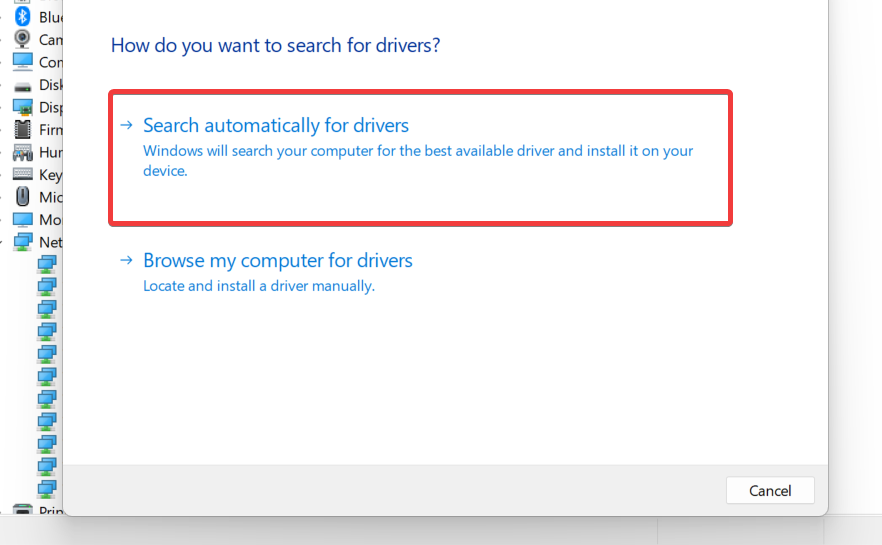
- Right-click the graphics driver and choose the Update driver option.
- Choose Search Automatically for drivers Option on the How Do You Want To Search for Drivers pop-up. Follow the step-by-step procedure until the graphics driver is updated successfully.
6. Reinstall Graphics Driver
While an outdated graphics driver can be a cause of this problem, corrupt drivers can trigger many display-related issues on your PC as well. Graphic drivers can become corrupt for a variety of reasons and you need to reinstall the graphics driver to fix the issue. The method is really easy for you to apply on your device running on Windows 11.
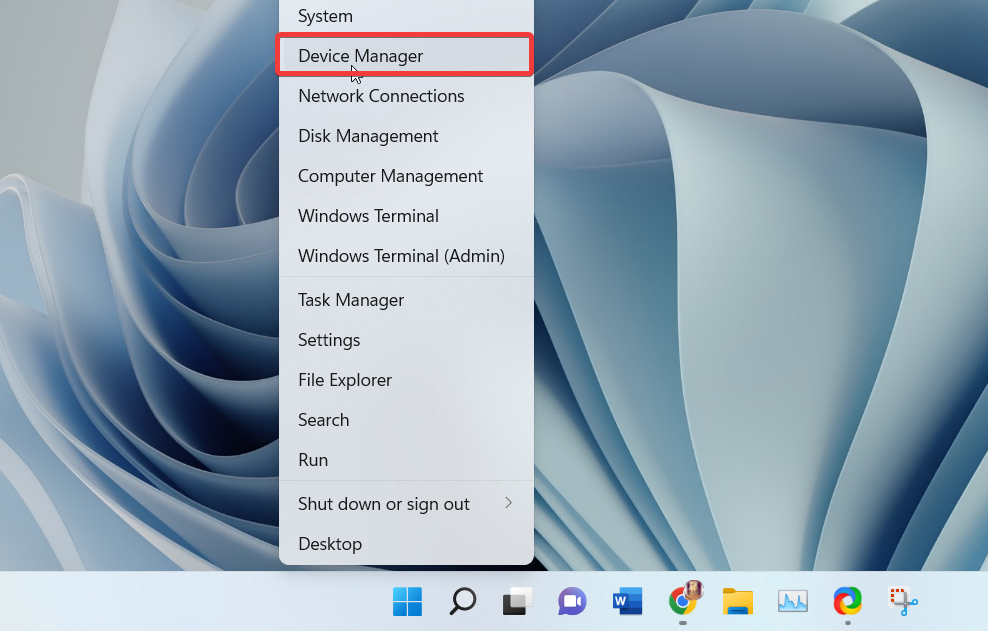
- Use the Windows + X shortcut key to bring up the Quick Links menu.
- Choose Device Manager from the list of options.
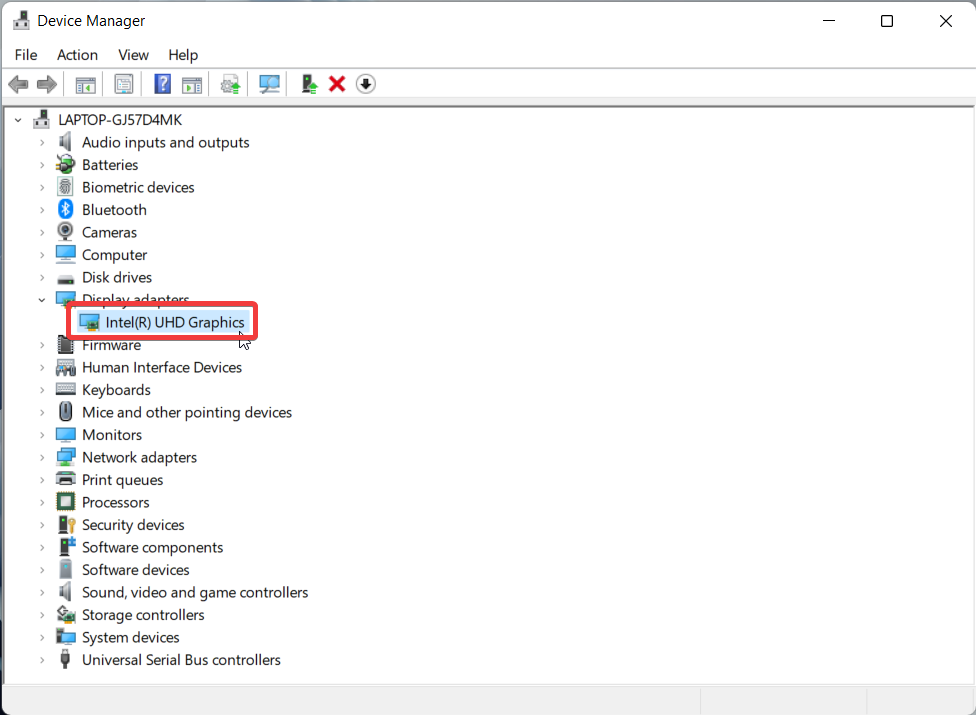
- When in the Device Manager window, choose and expand the display driver category.
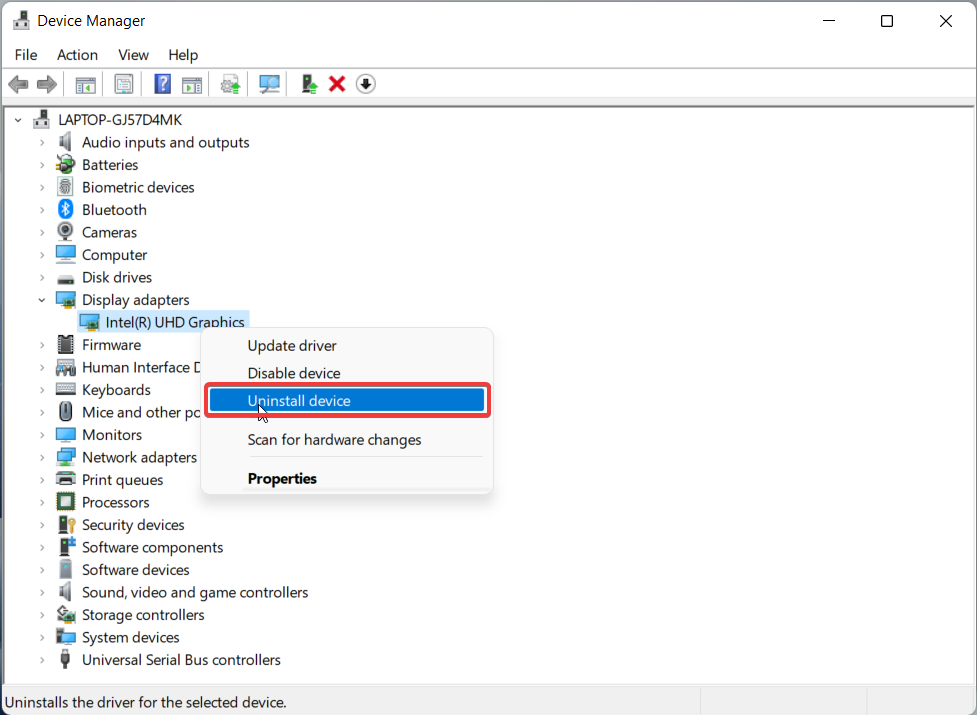
- Right-click the graphics driver to access the context menu and choose the Uninstall device option.
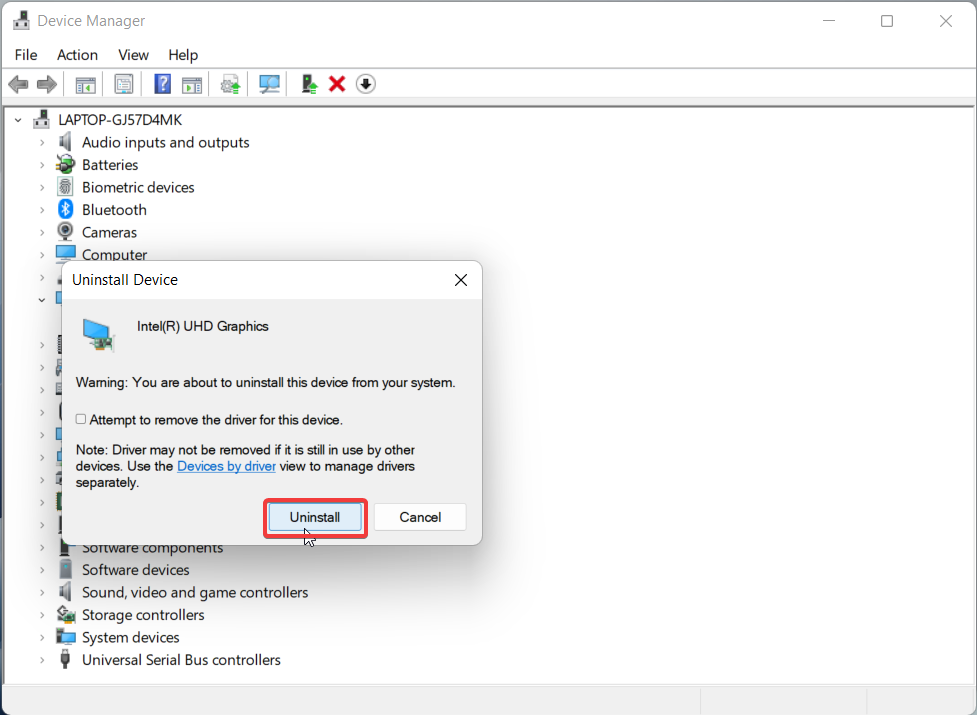
- Choose the Uninstall option once again on the pop-up to confirm the uninstallation.
- Now all you need to do is restart your Windows 11 PC, and will automatically reinstall the missing drivers on your PC.
7. Uninstall Malfunctioning Or Recently Installed Apps
If none of the methods listed above could resolve the issue, any third-party app you installed from untrusted sources can be the reason behind the black screen issue. This becomes more certain if the black screen is frequent after you recently installed an app on your device. If you are sure a recently installed is the cause behind the malfunctioning Windows 11, it’s best to uninstall it for good.
- Pause and ponder when the black screen error occurred for the first time and which app you installed during that period.
- After you catch the app, simply use the Windows + I shortcut to launch the Settings window.
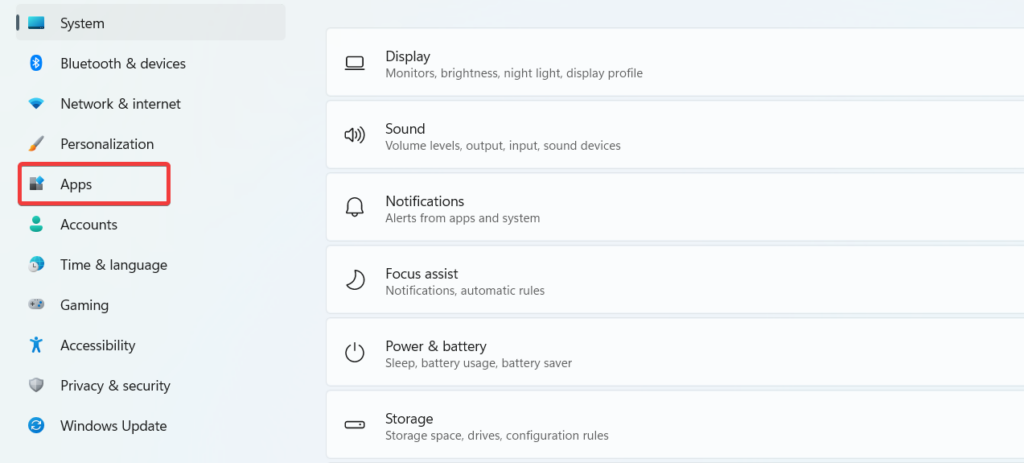
- Now choose the App option from the left panel.
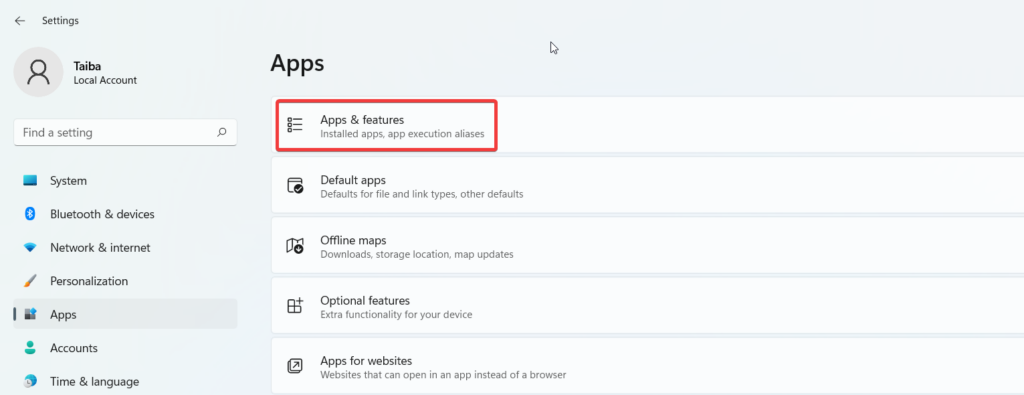
- Next, click the Apps and features option listed on the right pane.
- On the new window, scroll down the app list to view all the installed apps on your Windows 11 PC.
- Once you locate the malfunctioning app, click on the three dots icon and choose the Uninstall option from the menu that reveals. Follow the step-by-step process to get rid of the app behind the glitches triggering the black screen with the cursor issue. Now reboot your PC, and we are sure that the black screen with the cursor issue will no longer occur on your Windows 11 device.
8. Update Windows 11
If the black screen issue persists after you tried all the fixes listed above, it is safe to assume that some bug is hogging the currently installed Windows update on your PC and it is causing your system to malfunction. This solution will become more relevant if you have paused the automatic Windows update. Anyways, you can manually check and install the latest available Windows Update on your device to resolve the black screen issue. Installing the latest Windows update does not need any expertise. You simply have to follow the steps outlined below.
- Use the Windows + I shortcut key combination to bring up the Windows Settings.
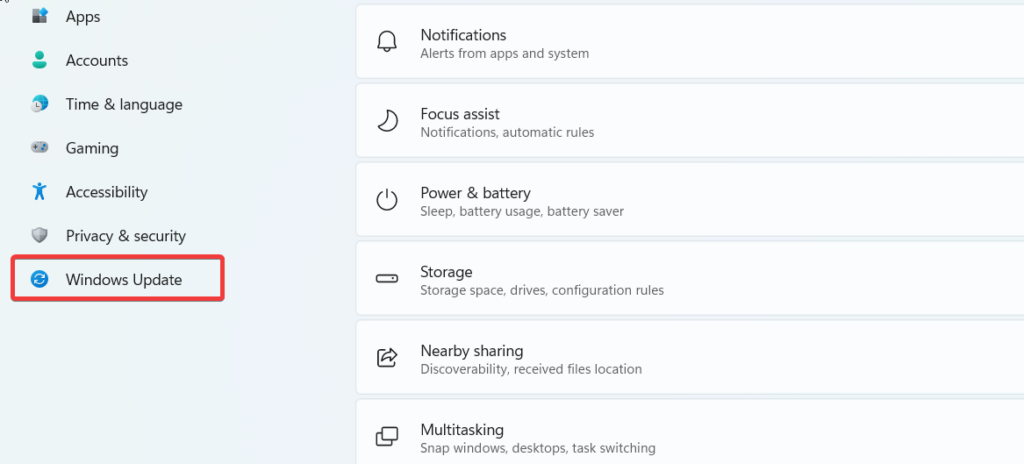
- Now click the Windows Update option available on the left pane.
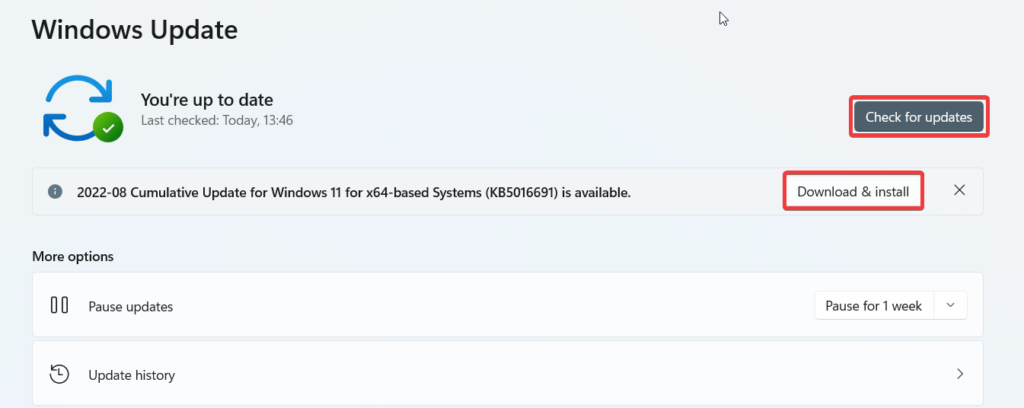
- Press the Check for Updates button listed on the right pane and press the Download and Install button for the available update listed on the right pane.
- Reboot your PC to complete the installation process of the new Windows update.
9. Get Your PC Repaired
If none of the methods listed above could resolve the black screen with cursor issue, it ascertains that the hardware component of your Windows 11 PC is malfunctioning. In such a situation, it is best to seek expert help. You can visit the authorized service center of the laptop brand and get the broken hardware components repaired or replaced. We discourage dealing with the hardware issues yourself as it can make your warranty void and even damage other hardware components of your PC.
Wrapping Up
This brings us to the end of the comprehensive troubleshooting guide addressing the black screen with cursor issue on your Windows 11 device. The methods listed here are tried and tested and will surely help you dodge the black screen issue. However, if these methods fail to troubleshoot the problem, visiting the laptop repair shop is the only option left to try out.
Δ
![]()