Thankfully, it isn’t a major problem and can be solved fairly easily. In this article, we have put together some of the simplest but most effective ways to get the screen brightness working again on your Windows 11 computer. Carefully follow the steps for each method until the problem is resolved.
Fix Windows 11 Brightness Not Working
Several factors may cause the Windows 11 screen brightness to misbehave or stop working properly. It could be a driver issue, missing system files, a settings misconfiguration, or something else. We have explained all possibilities below and provided you with solutions along with step-by-step guides. At least one of these solutions should work for you.
1. Change Brightness From Action Center
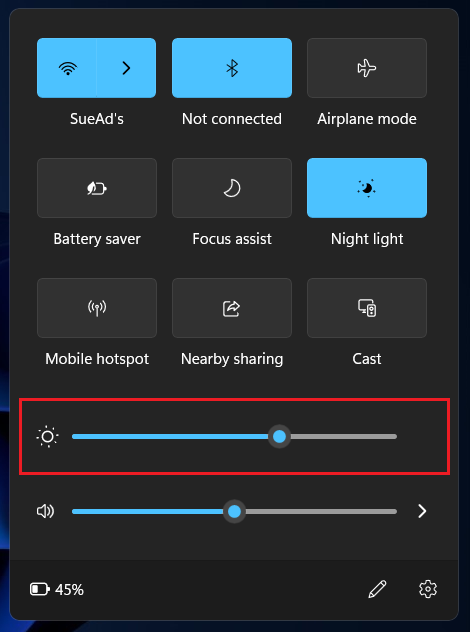
Most laptops and computers offer shortcut keys to control the screen brightness. If these shortcuts are not working on your Windows 11 PC, you can try changing the brightness from the brightness slider. This slider can be found in the Action Center. Follow the steps below.
- Use the key combination Windows key+A to pull up the Action Center. Now, locate the brightness slider and use it to adjust the screen brightness.
2. Change Brightness From Settings
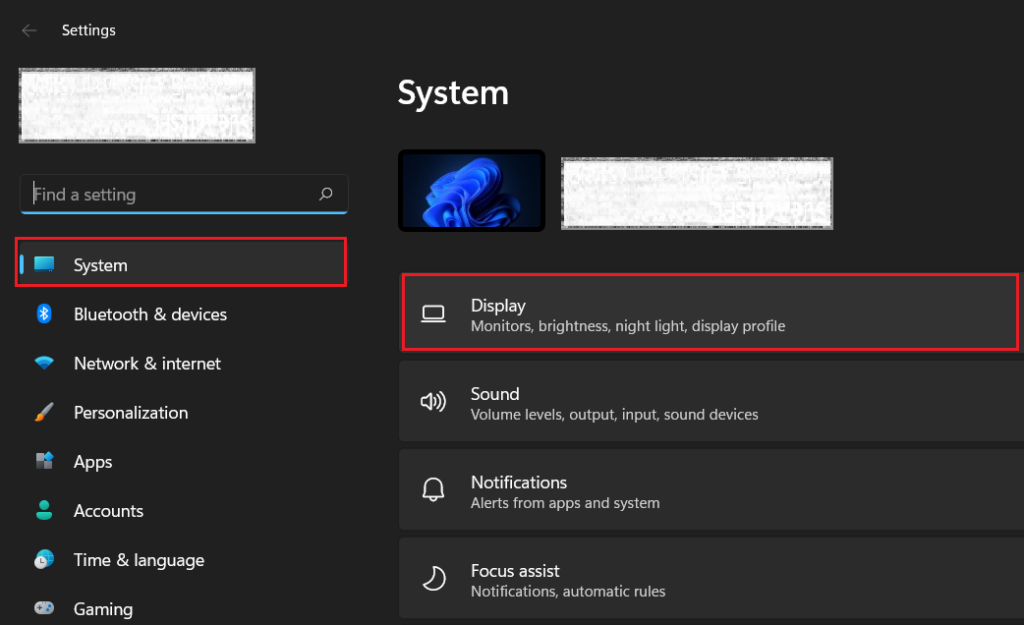
If the brightness slider doesn’t show up in Action Center, you can find it in Settings as well. Try changing the brightness from there by following these steps.
- Use the keyboard shortcut Windows key+I to open Settings. Click on the Display menu under System settings.
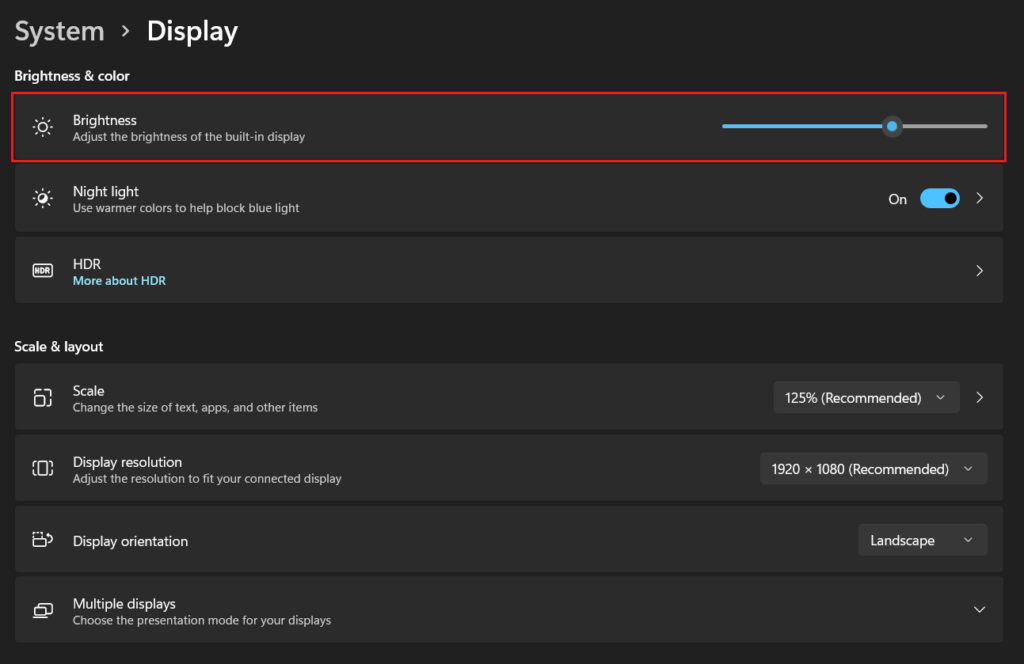
- The brightness slider should appear at the top. Use it to adjust the screen brightness. Note: If the brightness slider isn’t responsive, you may have auto-brightness enabled. Disabling it may fix the problem. If your computer supports auto-brightness, you will find the option to disable it under the brightness slider in Settings.
3. Update The Display Driver
An outdated display driver may also cause brightness problems on Windows 11. Updating the display driver could help you get rid of it. Check out the steps below.
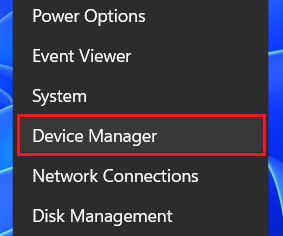
- Right-click on the Start button (Windows icon on the taskbar) and select Device Manager.
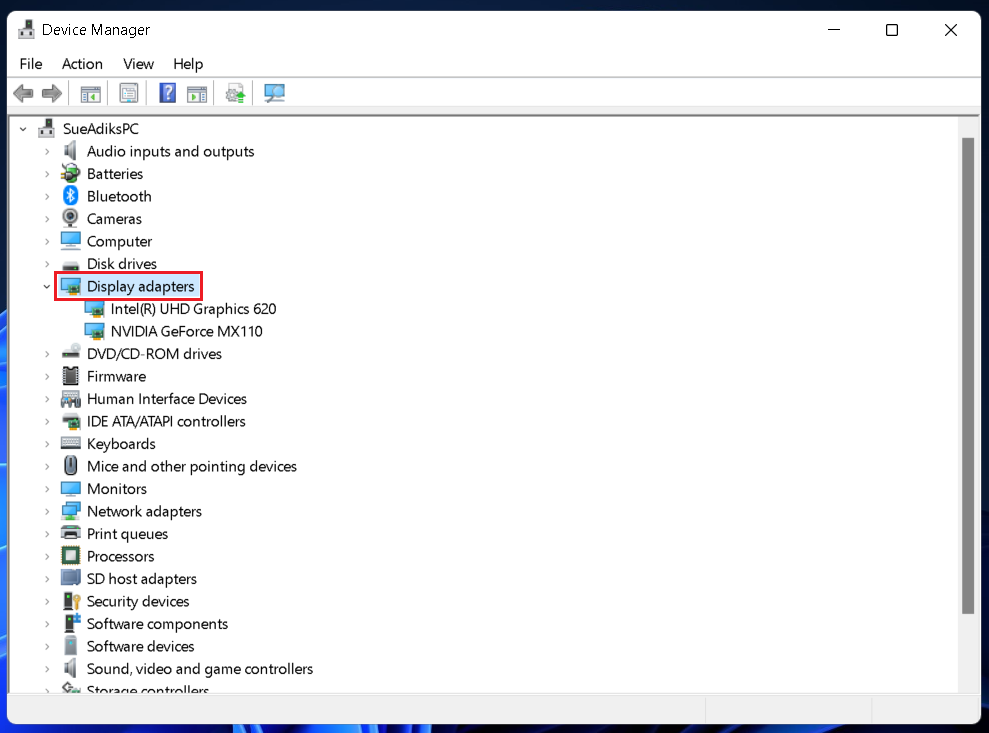
- A new window will open with a list of entries. Double-click on Display adapters.
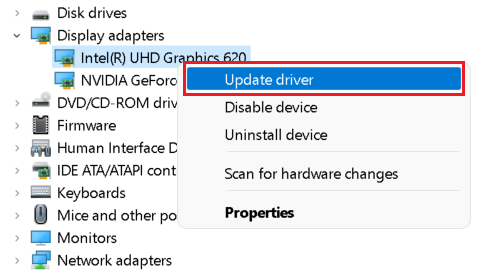
- Right-click on your display drivers and select the Update driver option.
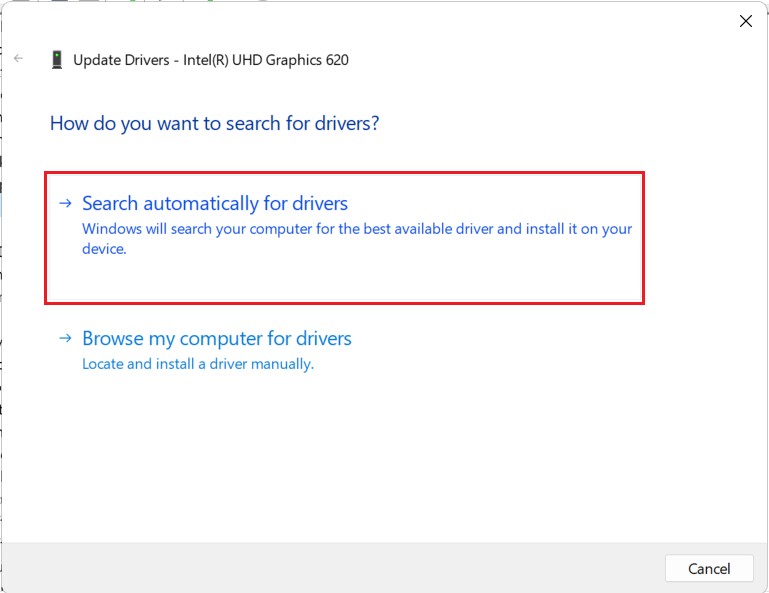
- Select the Search automatically for drivers option in the pop-up window. Your computer will now automatically install the best available driver for your display. If it’s already installed, the same will be reflected on the screen.
4. Switch to Microsoft Basic Display Adapter
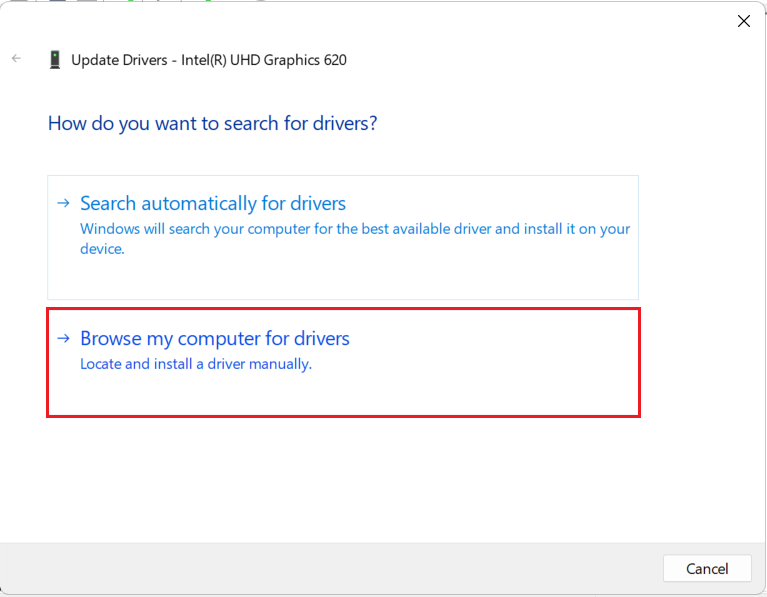
If an automatic driver update doesn’t fix the brightness problem, you can manually switch to the Microsoft Basic Display Adapter. You have to repeat the first three steps from above and continue below.
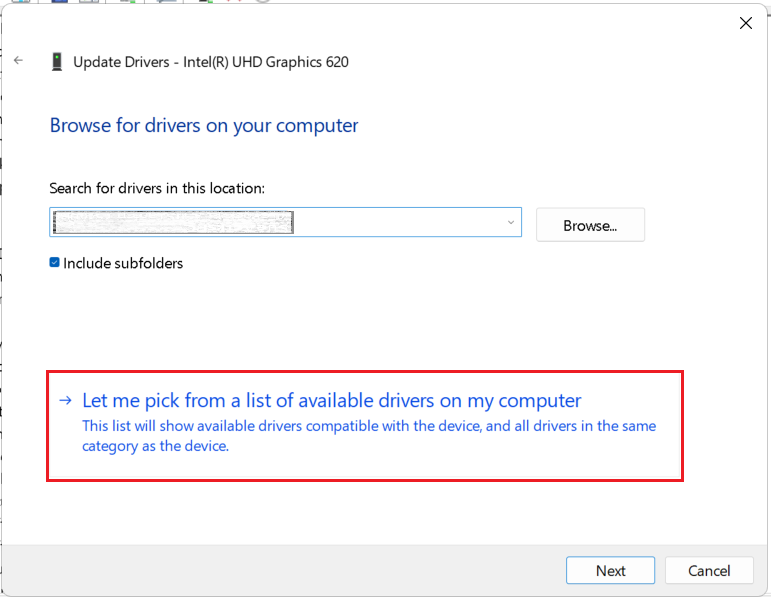
- On step 4 above, select the Browse my computer for drivers option.
- Select the Let me pick from a list of available drivers on my computer option.
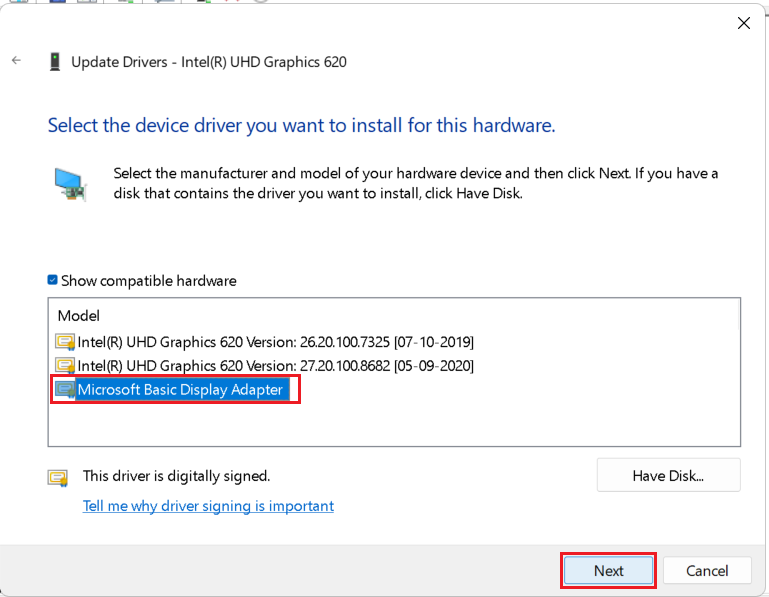
- Select Microsoft Basic Display Adapter and click on Next. The driver will be installed.
- Restart your computer.
5. Re-install The Monitor Driver
If updating the display driver didn’t help, you can try re-installing the monitor driver on your Windows 11 PC. You can do that from the device manager by following the steps below.
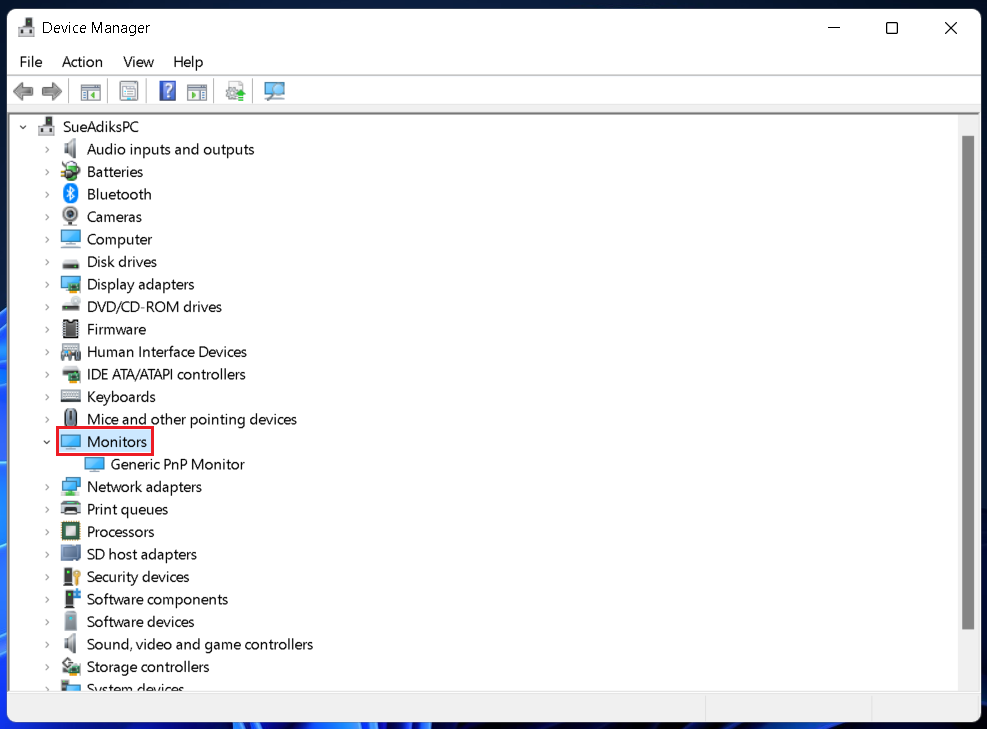
- Right-click on the Start button (Windows icon on the taskbar) and select Device Manager.
- A new window will open with a list of entries. Double-click on the Monitors entry.
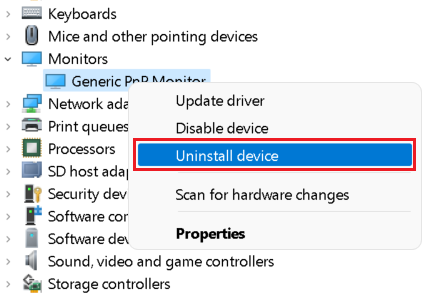
- Right-click on Generic PnP Monitor and select the Uninstall device option. If prompted, click on Uninstall to confirm.
- Restart your computer and check if the problem is fixed.
6. Perform SFC Scans
Missing or corrupted system files can also prevent your Windows 11 from functioning properly, affecting features like screen brightness. You can run SFC scans to repair files by following the steps below.
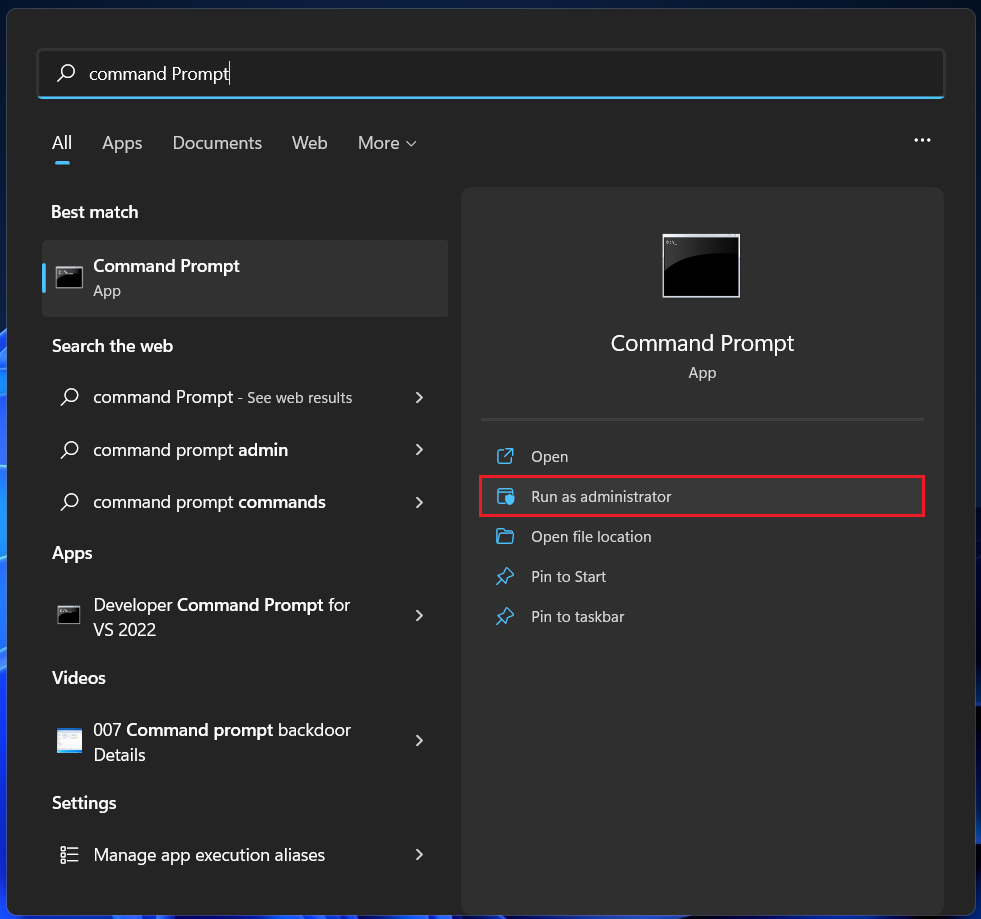
- Press the Windows key and type Command Prompt. Select the Run as administrator option. If prompted, click on Yes.
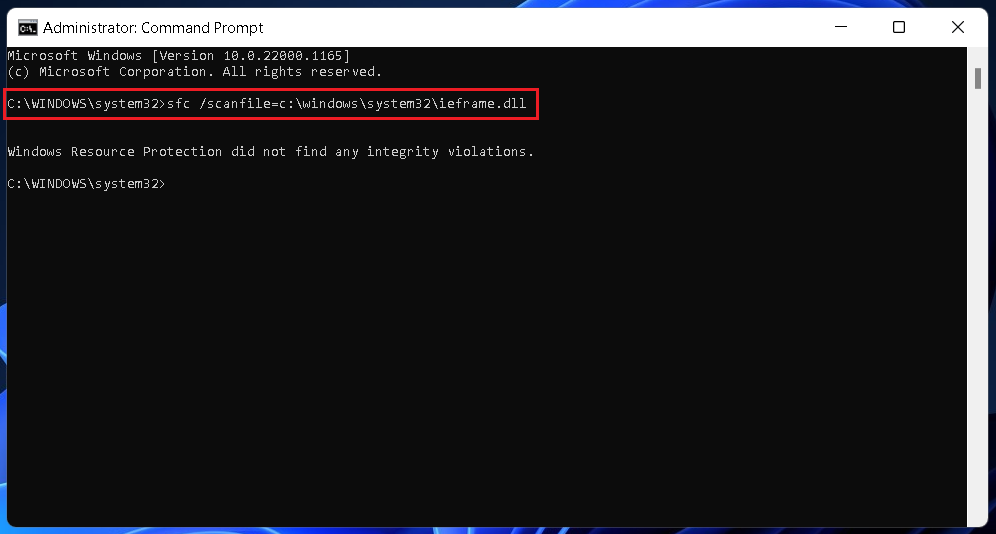
- Copy and paste the following command and press the Enter key.
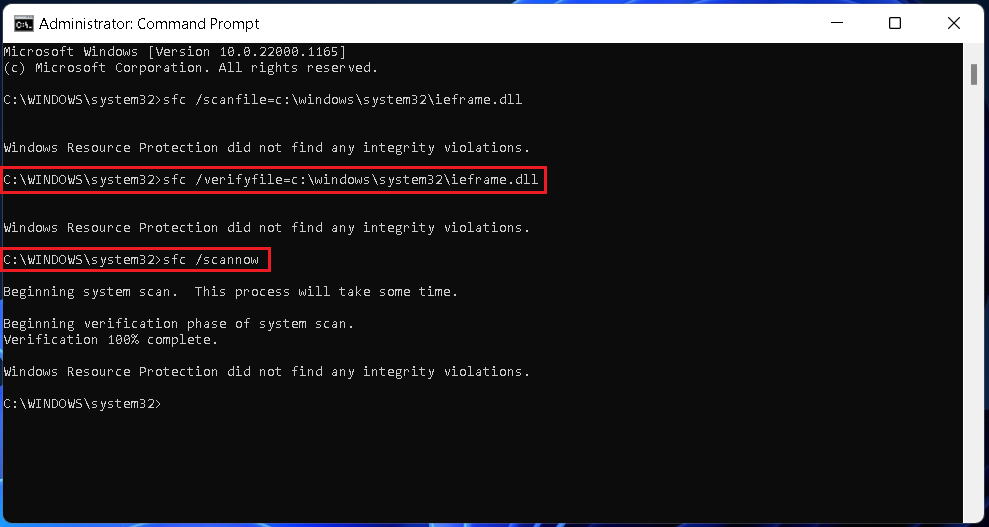
- Repeat step 2 for the following commands one after the other. The final scan may take a few minutes. Wait for it to complete. If Windows detects any problem, perform the recommended solutions to fix those. You might need to restart your computer to complete the process.
How do I adjust the brightness on Windows 11?
Your Windows 11 computer should have shortcut keys to adjust the brightness. If not, you can find the brightness slider in Action Center as well as Settings. If brightness is not working on your Windows 11 PC, try these fixes.
Why can I not adjust my screen brightness?
Various problems may prevent you from adjusting the screen brightness on your Windows 11 PC. You can try these solutions to fix those problems.
Final Words
Optimal screen brightness is critical to your productivity. Looking at a too-bright or too-dim screen for a long time may stress your eyes and prevent you from working efficiently. If the screen brightness is not working on your Windows 11 PC, it’s better you fix the problem rather than live with it and risk damaging your eyesight. This guide should help you fix the problem.
Δ