Many of them are universal and pop up on any browser while some errors are Google Chrome-specific ones. one such error is the Aw, Snap! error. A Chrome user has at least came across this error in his life for sure. Yes, it’s that common. And, there is no doubt that you’ve landed on this article because you’re also struggling with that annoying “Aw, Snap! Something went wrong while displaying this webpage” error.
What is Aw, Snap! error In Google Chrome?
The Aw, Snap! error is an occasionally occurring error on Google Chrome that arises when your Chrome web browser detects a problem with the web page and faces difficulty in loading the requested web page. This error has been seen occurring due to a bad or unstable internet connection. However, there are also many reportings of the users in which their connection is perfectly solid but still, they are getting this Aw, Snap! error on the screen. Conclusively, there can be a number of reasons for this error. Here are the possible ones:
Unavailability of the requested web page,Corrupted chrome profile,conflict b/w various tabs in the browsing session,Due to antivirus and firewall,Improper functioning of the RAM memory, etc.
Also Read: 11 Ways to Fix ERR_CONNECTION_CLOSED error in Googe Chrome
How To Fix “Aw, snap! something went wrong while displaying this webpage?” Error
The Aw, Snap! error page is not a very explanatory error in explaining what the actual cause behind the error is. There can be a variety of reasons for this error and based on the possibilities of the cause, here are all the fixes to the Aw, Snap! Google Chrome error.
1. Reload the Page
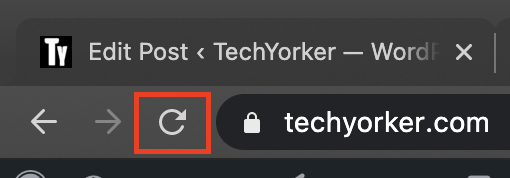
Without going into too much technical stuff you must first reload the page which is flashing the Aw, Snap! error on the screen. To do so:
Simply click on the reload button available on the left of the address bar.Alternately, you can also press the F5 key on the keyboard on windows.
2. Check The Internet Connection
In many cases, users have reported that their Aw, Snap! error in Google Chrome was displaying due to improper internet connection. If you’re on a Wi-Fi connection the disconnect and reconnect to the network. And if you’re using a cable connection the remove the re-insert the cable in the port. Now to make sure your internet connection is properly working or not, go to ismyinternetworking.com and it will tell you the status of your internet connection.
3. Restart your PC
This is a very common thing to do while encountering any issue on your PC. Many times, a simple restart of your PC can solve the problem. So try the same to solve the Aw, Snap! error as well. To restart your PC:
Windows
Press the Windows button and click on the shutdown icon.Then from the list select the restart option.
Alternately, you can also press Alt+F4 on your keyboard, select Restart and click on OK.
Mac
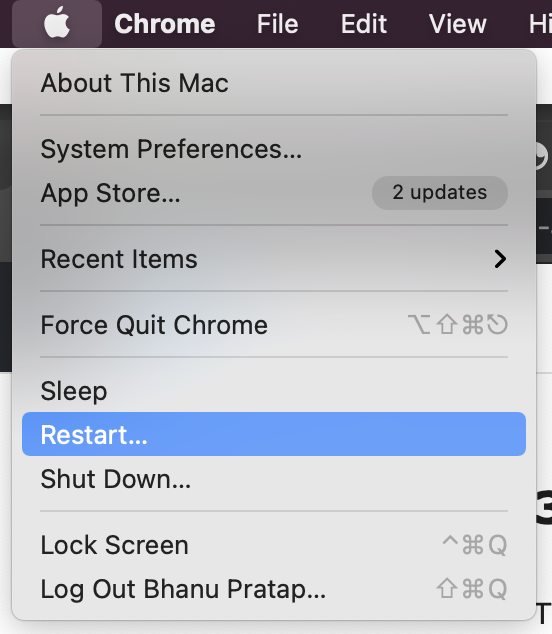
Click on the Apple icon on the top left corner of the screen.From the drop-down list, click on the Restart… option.
Uncheck the “Reopen windows when logging back in” option and confirm by clicking on Restart.
4. Update Google Chrome
An outdated version of the chrome web browser can also lead to such an Aw, Snap! error. It’s very easy to check and update the chrome web browser. Here’s how to do that:
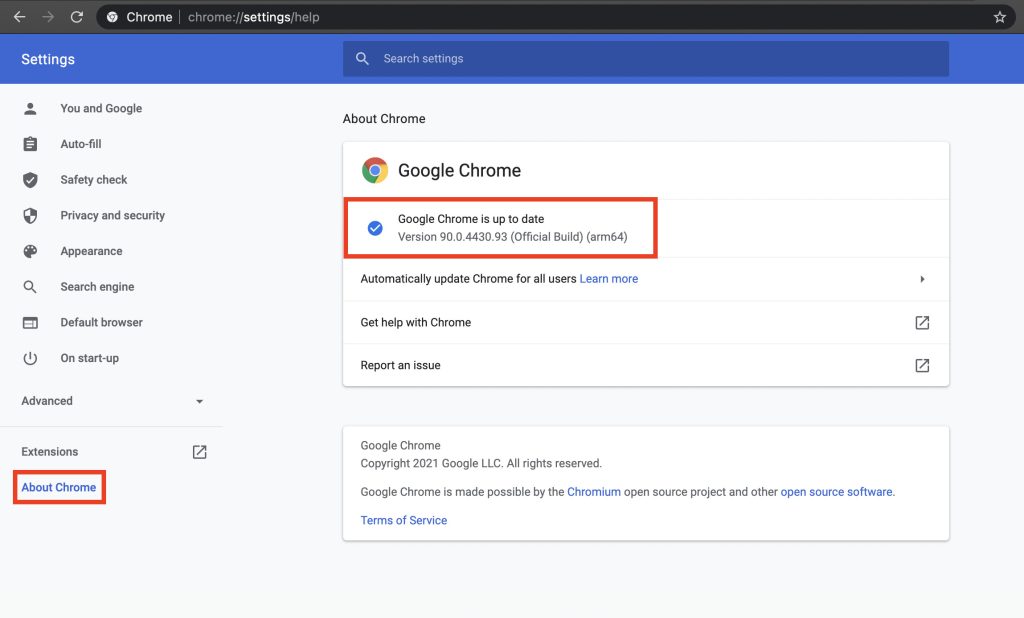
Click on the three-dot icon on the top right corner and click on settings.Now click on the About Chrome option.It will show you the current version of your chrome and will also check for the new chrome version. if available.
If there is a new version available, then click on it and install it by following the on-screen instructions.
5. Use Incognito Mode
The chrome web browser comes with an incognito mode which is used to browse the web without any storage or access of cache, cookies, and web history. This can help you in troubleshooting the Aw, Snap! error on your PC if it is related to the cache, cookies, or browsing history. To access the Chrome web browser’s incognito mode, follow these steps.
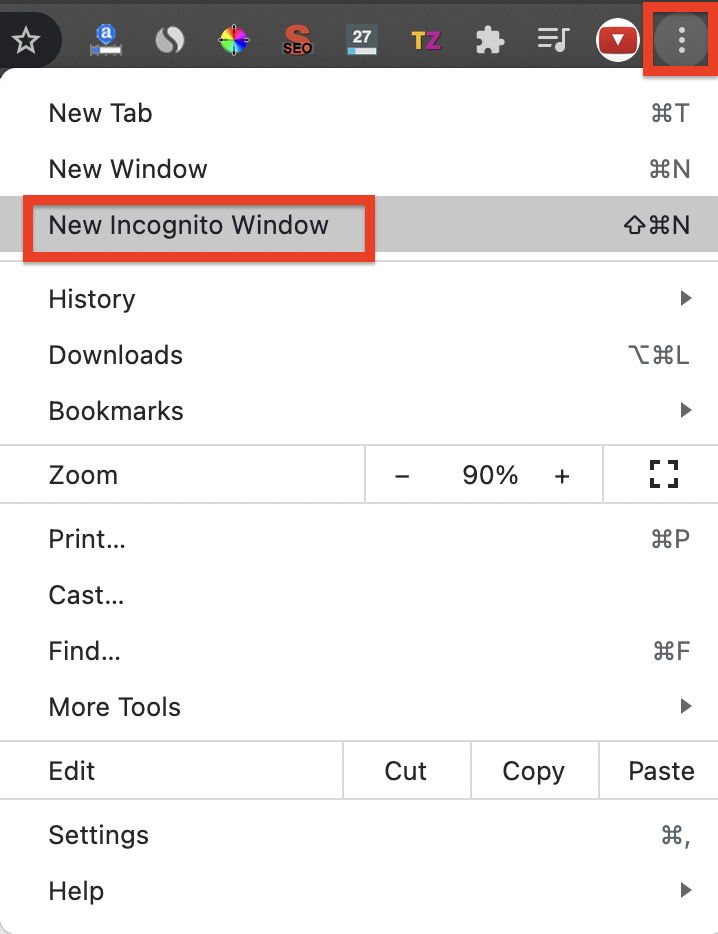
Click on the three-dot icon on the top right corner.Now click on the “New Incognito Window” option. This will open a new incognito web browser window on chrome.
Alternately, you can also press the Ctrl+Shift+N or Command+Shift+N on your keyboard.Now in the incognito window, try to access the web page again.
If you are able to access the website on your in the incognito mode then the problem is in the cache, cookies, or web browsing history.
6. Clear Cache, Cookies & Browsing history
If you were able to access the web page via incognito mode then try to clear the save cache, cookies, and browsing history of the web browser. Here’s how to do that:
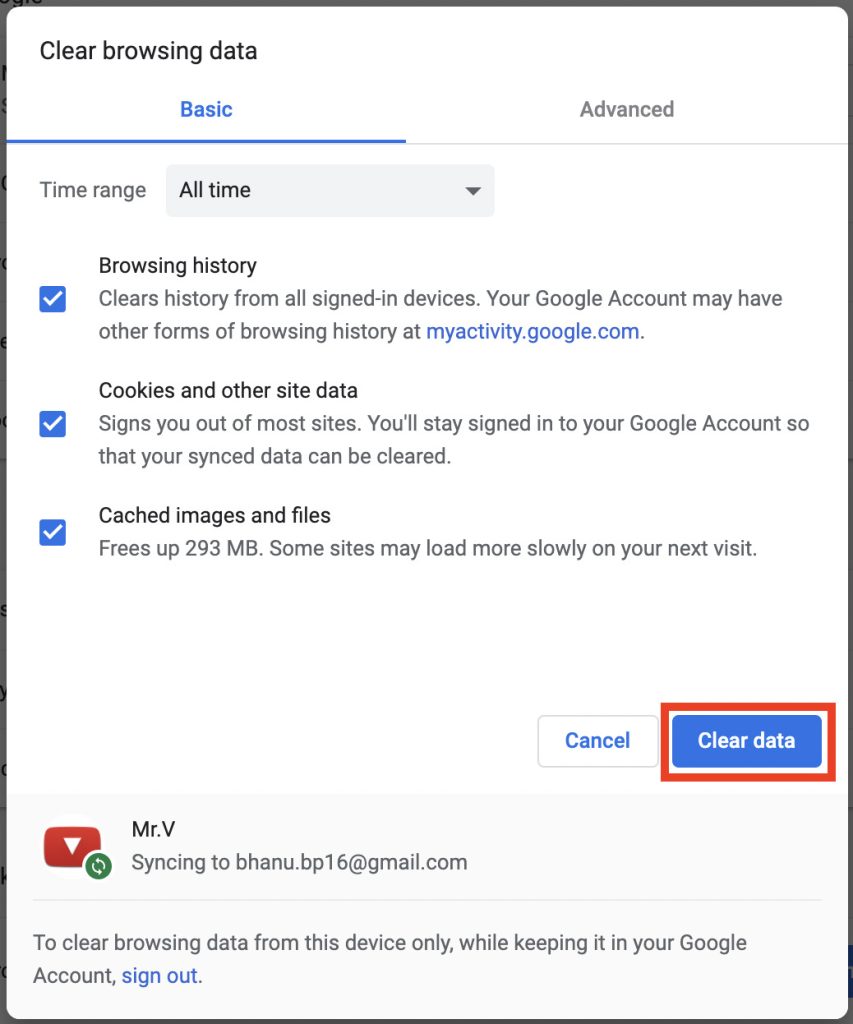
Click on the three-dot icon and go to settings.Now, under the “Privacy and security” section, go to the “clear browsing data” option.Under the “Basics” tab check all the three boxes and click on Clear data.
It will clear all the saved cache files, cookies, and browsing data.
7. Close other Chrome tabs
Sometimes other browsing tabs on the web browser window may conflict with each other, leading to a common Aw, Snap! error. The simple way to check and fix the error is to close all the other tabs. Sometimes, exiting the chrome web browser doesn’t close all the tabs you had opened in the previous sessions. Hence go tab by tab manually and close them. To close the tab, simply click on the cross icon next to each tab. The chrome web browser will get closed as soon as you will close the last tab. Now open the browser again and access the web page again.
8. Disable Extensions
The chrome extensions have seen the main culprits behind many chrome web browser errors. This usually happens when a third-party extension from an unreliable source is installed on the browser. If you’re using an adblocker chrome extension then consider removing that extension first. To disable and remove the extension, follow these steps:
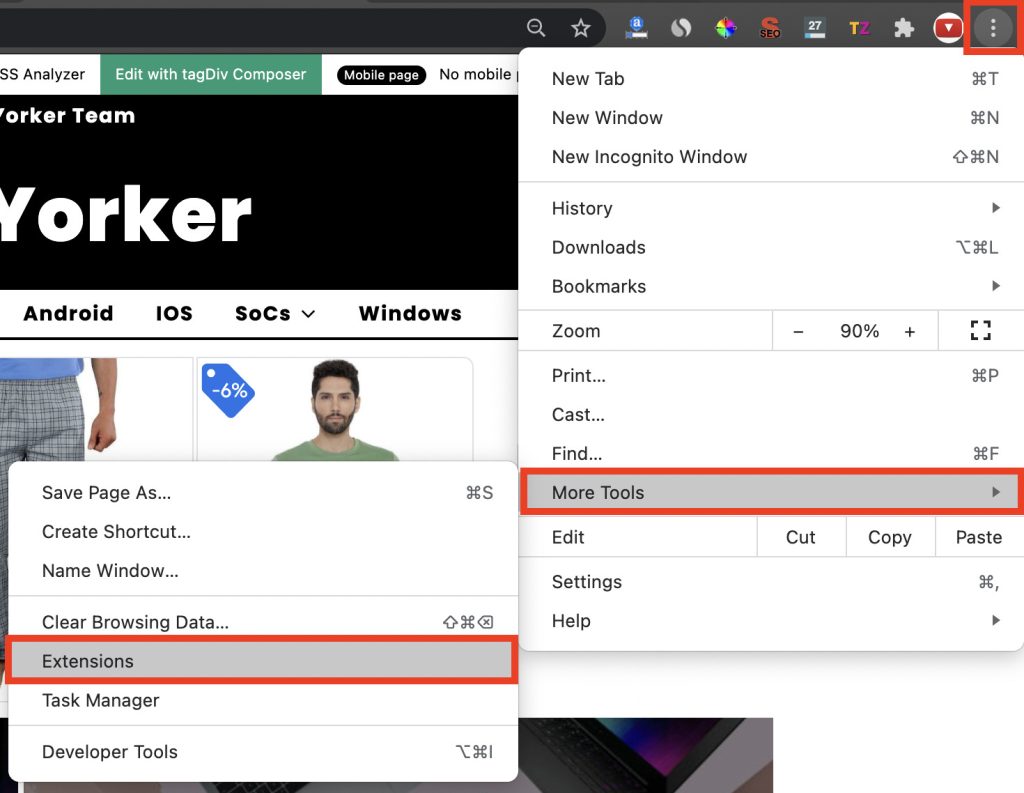
Click on the three-dot icon on the top right corner, hover over More Tools and click on the Extensions option.
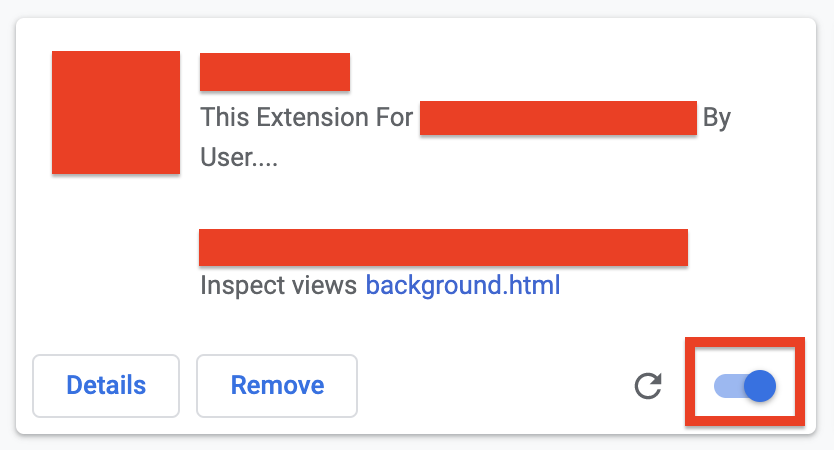
Alternately, you can also type chrome://extensions/ in the address bar.Now, go through each extension and disable them by turning off the toggle.
Once, you identify the faulty extension which is causing the Aw, Snap! error, click on the Remove option next to the disable toggle of the extension.
By removing the faulty extension, you should be good to go with the browser and will not see the Aw, Snap! error.
9. Reset Google Chrome settings
If you are not able to find out the exact cause of the Aw, Snap! error in your google chrome then try resetting the browser. It will bring your google chrome web browser to the state when you first started using the browser with no cache files, cookies, extensions, etc. To reset the Google Chrome web browser, follow these steps:
Click on the three-dot icon on your web browser, and go to settings.
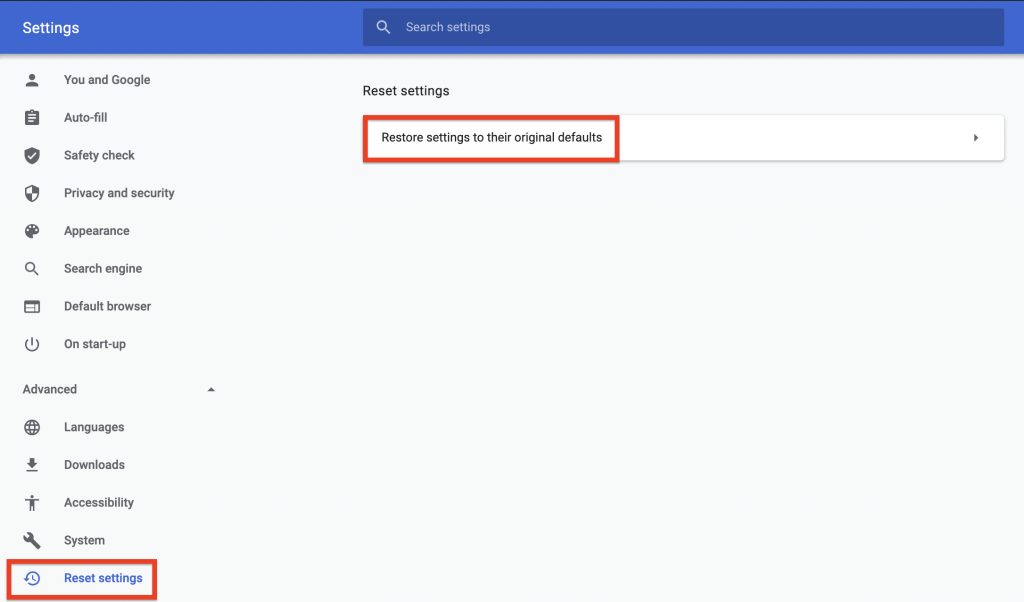
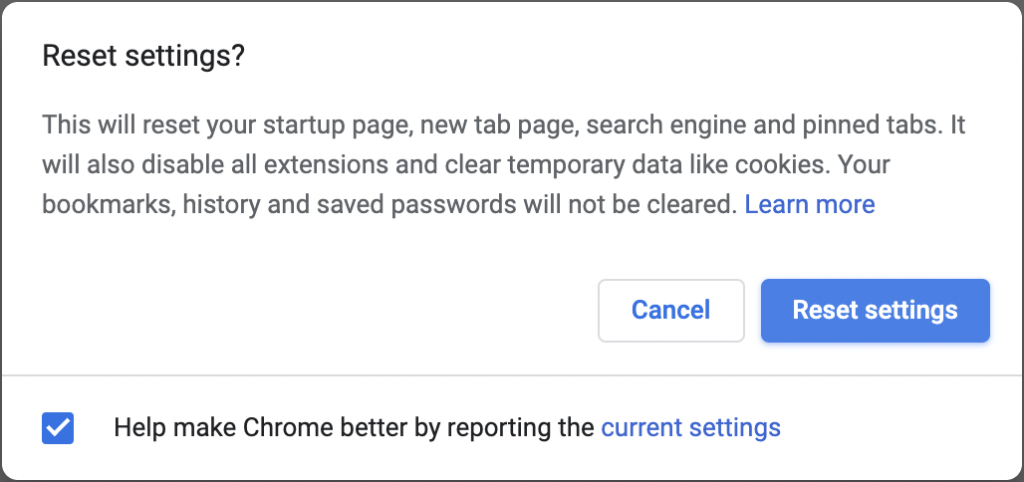
Now click on the Advanced option.Now from the list, select the Reset Settings option.Click on Reset settings to their original defaults.
Now click on the Reset settings options to confirm the rest process.
10. Disable Hardware Acceleration
The google chrome web browser by default runs with hardware acceleration turned on. But disabling the hardware acceleration on your chrome can solve the issue of Aw, Snap! as is reported by many users. To disable the hardware acceleration on your google chrome web browser follow these steps:
Click on three-dot icon and go to settings.
Now go to the Advanced option and select the System option from the list.Now turn off the “Use hardware acceleration when available” and click on the Relaunch option and this will disable the hardware acceleration.
11. Run Windows Memory Diagnostic
If doing anything with the Google Chrome Web browser doesn’t lead to any solution they try to diagnose the error using the Windows Memory Diagnostic option. Windows comes with an in-built Memory Diagnostic program that can be used to solve the problem. Here is how to do that.
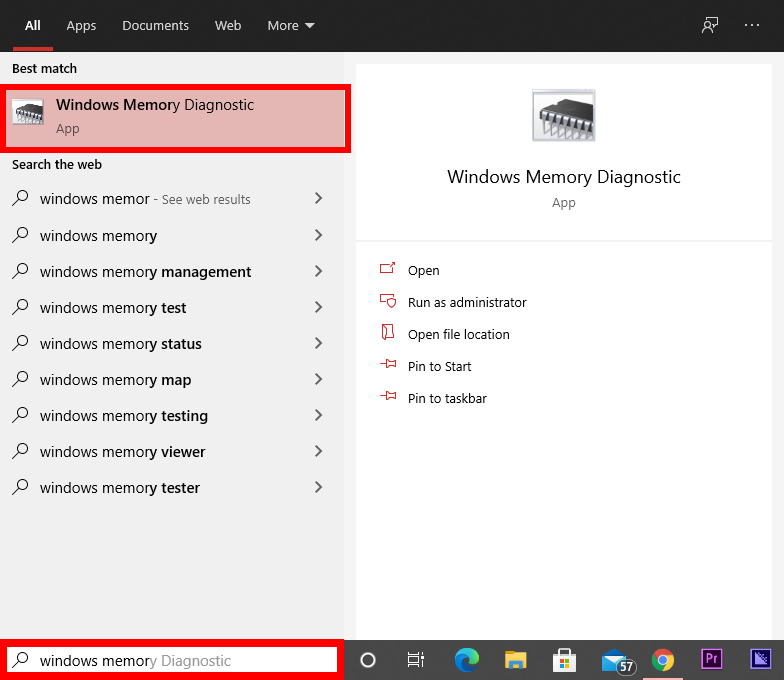
Press the Windows key and search “Windows Memory Diagnostic” in the search bar and open the program.
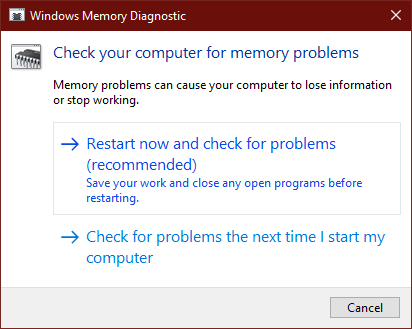
Now, you’ll be greeted with two options. Click, “Restart now and check for problems.” option.
This will restart your PC and will check for any RAM-related error and will hopefully display the reasons for the Aw, Snap! error if any.Now restart the PC after following the fixing procedure.
12. Try disabling Antivirus and Windows Firewall
You can try disabling the antivirus and firewall temporarily on your Windows PC. This is because many times the antivirus and firewall lead to the Aw, Snap! error in the chrome web browser. Here is how to do that:
Disable Antivirus
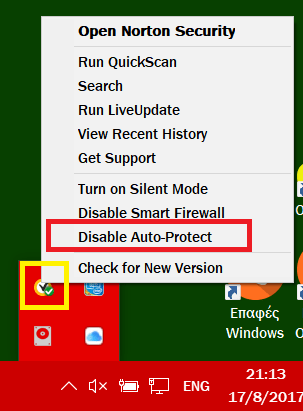
Open the system tray by clicking on the upward pointing arrow icon from the bottom right corner.Now right-click on the antivirus icon and click on Disable.
Now, if your antivirus asks for the time frame for which it has to be disabled then select the minimum time possible.
Now open Google Chrome and try to access the web page which was showing the Aw, Snap! error. If it’s still showing the error the try disabling the Windows firewall as well.
Disable Windows Firewall
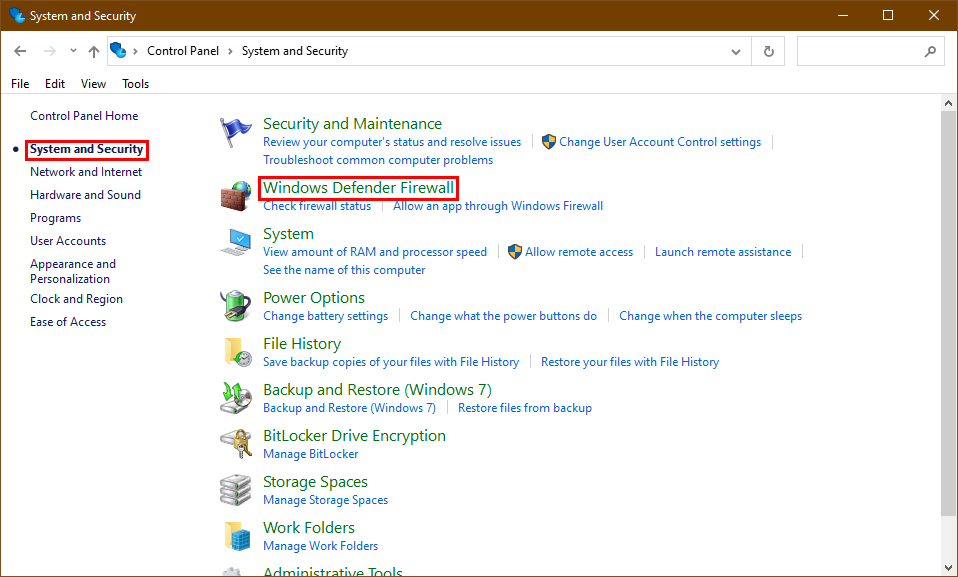
Open the Control panel by searching in the search bar.Go to System and Security section and click on the Windows Defender Firewall option.
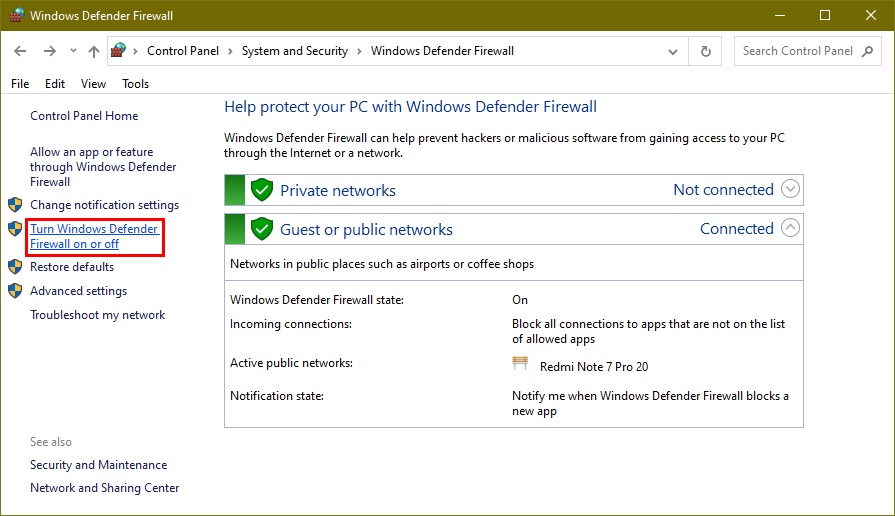
Navigate to the left window pane and select Turn Windows Firewall on or off option.
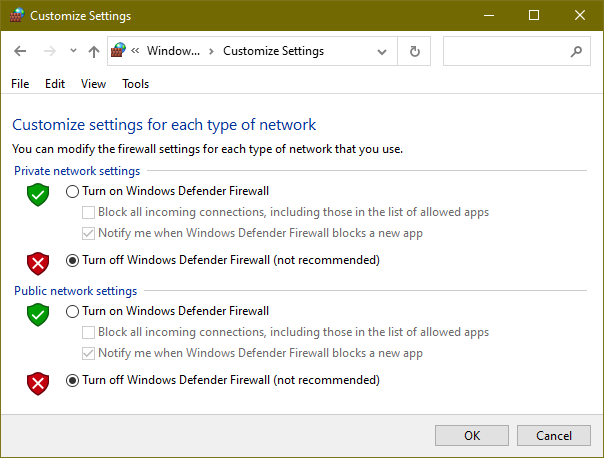
Now turn off the Windows Defender Firewall in both Private and public network settings.
Restart the PC.
Now, open chrome and again try to access the web page. It should solve the Aw, Snap! error if it was occurring due to the antivirus or firewall. If this doesn’t work then follow the same steps to turn the antivirus and firewall back on.
13. Create a new user profile
Try creating a new user profile on your Google Chrome web browser. In this process, we will be removing the user data of the browser and will create a new and fresh one. Follow these steps p:
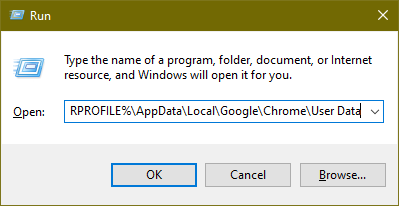
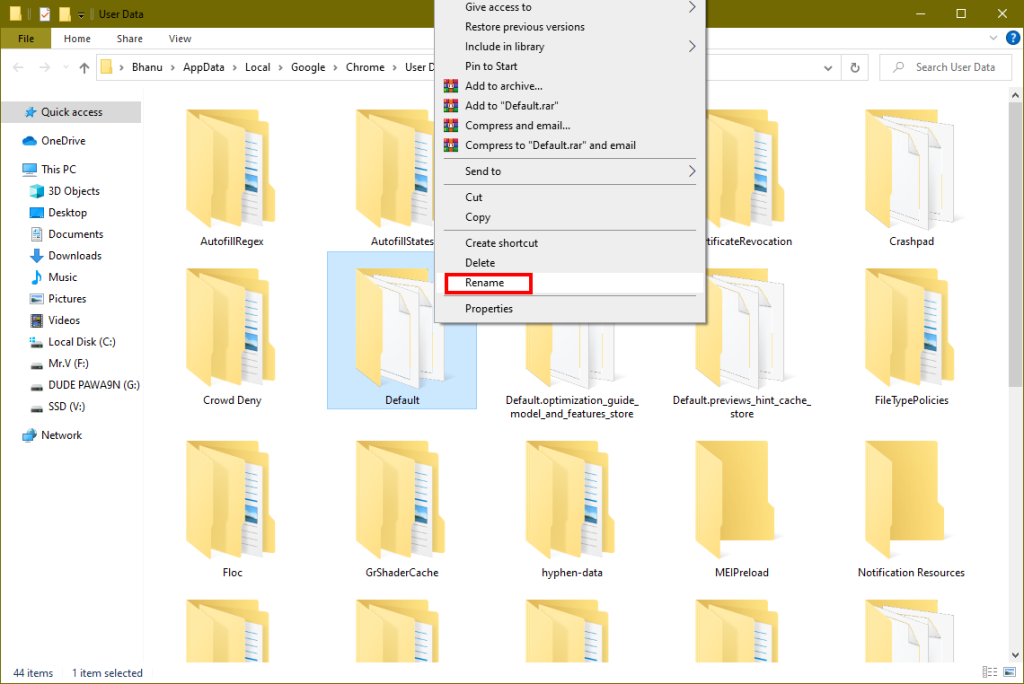
Make sure Google Chrome is not running in the background. kill all the chrome process related to google chrome from the Task Manager by right-clicking the taskbar and select Task Manager. Now select the task and click on the End Task on the bottom right of the window.Now press Windows+R and enter the following:%USERPROFILE%\AppData\Local\Google\Chrome\User Data
Navigate to the Default folder and rename it something like Default Backup. This will make a backup of your old user data, bookmarks, history, cookies, and cache alongside removing this data from chrome.
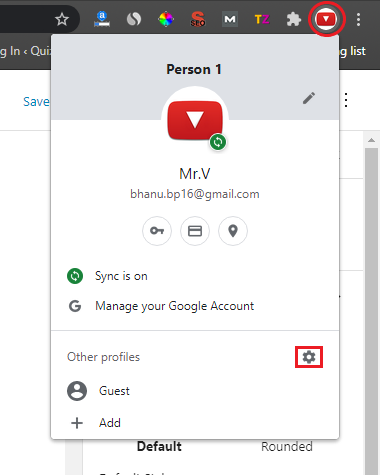
Now open Chrome and click on the user icon next to the three-dot icon and click on manage profile (gear icon).
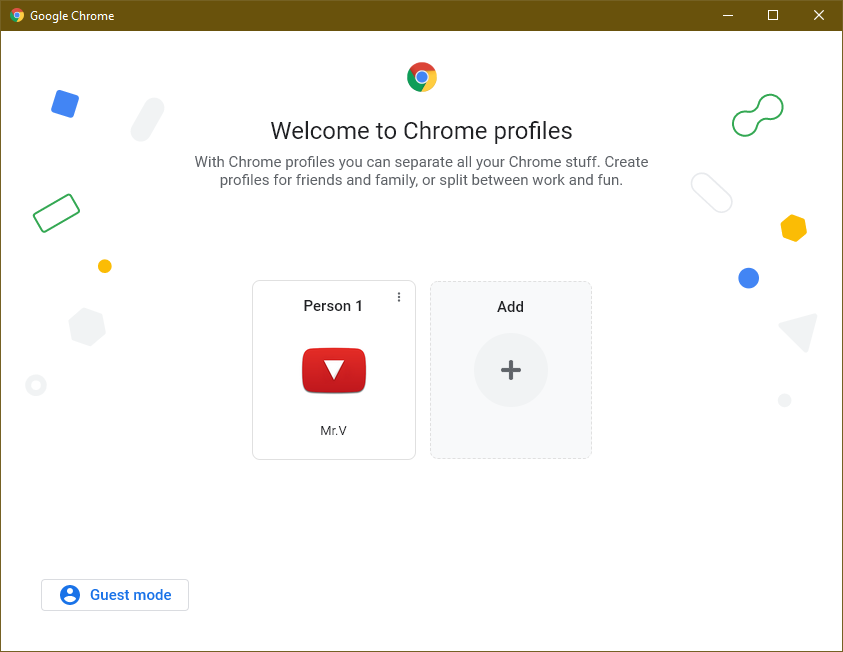
Now select the Add option, enter the name of your new chrome profile, select avatar, and then finally click on Done.
Now access the chrome browser via the newly created profile and open the web page that was showing the Aw, Snap! error.
Bottom Line
So these were all the fixes that one can perform to get rid of the “Aw, Snap! Something went wrong while displaying this webpage” error in your Google Chrome web browser. The error doesn’t have any specific reason behind it as it can occur due a couple of different reasons. I have listed 13 different fixes to the Aw, Snap! error and I hope one of these fixes will work for you to solve your problem. If you have any other fix to the Aw, Snap! error that worked for you and has not been mentioned in this article, please feel free to comment that below. I’ll definitely incorporate that method into this article for sure.
Δ