Windows 11 22H2 also brings along tons of security and background improvements that aim to improve the overall Windows 11 experience across multiple PCs. A much-awaited addition to the new Windows 11 22H2 update is System-Wide Live Captions. Microsoft has finally added this new feature, and here’s how you can enable and use it on your Windows 11 PC.
System-Wide Live Captions: What Is It And When To Use It?
System-Wide Live Captions is a new feature in Windows 11 that automatically analyzes any audio playing on your PC and generates captions for the same. This feature works across Windows 11 and aims at helping hearing-impaired users worldwide. System-Wide Live Captions uses locally downloaded language files to process and analyze the audio playing on your Windows 11 PC. Your PC then transcribes and generates captions for the playing audio in real-time, which are then shown in real-time at the bottom of your screen. This feature can help hard-of-hearing users to recognize and consume content that does not come with subtitles. This feature can also be used in unsupported apps, greatly increasing user productivity. You can also use System-Wide Live Captions to generate subtitles, transcriptions, and much more. If you’ve been desperate for captions in certain applications and videos, then System-Wide Live Captions in the new Windows 11 22H2 update can help you generate the same.
Enable And Use System-Wide Live Captions on Windows 11
System-Wide Live Captions are a great way to get captions and subtitles for any audio playing on your Windows 11 PC. Here’s how you can enable and use this feature and generate automatic captions in real-time. What Do You Need: Before enabling System-Wide Live Captions, you must meet the following requirements. This will help ensure that the feature is available on your PC and you can use it without any issues.
Windows 11 22H2 updateAn internet connection
If you’re unsure whether the update has been installed on your PC or not, you can use these steps mentioned below to check the version of your current Windows 11 installation.
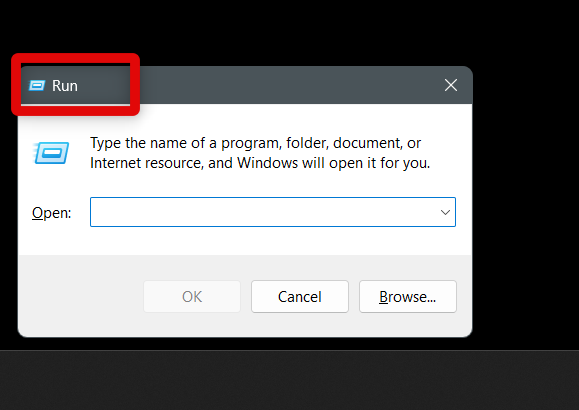
- Launch the Start menu and type in Run. Now click and launch the Run app from your search results. You can also use the keyboard shortcut Windows + R to launch Run on your Windows 11 PC.
- Now type in Winver and click OK. This will launch the About Windows app, which will allow you to check the version of your current Windows 11 installation.
- Once the About Windows app launches, check the section at the top. It will show you the version of your current Windows 11 installation. If it reads Version 22H2 then you’re already updated and do not require any additional steps. If, however, you don’t have the Windows 11 22H2 update installed on your PC yet, you can use the steps below to help check and install the same. Here’s how you can download and install the Windows 11 22H2 update on your PC.
- Open the Settings app on your PC. You can click the icon from your Start menu or use the Windows + i keyboard shortcut to open the app on your PC.
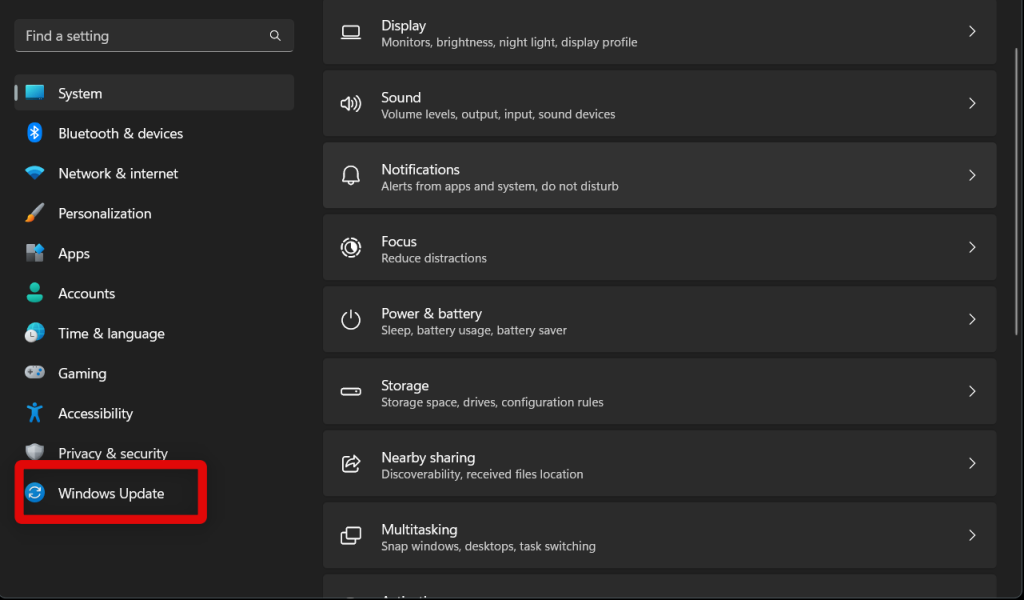
- Now click and select Windows Update from the left side of the app. This will allow you to check and install the Windows 11 22H2 update on your PC.
- Click Check for Updates to check for any available updates for your current installation of Windows 11.
- Windows 11 will now check with Microsoft servers and show available updates for your PC. Updates will now be automatically downloaded and installed on your PC. However, if you have a metered connection, you will need to click Download and Install to confirm your choice. Click on the same to download and install Windows 11 22H2 release on your PC. The Windows 11 22H2 update will now be installed on your PC. Depending on your internet speed and PC resources, this process can take a while. You can continue using your PC without any issues while the update is downloaded and installed in the background.
How to Enable System-Wide Live Captions on Windows 11
Now that you have met the requirements for System-Wide Live Captions, here’s how you can enable them on your Windows 11 PC.
- Launch the Settings app on your PC to enable System-Wide Live Captions. You can open the app by clicking its icon from the Start menu or by using the Windows + i keyboard shortcut on your PC. Once open, click Accessibility on the left side.
- Now scroll down to the Hearing section and click Captions. This will allow us to enable System-Wide Live Captions on your PC.
- Click and turn on the toggle for Live Captions to enable System-Wide Live Captions on your Windows 11 PC.
- You will now be shown the System-Wide Live Captions setup. System-Wide Live Captions require language files to be downloaded from Microsoft’s servers in order to process the audio playing on your PC. Click Download at the top to grant System-Wide Live Captions the permission to download the necessary language files on your PC.
- Once the files have been downloaded, System-Wide Live Captions will be enabled for your Windows 11 PC. We can now customize the look of your captions according to your liking so that you can easily differentiate between your captions and the background. Head back to the Settings app and now click the drop-down menu beside Caption Style. This will allow us to customize System-Wide Live Captions generated on your PC.
- Click and choose a style you prefer. You get access to the following System Wide Live Caption styles in Windows 11.
DefaultWhite on blackSmall capsLarge textYellow on blue
- If you dislike any of the presets offered by Windows 11, you can create your own custom System Wide Live Caption style by clicking the Edit option. Click Edit to create your own custom style.
- Enter a name for your new custom System Wide Live Caption style at the top.
- Now click and choose a preferred color for the System Wide Live Caption text for your Windows 11 PC.
- Next, click the drop-down menu for Opacity and choose how transparent you wish the text to be.
- Click the drop down menu for Size and select your preferred text size for System-Wide Live Captions on your PC.
- Likewise, click the drop-down menu for Font and choose the font you like for your generated captions.
- Lastly, click the drop-down menu for Effects and choose an effect for System-Wide Live Captions. Effects allow you to enhance the visibility of the generated text, which can help increase legibility on dark backgrounds. You get the following effects to choose from when using System-Wide Live Captions on Windows 11.
RaisedDepressedUniformDrop Shadow
- You have now customized the text for your System-Wide Live Captions. We can now customize the background. Click and switch to the Background tab.
- Click and choose the color you prefer. This color will be applied to the background of your generated captions.
- Click the drop-down menu for Opacity and choose how transparent you want your System-Wide Live Captions background to be. It is a good idea to keep the opacity less than 75% so you can view elements behind your captions easily.
- Click and switch to the Window tab. This will allow us to customize the look of the System-Wide Live Captions window on your PC.
- We now have similar options that were available when customizing the System-Wide Live Captions background. Click and set the desired Color and Opacity for your System-Wide Live Captions window. You have now enabled and customized your System-Wide Live Captions on your Windows 11 PC. You can now refer to the section below to use System-Wide Live Captions on your PC.
How to Use System-Wide Live Captions in Windows 11
You can use System-Wide Live Captions by using either the keyboard shortcut or the Quick Settings in the Windows 11 Action Center. Once you have compatible media playing in the background on your PC, use either of the ways mentioned below to activate and use System-Wide Live Captions on your PC.
Use System-Wide Live Captions Via Keyboard Shortcut
You can use the keyboard shortcut Windows + Ctrl + L to activate System-Wide Live Captions when you have audio playing on your PC. System-Wide Live Captions will show up at the top, and you can press the same keyboard shortcut again to turn them off again.
Use System-Wide Live Captions Via Quick Settings
We will first need to add Accessibility to your Quick Settings before you can access System-Wide Live Captions using the same. Here’s how you can add Accessibility to your Quick Settings on Windows 11.
- Click the Quick Settings area in your taskbar to view Quick Settings. You can also use the Windows + A keyboard shortcut to access your Quick Settings on Windows 11.
- Now click the Edit icon. This will allow us to add the Accessibility shortcut to your Quick Settings in order to use System-Wide Live Captions on your PC.
- Click and select + Add at the bottom of your Quick Settings panel.
- Select Accessibility to add it to your Quick Settings.
- Click Done to stop editing your Quick Settings panel. You will now have added the Accessibility shortcut to your Quick Settings. You can now use it to activate and use System-Wide Live Captions.
- When audio is playing on your PC, access Quick Settings using your preferred method. You can either click the dedicated area in your taskbar or use the Windows + A keyboard shortcut.
- Now click Accessibility. This will allow you to activate and use System-Wide Live Captions.
- Turn on the toggle for Live Captions. Live Captions will be activated when you turn on the toggle, and you should now be able to view captions for the playing audio on your PC in real time.
What happens to the voice data collected when using System-Wide Live Captions on Windows 11?
Voice Data collected during System-Wide Live Captions is processed and stored locally. No data collected when using System-Wide Live Captions is shared with Microsoft servers or uploaded to the cloud.
Will using Live Captions require microphone access?
No, System-Wide Live Captions do not require microphone access on Windows 11.
Will System-Wide Live Captions delete language files once it is turned off?
No, language files will remain downloaded on your PC so that in case you wish to use the feature in the future, you won’t have to download them again.
Final Words
Captions are a vital Accessibility feature that can greatly help hard-of-hearing users. It can also come in handy when you wish to view subtitles in unsupported apps or wish to decipher incomprehensible audio. Microsoft’s addition of System-Wide Live Captions to Windows 11 is bound to be a boon for many users worldwide, and I hope this post helped you easily enable and use the same on your PC.
Δ