How to Downgrade from macOS 12 Monterey to macOS 11 Big Sur (2021)
Bear in mind that downgrading your Mac will entirely erase macOS 12 from your hard drive. Therefore, make sure to back up your Mac if you don’t want to lose your files, programs, documents, and other important data. You can use an external hard drive or a cloud storage service like DropBox, iCloud, or OneDrive to save your files. Once you have secured your data, let’s move ahead with the guide!
Make Sure to Allow Booting from External Media on Macs with T2 Chip
If you are using a 2018 or newer MacBook Pro, MacBook Air, or Mac mini, be sure to enable booting from external media. If you have enabled the Startup Security Utility on your Mac, ensure that you are allowed to use a bootable external drive.
Now, hold down Command+R keys when the Apple logo appears on the screen. It will put your Mac into Recovery Mode.
Next, click “Utilities” in the Menu Bar and choose Startup Security Utility.
Next up, you need to enter your firmware credentials and then check the box to Allow booting from external media.
Note: The firmware password is different from the administrative password and Apple ID password. Make sure you remember the correct password to access the Startup Security Utility.
Create a Bootable macOS Big Sur USB Install Drive
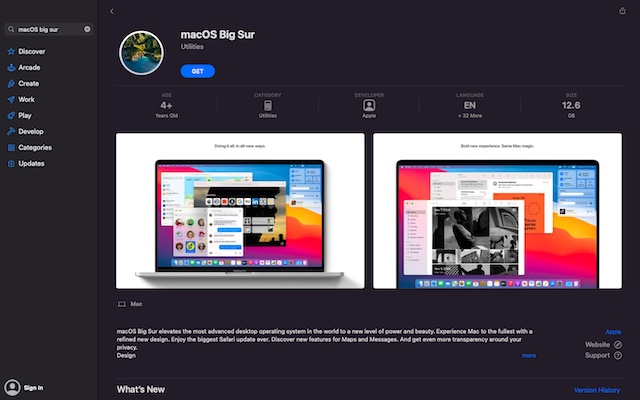
Before downgrading your Mac and erasing macOS 12, you will need to download macOS 11 from the App Store. Ensure that you have a copy of macOS Big Sur on an external hard drive for the easiest way to downgrade. To get it done, follow our complete guide to create a bootable macOS Big Sur USB installer drive.
Erase Your Hard Drive
Now, it’s time to erase the hard drive before reinstalling macOS Big Sur. Again, I would remind you of backing up your Mac before performing this radical step.
Next, hold down Command+R keys. Make sure to press down the keys until your computer reboots. It will put your computer into Recovery Mode.
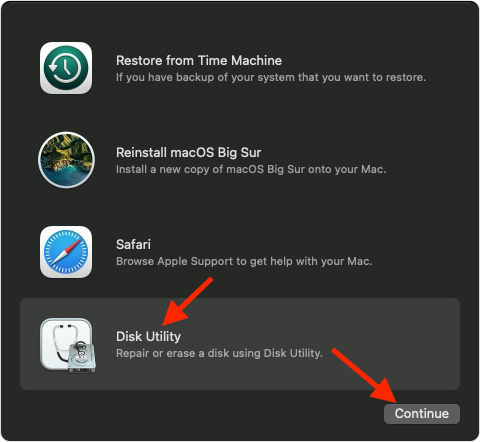
Next up, click on “Disk Utility” in the OS X Utilities selector. After that, click on Continue to proceed further.
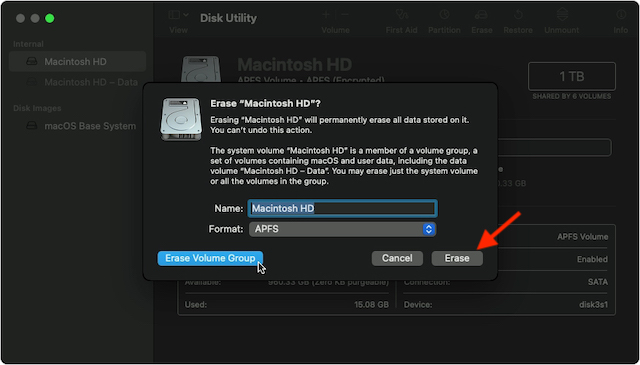
Choose your Startup Disk and then click on the “Erase” button at the top of the window.
Now, input a new name for the hard drive such as Macintosh HD. Once the drive has been erased, its name will change to the one you have just chosen. If your Mac is using HFS+, make sure to choose Mac OS Extended (Journaled) from the format list. However, if your Mac is using APFS, be sure to choose APFS from the format list. If Scheme is available, choose GUID Partition Map. Finally, click on “Erase“.
When the process is complete, you can quit the Disk Utility from the drop-down menu in the upper left corner of the screen to return to the OS X Utilities selector.
Reinstall macOS Big Sur on Macs that Came with macOS Big Sur Preinstalled
It’s worth pointing out that if your Mac device came with macOS Big Sur pre-installed, you can install macOS Big Sur with ease. Simply restart your Mac while holding down the Shift+Option+Command+R combo to enter Internet Recovery Mode and then install the macOS 11.
Reinstall macOS Big Sur on Macs that Didn’t Come with macOS Big Sur
If your Mac device didn’t come with macOS Big Sur, follow the steps below:
- Now, hold down the Option/alt key while your computer restarts (keep pressing the Option key until the Apple logo disappears after rebooting).
- Next, you will get the option to select a startup disk. Choose your bootable USB drive with macOS Big Sur from the list of startup disk options.
- Next up, click on “Continue” in the installation window. macOS Big Sur will install like a standard update. Do note that you will need to agree to the licensing terms before the software reboots on your Mac.
Restore Settings from Time Machine Backup
Using a recent backup of your Mac saved to Time Machine, you can bring back the saved settings with ease. Follow the steps below to restore a recent Time Machine backup after you downgrade from macOS 12 Monterey to macOS Big Sur.
Now, hold down Command+R keys as soon as you hear the startup chime. Make sure to keep holding the keys until your computer reboots.
Next, choose “Restore from Time Machine Backup” in the OS X Utilities selector and click on “Continue“.
Next, click on Continue again. Then, choose the Backup source for where your Time Machine backup is stored.
Next up, click on Continue and then choose the most recent macOS Big Sur backup on the drive. After that, click on Continue. That’s it! Your Mac will now start restoring from the Time Machine backup and then reboot. As the whole process will take a while, you will need to wait patiently.
Downgrade from macOS 12 Monterey and Go Back to macOS Big Sur Safely
So, that’s how you can downgrade from macOS 12 Monterey and go back to macOS 11 Big Sur. Beta versions of software generally come with bugs and unexpected issues. That’s why it’s always better to install them on a secondary device. This way, even if you run into any unexpected issues, your work doesn’t get affected. Anyway, let me know your thoughts on macOS 12 beta and what sort of issues you faced.