How to add new languages to Mac
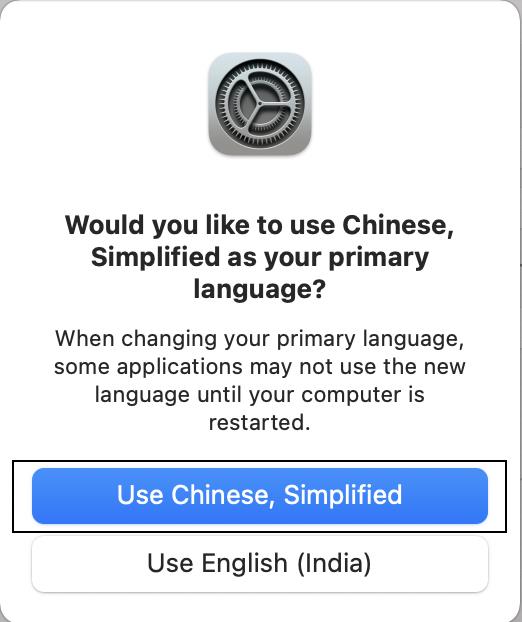
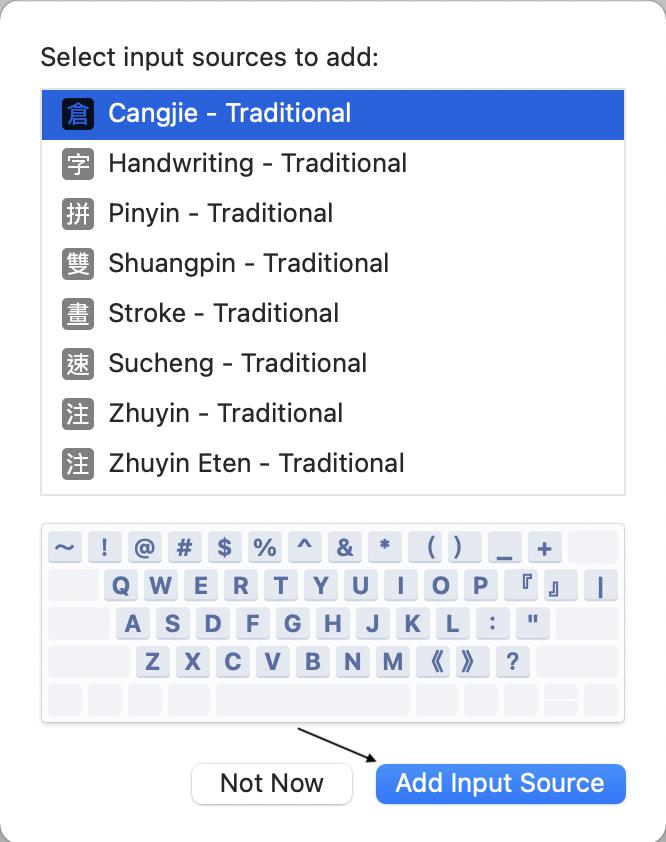
To add new languages to Mac follow the below steps. Step 1: Take the cursor on your Mac to the upper left corner of the screen to find the Apple logo. Step 2: Tap on the Apple logo and a pop-up menu will appear. Among the menu options, choose System Preferences… Alternatively, you can click on the Launchpad icon in the dock or pinch close with your three fingers and thumb to see all your apps. Click the System Preferences app to open it. Step 3: Under the System Preferences click on Language & Region. Step 4: On the Language & Region preferences you will see your current preferred language. To add a new language tap on the + icon. Step 5: Now you will get a list of the languages from which you select your preferred language. Scroll through the list to find the language you want to add. Once you find your desired language tap on Add. While scrolling through the list of languages you will notice the list is divided after some of the languages by a separator line. The separator line helps users to distinguish between fully supported languages and the languages that aren’t fully supported by macOS. All the languages above the line are fully supported system languages. These are shown everywhere in menus, messages, the websites you visit, and more. Other languages listed below the line are not fully supported by macOS. You might be thinking if these languages are not fully supported, why are they on the list? It is simply because those languages may be supported by individual apps. Step 6: When you select a language and tap on Add, a prompt asking to use the newly added language as your primary language will appear. If you want to use added language as your primary language then tap on Use followed by the name of that language. Step 7: Depending on the language you chose you might get another prompt to select input sources to add. These input sources will be used when you want to type something in the newly added language. So, If you are planning to type make sure to select one of the input sources and tap on Add input source. In case by mistake, you clicked the Not now option no worries you can add it whenever you want from the input sources section of Keyboard preferences. By following the above steps you can easily add a new language to Mac.
How to change the system language on Mac
While adding a new language you will get a prompt to use the new language as your primary language. In case you didn’t allow it at that time you can easily change the system language by following the below steps. Step 1: Go to Language and Region preferences by following the steps mentioned above in this article. Step 2: Under Preferred languages, you will find all the added languages. Move the language you want to use as a primary language to the top. If the selected primary language is one of the fully supported languages then the menus and messages will be shown in that language. In case it is not a fully supported language system will use the next unselected language from the list and so on. Do be reminded that some applications might not show the newly selected language until you restart your Mac. So, It is recommended to restart the Mac after changing the primary language.
How to choose the language for apps
Changing the system language changes the menu, messages, and websites you visit that language. But what if someone wants to use just a few apps in a different language. Apple heard users and brought the feature to choose the language for individual apps. Follow the below steps and you will easily be able to choose different languages for different apps. Step 1: Go to Language and Region preferences. You will see two different tabs there: General and Apps. By default, you will land in the General Tab, to change the language for apps tap on Apps. Step 2: Tap on the + icon. Step 3: On the next screen there will be two options: Application and Language. Step 4: Tap on the box next to Application to select the individual application which you want to use in a different language. A list of all your apps will appear, use the arrow icon to scroll through them. Step 5: Similarly tap on the box next to Language to pick a language for the selected app. nGo through the list of languages and select the one you want to use. Step 6: For illustration, I select Skype as an application and Hindi as my language. Similarly, you can select the application and language you want. Once done tap on the Add button. Step 7: You will get a prompt to relaunch the app now. It is mandatory to relaunch the app as the app will not use the new language until relaunched so Tap on Relaunch Now button. Step 8: Now in the Apps tab the selected application and language will start appearing. Step 9: As I selected Hindi as a language for the Skype app after relaunching the app it starts using the Hindi language. You can follow the same above steps to add language for as many applications as you want.
Δ

![]()