Best Android TV Tips and Tricks (Updated October 2020)
Here, we have mentioned all kinds of tips and tricks for Android TV. From sideloading apps to customizing the interface, everything is covered. You can glance over the tricks below and click on the link to move to the corresponding point.
1. Wireless File Transfer
This is the first Android TV trick that you should know. There are times when you want to send files to your Android TV but have to look for pen drives for file transfer which is a hassle. Not anymore.
With Send Files to TV app (Free, offers in-app purchases), you can wirelessly send files from your Android smartphone to Android TV. You just need to be on a common WiFi network and SFTV app will work seamlessly.
2. Video Calling with Duo (PiP Support)
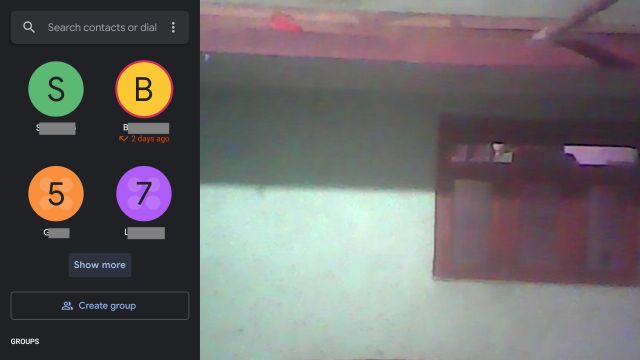
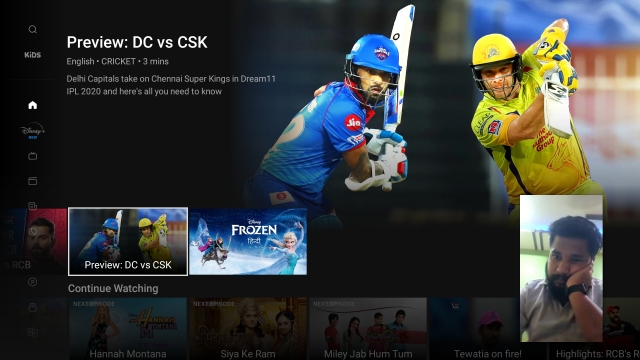
If you are not aware, Google Duo has arrived on Android TV and it’s available on the Play Store. You just need to plug in a webcam and Android TV will take care of everything. Keep in mind, your Android TV should be on Android 9 build to be able to use this feature. The best part about Google Duo on Android TV is that even Picture-in-Picture mode (PiP) works.
For instance, while you are on a video call on Duo, press the Home button on the remote and a PiP window will appear as an overlay. Now, you can open any sports app and co-watch the game with your friends and family.
What’s more, the overlay window remains on top of video players as well. If you want to learn how to install Google Duo on Android TV then follow our linked guide.
3. Custom Screensaver
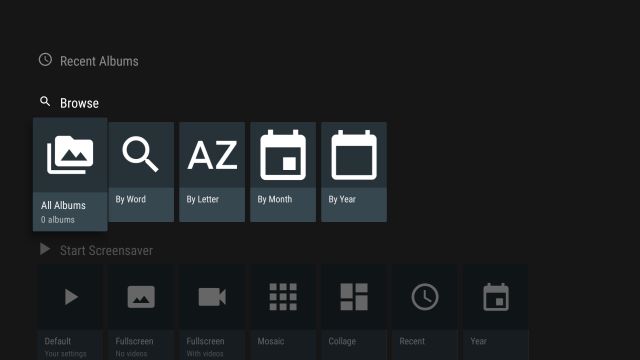
Android TV does come with a native screensaver feature (Backdrop), but it’s very limited and you can’t set your own photos. Secondly, the much-loved Google Photos integration with Android TV is gone due to a security issue. So basically, you don’t have many options left to display your personal set of photos either from your Google account or internal storage. In that case, the Photo Gallery and Screensaver app (Free, offers in-app purchases) comes to the rescue. The app is specifically designed for Android TV and brings all the screensaver features that you have always wanted on a larger TV screen.
You can choose your photos from internal storage, change the aspect ratio, apply a transition effect, and do much more. And the best part is that through this app, you can even connect your Google account and it can pull your photos and display them as a screensaver. To sum up, Photo Gallery and Screensaver is one of the best Android TV apps and you should know this trick to further customize your Android TV.
4. Enable Wireless ADB
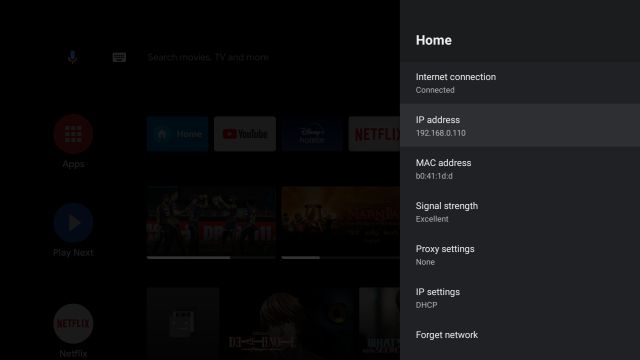
If you want to tweak your Android TV then enabling ADB is a must. You can sideload apps without APK transfer, uninstall bloatware, enable hidden features, and more. Here is how you can do it. Open Settings on your Android TV -> Network and Internet -> Your WiFi network and make a note of the IP Address. You will need it later.
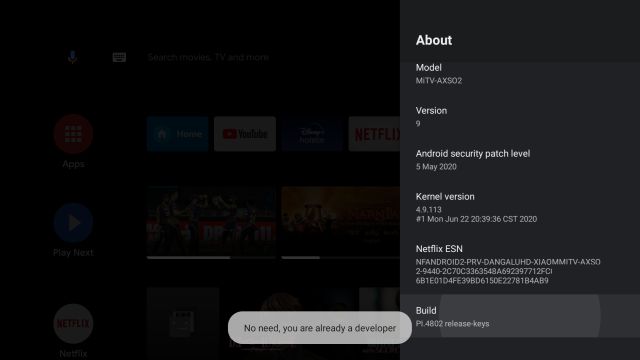
Now, open Settings -> Device Preferences -> About -> Scroll down to the Build menu. Now, click on the “Build” menu for 7-8 times continuously. It will enable Developer Options on your Android TV.
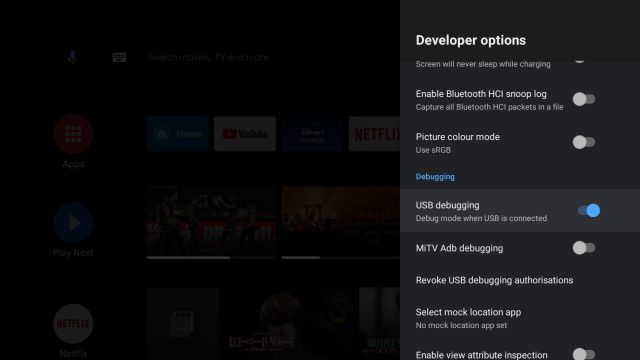
Next, go back to Device Preferences and scroll down. You will find “Developer Options“. Open it. Here, scroll down a bit and enable the toggle for “USB Debugging“.
Now move to your computer and install ADB. No matter if you have a Windows PC, Mac, Chromebook, or a Linux machine, you can set up ADB by following our linked guide.
Once ADB is ready on your computer, run adb connect ipaddress command to connect to your Android TV wirelessly. Here, replace ipaddress with the actual address that you noted above. You will get a prompt on your Android TV. Enable the checkbox for “Always allow” and then click on the “OK” button.
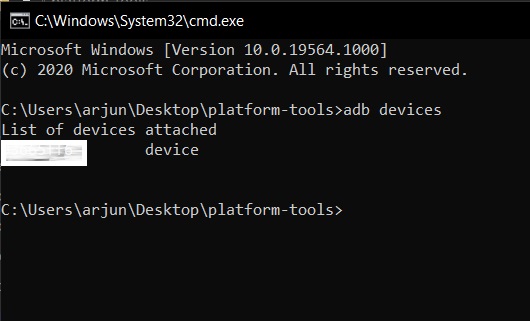
If everything is fine then you will get connected to ipaddress response in the Terminal. Finally, run adb devices command to reconfirm if your computer is connected to your Android TV. If your Android TV is connected then it will show the device along with its IP address. You are done.
5. Install Apps Without APK Transfer
As I mentioned above, enabling ADB opens the floodgate for advanced customization and tweaking on Android TV. As such, you can even install apps without transferring the APK file on your Android TV. Just enable wireless ADB (point 4) on your Android TV and then move the APK to the Platform Tools or ADB folder of your computer.
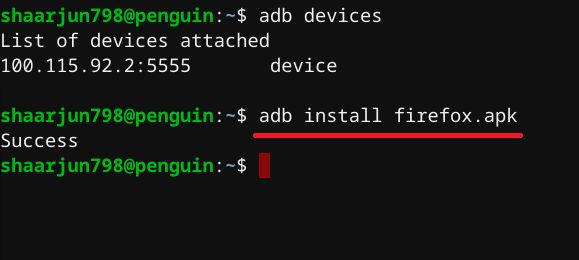
Now, simply run adb install firefox.apk and that’s it. You can change firefox.apk to whatever APK file you want to install. After that, the APK will be wirelessly installed on your Android TV. You can find the app under the App Drawer or you can use the Sideload Launcher app (Free) to find those sideloaded apps. That’s one neat Android TV trick, right?
6. Sideload Launcher
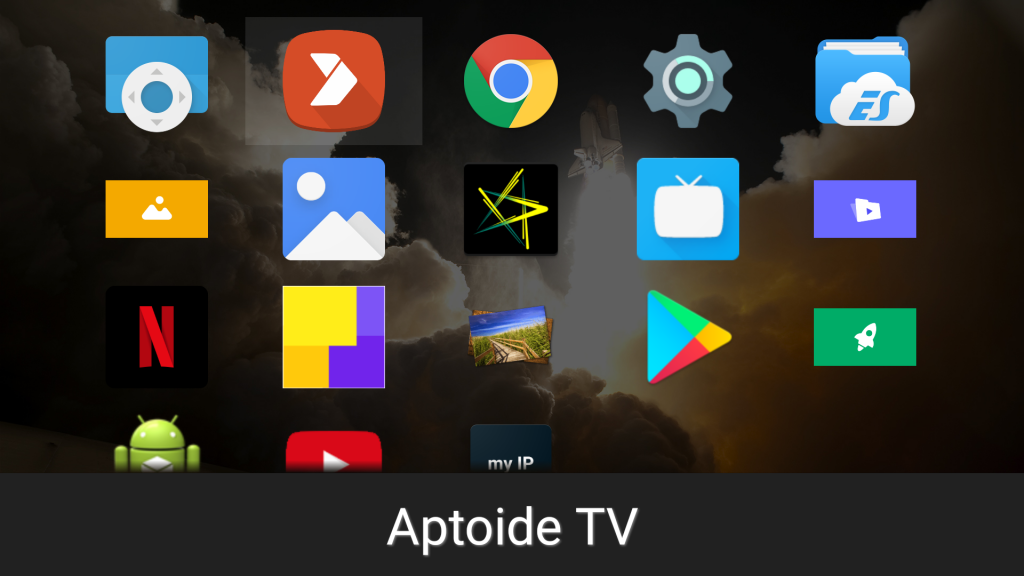
Sideload Launcher is for those users who frequently install APK files and need quick access to those apps. You can install Sideload Launcher (Free) from Android TV’s Play Store and pin it on your home screen. Whenever you want to open third-party apps that are generally not available on Android TV, just open this Launcher and you will find all your apps.
7. Use Google TV on Android TV
Recently, Google introduced Google TV with its new Chromecast and further announced that from next year, Android TVs will transition to Google TV. However, you don’t have to wait for that long.
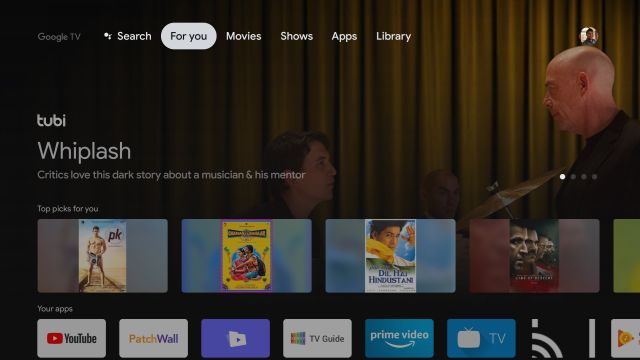
We have already installed Google TV on Android TV and it works pretty well except for some features like smartphone notification and the new Settings app. So go ahead and follow the guide to taste Google TV on your Android TV right now. Don’t worry, you just need to enable Wireless ADB and then the steps are a breeze.
8. Use Google Assistant
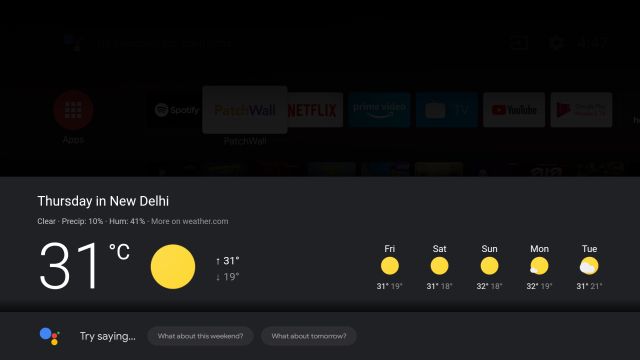
The next Android TV trick that you must learn is using Google Assistant to its full advantage. For example, you can search for movies, music, and videos with just a press of a button and it will pull the content from various apps instantly. Apart from that, you can check the weather, your next schedule on Calendar, and ask just about any question that you can do on your smartphone.
In fact, you can control your Android TV right from your smartphone using Google Assistant. Just ask the Google Assistant on your smartphone to turn on the TV or play something while you are away from the remote. Make sure to add “on TV” at the end of your voice command. And your TV will follow suit.
9. Use Your Mobile Phone as the Remote for Android TV
Android TV boxes come with some really decent remotes. The Mi Box comes with a really nice, lightweight, and sleek remote. However, these Bluetooth remotes can only go so far when it comes to ease of use, especially when you need to type text on your TV. Fortunately, Google has an “Android TV Remote Control” app (free), that you can use to get a remote interface on your mobile. With a Bluetooth or WiFi connection between your TV and phone, you can easily navigate the interface through your Android phone.
The best thing about this is that when you need to enter text on the Android TV, you can use the on-screen keyboard in your mobile to do so, which is definitely much faster than using the lean back keyboard that Android TVs come with. Apart from that, the big highlight of this app is that you don’t need an IR-compatible smartphone to navigate Android TV. So go ahead and try this trick on your Android TV to have a convenient typing experience.
10. Using Android TV as a Computer
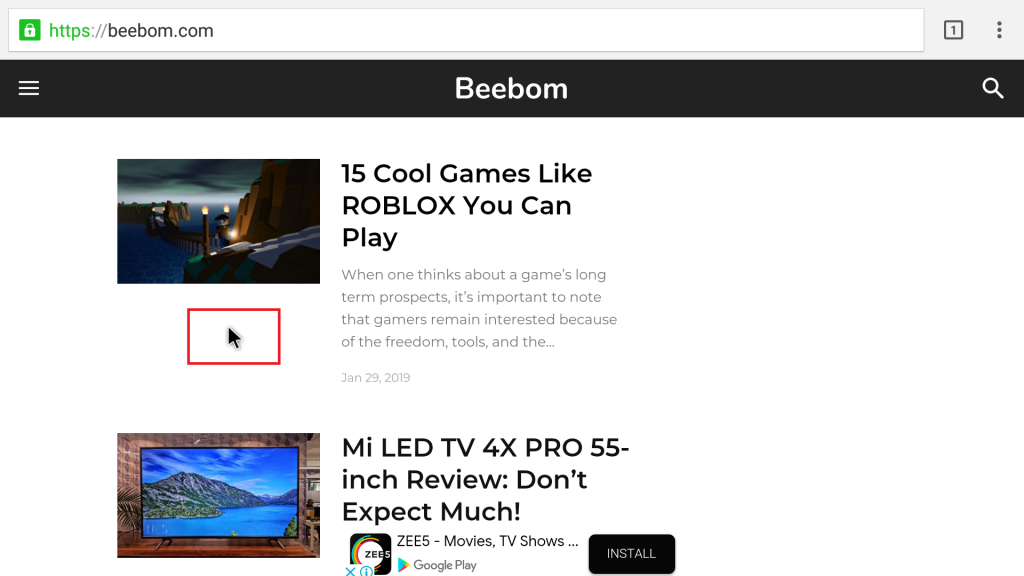
Android TVs come with USB ports and standard connectivity options like Bluetooth, which means you can use them as makeshift computers. Besides consuming media through a variety of platforms on Android TV, you can use it to browse the internet (as we saw above) and perform basic tasks like checking your email or editing online documents. For this, you can use a wireless keyboard-mouse combo like the Logitech MK270 ($17.88).
11. Take Screenshots on Android TV
For a lot of smart TVs, the process of taking screenshots is the same as Android smartphones. You can press the Volume Down and Power button on the remote simultaneously and the screenshots are saved in “/sdcard/Pictures/Screenshots“. However, certain TVs might not support that and in order to get it going, you will have to establish an ADB connection (see point 4 of this article), and you’ll need a Windows or a Mac PC. For the process, we’re using a Windows PC but the ADB commands remain the same. You can start by opening Command Prompt (on Windows) or Terminal (on Mac) with Admin privileges with the directory set to the ADB folder. Make sure the TV and the PC are on the same local WiFi network.
Type adb connect ipaddress and press Enter or Return. In case you get an error message, type the same command again.
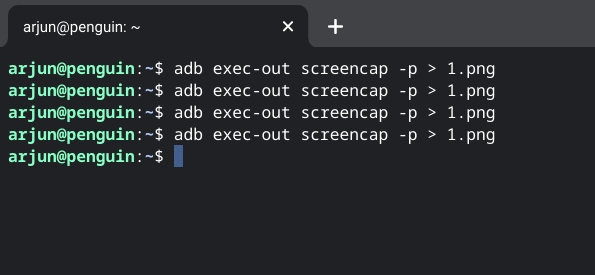
Type adb exec-out screencap -p > 1.png. This will automatically save the screenshot named 1.png inside the ADB or Platform Tools folder of your computer. You can change the name 1 to something else so that it does not override the earlier screenshot.
12. Customize the Recommendations Carousel
Android TV, as a platform, tries very hard to always have something new for us to watch. This can be both a boon and a bane; and while some people may like the “Recommendations” that Android TV offers, I don’t want to see recommendations from just about every pre-installed source on my Android TV. Fortunately, there’s an easy way to customize the sources that show up in the recommendations carousel on your Android TV. To do this, just follow the steps below:
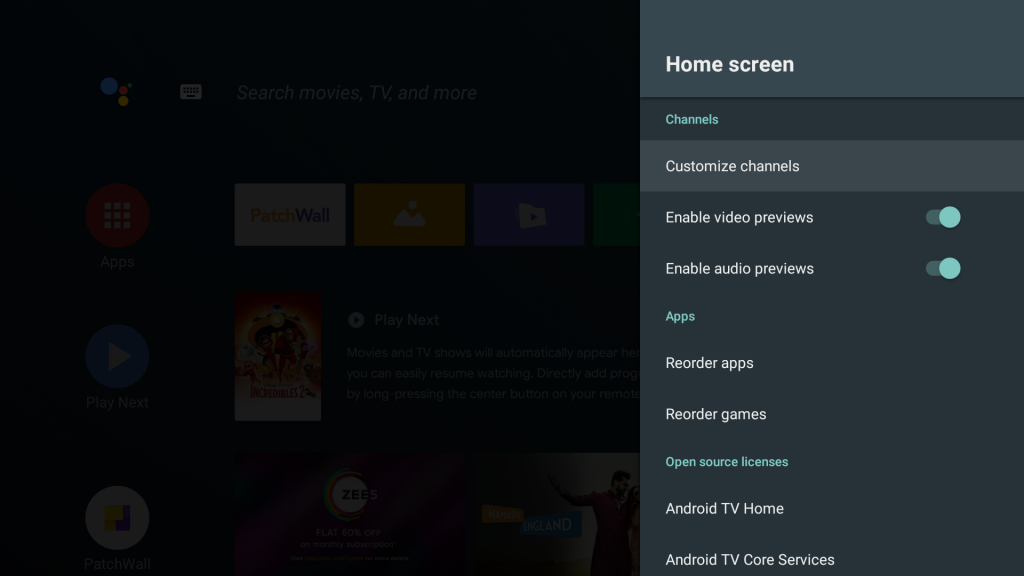
Go to Settings -> Home screen and select Customize channels
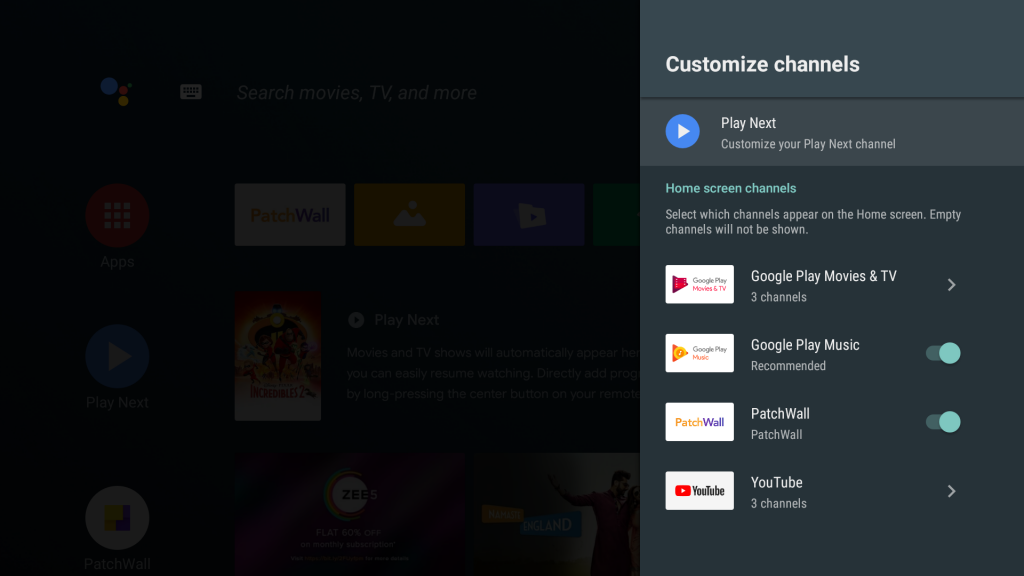
Here, you can show or hide the sources available on your TV, according to your preferences. You can also customize your preference for Play Next.
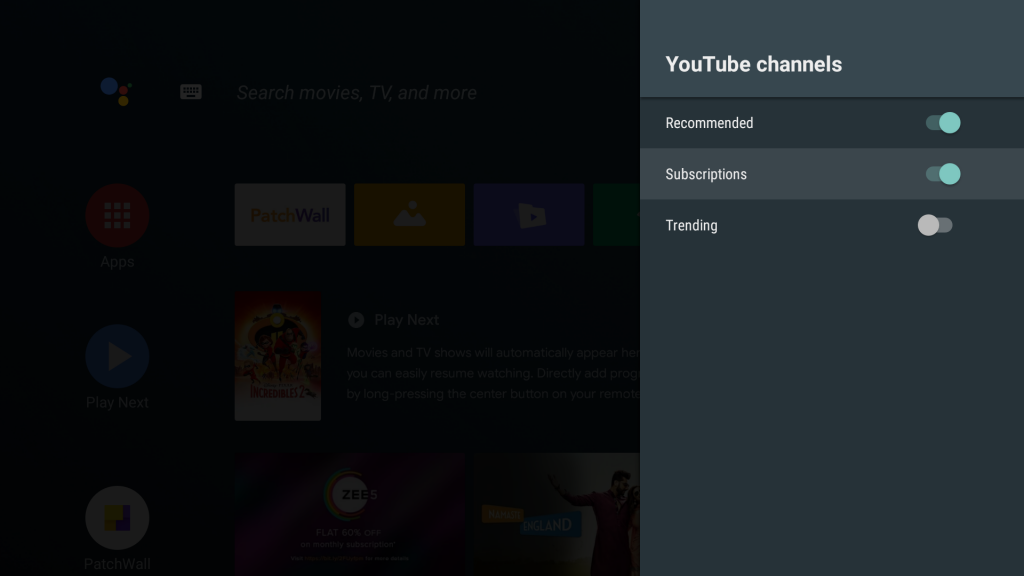
Some apps like YouTube and Google Play Movies & TV also lets you customize channels per app.
13. Customize your Home Screen
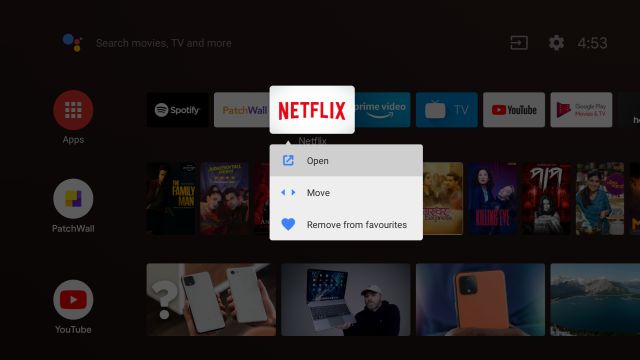
For people who are moving from non-smart TVs to Android TV, the interface might be overwhelming given there is a whole list of apps on the home screen itself. So if you just want the right apps on the home screen and re-arrange things based on your preference then press and hold the “OK” button (the circular one in the middle of navigation buttons) while the app is highlighted.
Here, you will find “Move” for re-arranging the app order and “Remove from favorites” to remove the app from the home screen. If you want more options then you can head to Settings -> Device Preferences -> Home screen. Here, you can customize specific channels and video previews as well. Finally, you should also follow our linked article to remove ads from Home screen on your Android TV to get a cleaner experience.
14. Mirror Your Phone/Laptop Screen with Built-in Chromecast
With Chromecast integration, you can easily mirror your smartphone on the TV. You can play videos, music, and display photos that are available locally on your smartphone right on your TV. And it does not need any pairing process or any additional hardware. All you need is an Android smartphone that is connected to the same WiFi network as your TV.
After that, open any app and look for the “cast” icon. Tap on it and select your Android TV and voila, there you have it. In case, an app does not show the cast icon, you can bring down the quick settings panel and tap on the cast button to completely mirror your smartphone screen on the TV.
On laptops, you can easily cast to your Android TV with Google Chrome. You can choose to cast just the tab you’re in, or the entire Google Chrome screen to your Android TV. On Google Chrome, just click on the 3-dot menu and then click on Cast. After that, select the TV and it will start casting the current tab onto your TV.
15. Cast Windows 10 on Android TV
While Chromecast works fine if you are using an Android smartphone or using Chrome on Windows 10, it does not cast the whole Windows 10 screen. Basically, on Windows 10, the casting is just limited to Chrome tabs.
Thankfully, there is Miracast technology which supports Windows 10 casting. We have written a detailed guide on how to cast Windows 10 on Android TV so follow the guide and you will be up and running Windows 10 on Android TV.
16. Data Saver Mode
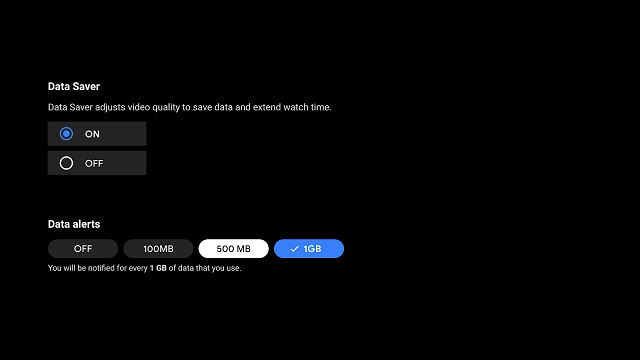
Data Saver Mode is a great addition to Android TV by Google. With Data saver mode enabled, you can watch 3 times more content using the same amount of data. You can also enable alerts if the data reaches certain limits. This feature will be helpful for those who use mobile hotspots to stream content on Android TV.
However, keep in mind, the feature update has not hit all Android TVs yet and it will be available with the Android 9 update. As for Mi TV in India, Data Saver Mode is already available and that’s why we have included it in our list of best Mi TV tips and tricks. For other Android TVs, you will find Data Saver Mode in “Device Preferences” under the Settings page.
17. Connect PS4 Controller for Games
Android TV also supports a wide range of games including some action-packed titles like Asphalt 8. But, to be able to play these games, you’ll need to attach a gamepad via USB or via Bluetooth. While standard gamepads would easily serve you, if you have a PS4, you can also use your existing PS4 Dual Shock controllers and connect them with the Android TV. Just follow these steps:
On your controller, press and hold the PS and Share buttons simultaneously to enter pairing mode. The light behind the controller will start blinking.
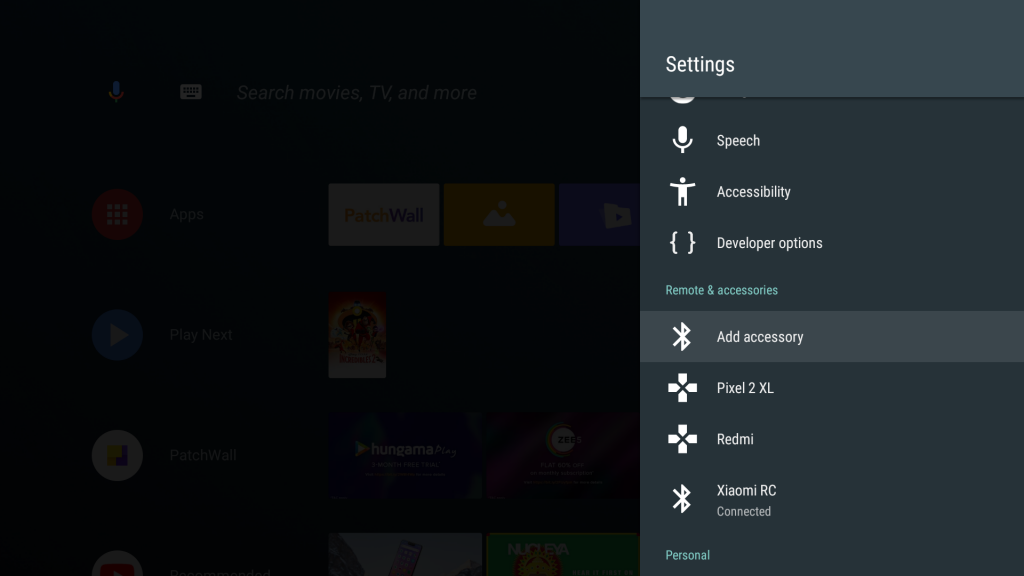
On your Android TV, go to Settings, and then select Add accessory from the Remote & accessories option
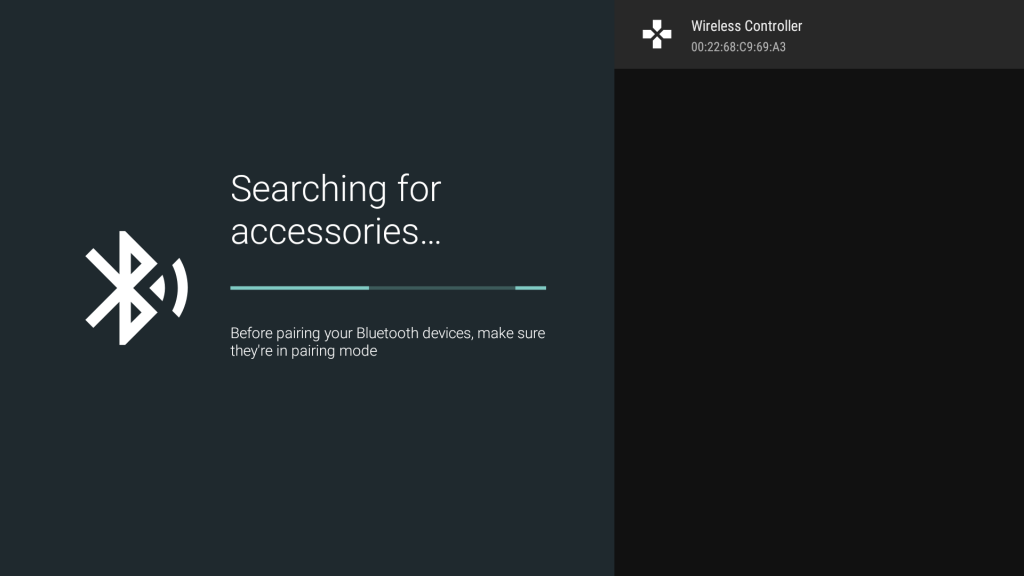
The Android TV will search for nearby Bluetooth accessories. Select Wireless Controller and your PS4 controller will be connected to the TV.
Use These Android TV Tweaks to Get More out of Your TV
The similarity between Android TV and Android on a smartphone is striking and this means there is really a lot of customization possible on an Android TV. You can use these tips and tricks to enhance your experience with an Android TV. As always, we’d love to know your thoughts on Android TV as a platform; and the app support (or lack, thereof) for Android TV. Also, if you know of any other Android TV tips and tricks, do let us know about them in the comments section below.

